
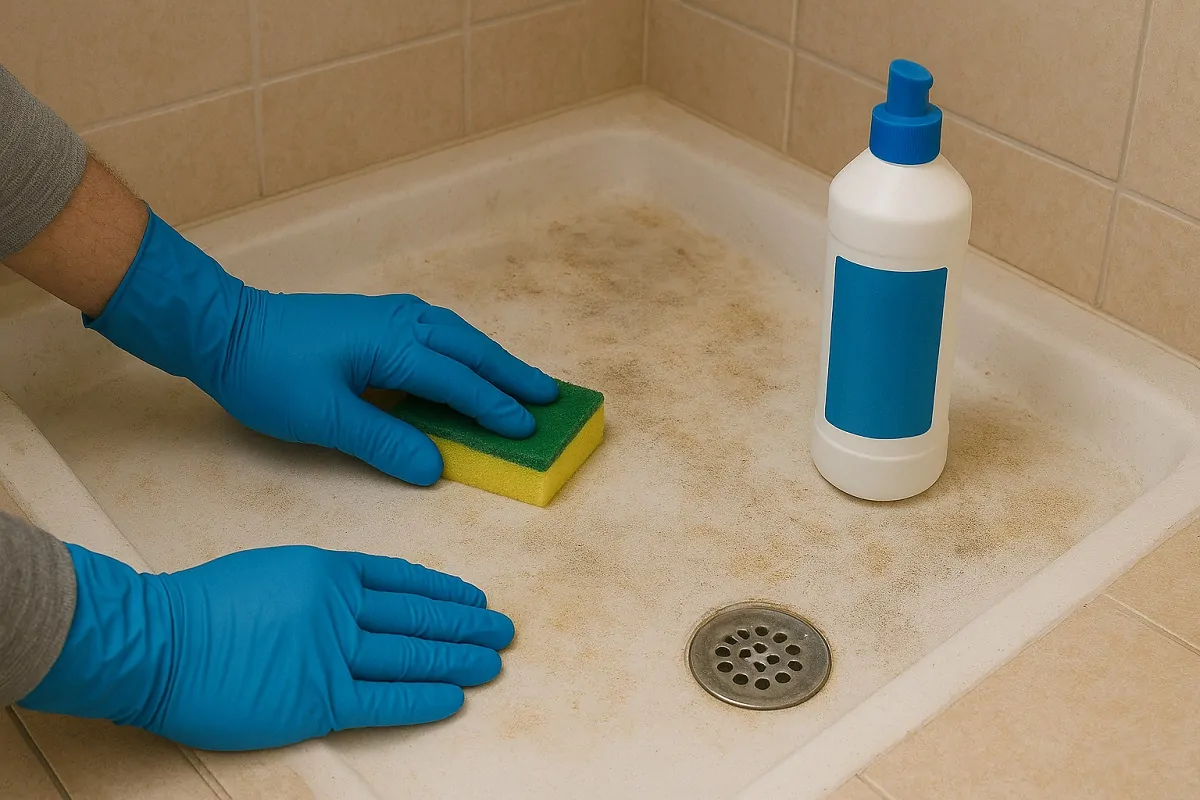
Are you wondering how to renovate your resin shower tray that has lost its shine? Know that you're not alone! This question comes up frequently among homeowners dealing with wear and tear on their bathroom fixtures.
The resin shower tray is a composite material combining polyester and mineral fillers, initially presenting a smooth, non-slip, and aesthetically pleasing surface. However, daily use, harsh cleaning products, and temperature variations can alter its appearance over the years.
Mastering this renovation technique proves to be a valuable skill that will save you from a sometimes costly replacement.
This economical and ecological solution restores the original appearance while reinforcing the sturdiness of your installation. All this for an investment that generally represents less than 20% of the price of a new shower tray!
Step 1: Diagnosis and assessment of the recipient's condition
Identification of common faults
Before any intervention, a thorough diagnosis is essential. Resin shower trays generally exhibit three main types of damage:
Micro-cracks : Often invisible to the naked eye, they become apparent when you run your hand over the surface. These hairline cracks generally result from thermal variations or improper installation.
Surface wear : Recognizable by loss of shine, scratches, or roughness to the touch. This degradation mainly results from the use of abrasive products or metal sponges.
Stains and discolorations : Caused by the accumulation of limescale, soap or cosmetic products, they create dull areas that are difficult to clean with traditional methods.
Porosity test
Pour a few drops of water onto different areas of the shower tray. If the water soaks in quickly, the surface requires complete renovation.
Slow absorption indicates that a simple refresh will suffice.
Step 2: Selecting the appropriate materials and tools
Basic materials
To properly understand the restoration of your shower tray, selecting the appropriate materials is a fundamental step.
Here are the essential elements:
| Material | Quantity per 1m² | Indicative price | Function |
|---|---|---|---|
| Epoxy repair resin | 500ml | 25-35€ | Crack filling and preparation |
| Polyurethane resin paint | 1L | 40-60€ | Finishing and protection |
| Bonding primer | 500ml | 15-25€ | Optimal adhesion |
| Abrasives (120-400 grit) | 1 kit | 10-15€ | Surface preparation |
| Cleaning solvent | 1L | 8-12€ | Degreasing |
Epoxy repair resin : Opt for formulations specifically designed for wet surfaces, with optimal adhesion to polyester resin.
Polyurethane resin paint : This two-component finish guarantees superior chemical and mechanical resistance. RAL colors allow for customization according to your preferences.
Bonding primer : Essential to ensure adhesion between the old substrate and the new products. Opt for a resin/resin compatible primer.
Recommended tools
- Random orbital sander with 120, 240 and 400 grit discs
- High-density foam brushes (50 and 100mm wide)
- 10cm Anti-Bubble Foam Roll
- Flexible plastic spatula
- Wet and dry vacuum cleaner
- Lint-free cloths
Protective equipment
Handling resins requires strict precautions: solvent-resistant nitrile gloves, airtight safety glasses, P2 respiratory mask, and mechanical ventilation of the room.
Step 3: Careful surface preparation
Degreasing cleaning
Start with a complete degreasing using an alkaline detergent, followed by a thorough rinsing.
Acetone can remove stubborn soap residue, but it is essential to ventilate the area thoroughly when using it.
Progressive sanding
Sanding is the crucial step that determines the final quality. Proceed in three passes:
Sanding is the crucial step that determines the final quality. Proceed in three passes:
- Coarse sanding (120 grit) : Eliminate major imperfections and create the necessary surface for adhesion.
- Intermediate sanding (240 grit) : Refine the surface and remove scratches from the previous sanding
- Fine sanding (400 grit) : Prepare the surface for an optimal finish
Vacuum thoroughly between each step and finish by dusting with a slightly damp cloth.
Masking of adjacent areas
Carefully protect tiles, faucets, and drains with high-adhesion masking tape. This precaution prevents spills and ensures clean finishes.
Step 4: Practical application of the renovation system
This practical phase explains the professional restoration techniques in concrete terms. Methodical application guarantees a long-lasting result.
Crack treatment
For micro-cracks, use a fluid repair resin applied with a fine brush. Larger cracks require filling with a spatula, followed by final sanding after complete hardening (minimum 24 hours).
Primary application
Apply the primer with a foam brush in a thin, even coat. Strictly adhere to the drying time indicated by the manufacturer, generally between 4 and 8 hours depending on the ambient temperature.
Application of the finishing resin
- Mixing instructions : Strictly adhere to the base/hardener ratio (generally 2:1). Mix vigorously for at least 2 minutes to ensure homogeneity.
- Application technique : Start with corners and delicate areas using a brush, then use a foam roller for flat surfaces. Maintain a consistent thickness of approximately 200 microns.
- Working time : Polyurethane resin typically allows 20 to 30 minutes for application. Plan your work accordingly and avoid interruptions.
Application fault management
Air bubbles should be treated immediately with a bubble remover or a dry brush. Runs require light sanding after hardening, followed by localized touch-ups.
Step 5: Finishing touches and commissioning
Hardening and polymerization
The polyurethane resin reaches its final hardness after 7 days at 20°C. During this period, avoid all contact with water and maintain a stable temperature.
Quality control
Check for the absence of visual defects under raking light and test adhesion by lightly scratching in an inconspicuous area.
A good renovation will show no peeling!
Gradual refilling of the water
Proceed with a gradual return to service: rinse with lukewarm water on the 3rd day, then normal use after the full week of hardening.
Maintenance and longevity of your renovated shower tray
Recommended maintenance protocol
Weekly cleaning with pH 7 neutral soap preserves the appearance and performance of your renovation.
Completely ban abrasive products, concentrated bleach or acidic descalers.
Renovation frequency
A properly executed restoration lasts between 8 and 12 years depending on the intensity of use. Signs indicating the need for further intervention include a general loss of shine or the appearance of new micro-cracks.
Economic and environmental advantages
This approach represents a substantial saving: expect to pay €50 to €80 for materials compared to €300 to €800 for a new shower tray, not including removal and related work.
The environmental impact is also reduced, avoiding the production and transport of a new element.
In short: successfully restoring your shower tray
You now know how to professionally renovate a resin shower tray . This accessible technique gives your installation a second life while developing your bathroom renovation skills
The success of your project hinges on the methodology presented: precise diagnosis, appropriate materials, meticulous preparation, and rigorous application. These steps, mastered in the correct order, guarantee a result that meets your expectations.
This refurbishment fits perfectly into a continuous improvement approach for your home, combining personal satisfaction, substantial savings, and environmental responsibility. The €50 to €80 investment saves you the €300 to €800 cost of a complete replacement.
Frequently asked questions about renovating resin shower trays
How can I tell if my shower tray can be renovated?
Perform the porosity test: pour a few drops of water onto the surface. Slow absorption indicates that repair is possible. Cracks up to 2 mm can be effectively treated.
How much does renovation cost compared to replacement?
Renovating costs €50-80 in materials compared to €300-800 for a new shower tray, not including removal and related work. The savings often reach 80%.
How long does a complete renovation take?
Allow 3 days of work spread out: preparation and first coat on day 1, second coat on day 2, finishing on day 3. Commissioning takes place after 7 days of complete hardening.
Can the color be changed during renovation?
Absolutely. Pigmented resins allow for complete customization, from classic white to contemporary shades. For significant color changes, use an opaque primer.
How to renovate a badly damaged shower tray?
Shower trays with significant cracks (> 2mm) or deformations require the intervention of a professional to assess the stability of the support before renovation.
Does the renovation withstand cleaning products?
Properly applied polyurethane resin is resistant to common detergents. Avoid ammonia-based products or abrasives, as these will compromise its longevity.
Do I need to remove the taps for renovation?
Disassembly makes the job easier but is not mandatory. Careful masking may suffice, although the finish at the joints may be less perfect.
Not convinced by the porosity test. Is it really necessary for renovating a resin shower tray? Any opinions?
Is it really necessary to test for porosity? Why not just skip this step and save time?
Testing porosity is essential to ensure quality. Don't be lazy! 🙂
Not convinced the porosity test is that essential. Has anyone ever skipped this step without any problems?
Skipping this step? That's like driving without a seatbelt! Risky! Lol
I'm skeptical. Why not just replace the shower tray instead of renovating it? It's simpler, isn't it?
Sometimes, renovation preserves authenticity, and many people prefer it that way. It's not all about simplicity!