
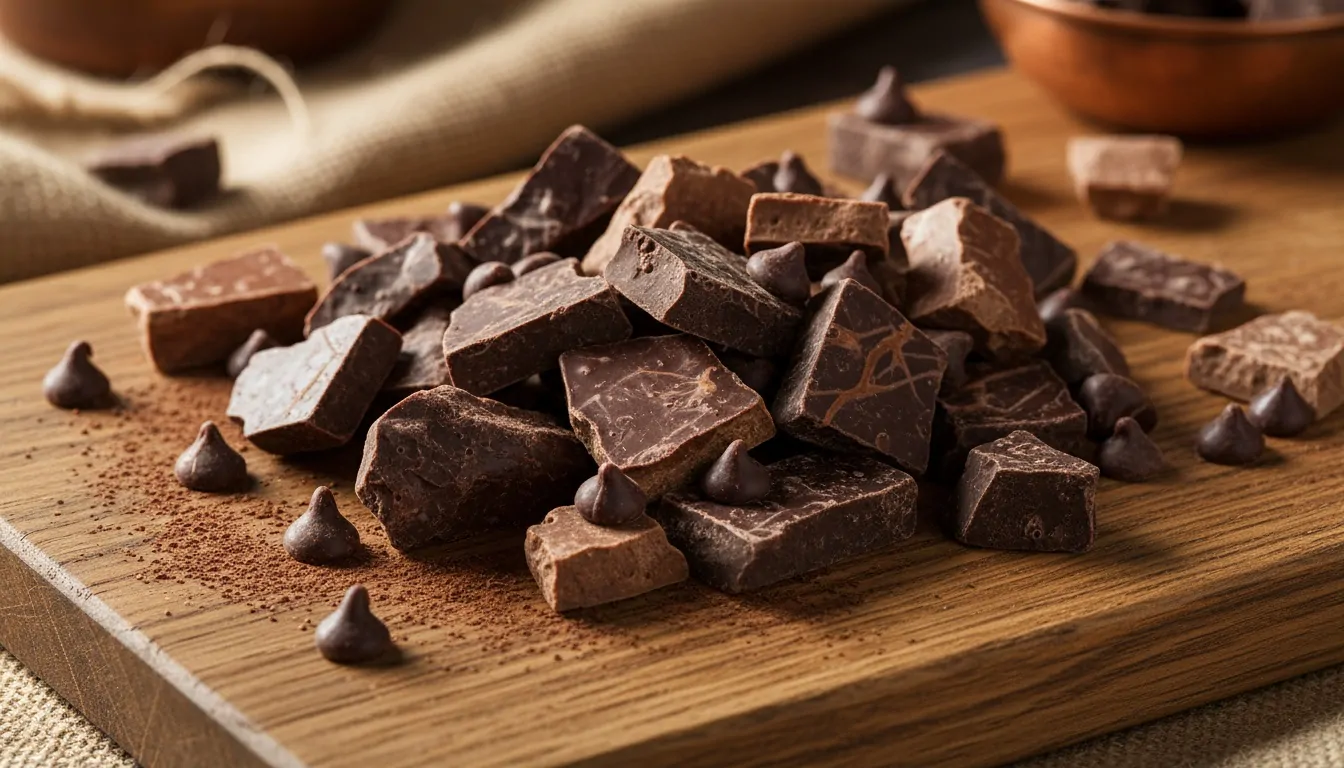
Do you love homemade chocolate chip cookies, but the price of store-bought chocolate chips puts you off? Good news! Transforming a simple chocolate bar into delicious pieces for your baking is easier than it seems.
This method will save you money while giving you complete control over the quality and size of your nuggets. Let's explore the different techniques to achieve this!
Why modify a tablet rather than buy nuggets?
The choice between buying ready-made chocolate chips or breaking a chocolate bar into homemade chips is not just a question of budget, it's also a matter of taste and texture!
Think of a tablet as a block of raw marble: you sculpt exactly what you need.
Commercially available chocolate chips often contain stabilizers to withstand cooking, which limits their melt-in-your-mouth texture and makes them more toxic or at least, chemical.
By breaking your own chocolate, you will obtain irregular pieces that will create those famous "pockets of melted chocolate" in your pastries such as on cookies or ice cream for example… Some smaller fragments will mix into the dough, while the large pieces will remain clearly visible and creamy.
Marie, 34, an amateur baker, posted on Facebook:
Since I started breaking up my own chocolate bars, my cookies have had that artisanal look with chocolate drips. My guests always ask me for my secret recipe!
The only slight drawback? You need to allow an extra 5 to 10 minutes for preparation and accept that the pieces won't be perfectly uniform. But honestly, that's precisely what makes them so charming!
For my part, when I started breaking my chocolate bars 2 years ago, I made the classic mistake of putting the chocolate in the fridge for 20 minutes so that it would be nice and hard.
The result? An explosion of unusable crumbs and a cutting board that took 10 minutes to clean. Since then, I always work at room temperature, except in the middle of summer!
The knife method: precision and control
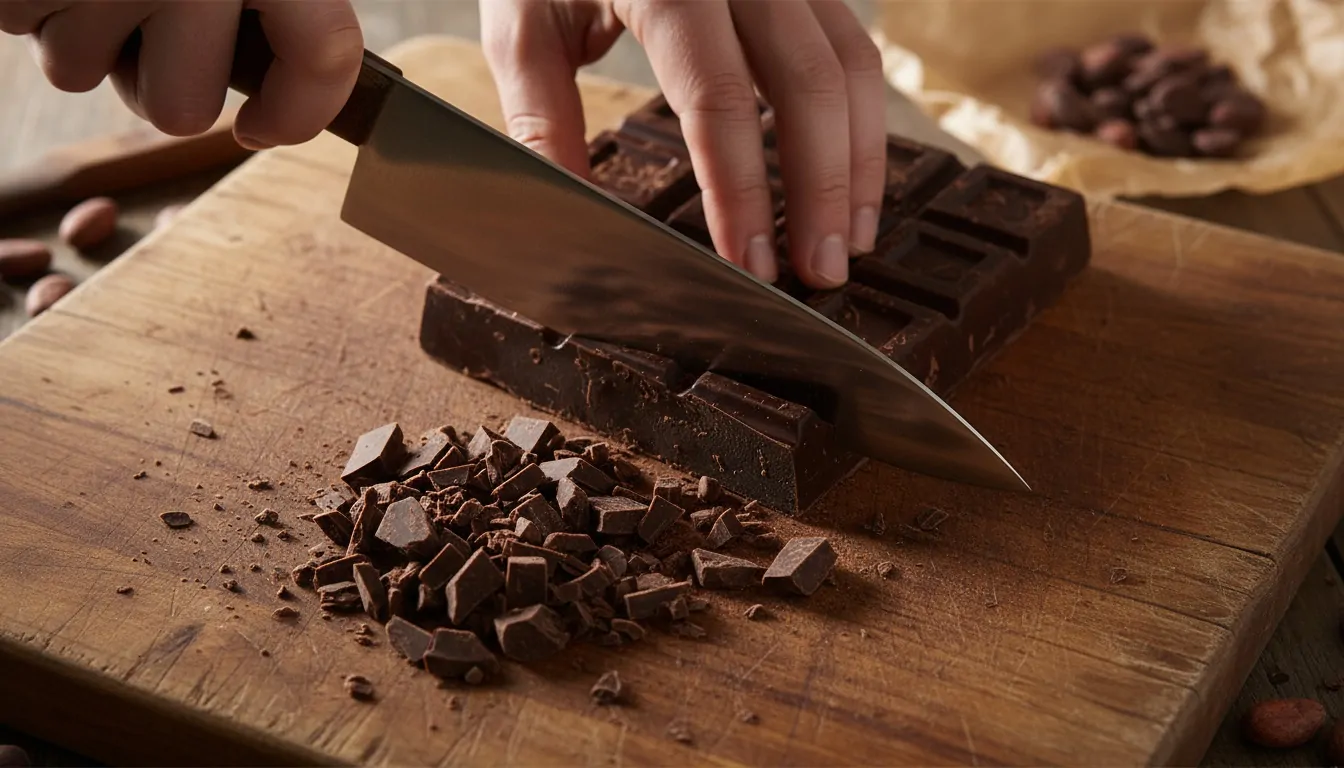
To chop chocolate for cookies with consistent results, a chef's knife remains your best friend. This method of cutting chocolate chips requires a little patience, but guarantees the best visual outcome.
The step-by-step technique
Place your chocolate bar on a stable cutting board. Use a large, sharp knife and press down firmly with a rocking motion. The trick is not to "saw" the chocolate, but rather to apply vertical pressure.
Start by cutting strips about 1 cm wide, then rotate your board 90 degrees and cut again perpendicularly. This will give you relatively regular cubes.
For smaller fragments, roughly chop these cubes while keeping one hand on the top of the blade.
One app for every size of nugget
| Size | Dimensions | Recommended use | Melting time |
|---|---|---|---|
| Mini | 3-5 mm | Frosting, brownies | 30-45 seconds |
| Standard | 8-10 mm | Cookies, muffins | 1-2 minutes |
| Large pieces | 15-20 mm | XXL cookies, bread | 3-4 minutes |
The ideal temperature
Here's a detail that few people know: the temperature of your chocolate makes all the difference. Chocolate that's too cold (straight from the refrigerator) will shatter into powdery crumbs. Chocolate that's too warm will soften under your fingers and make a mess of your knife.
The ideal temperature range is between 15 and 18°C. If your kitchen is warm, place the chocolate bar in a cool place (not the refrigerator) for 10 minutes, but never longer. The chocolate should remain firm without being brittle.
My tip after breaking about twenty chocolate bars: I wipe the blade between each set of cuts. The chocolate that accumulates makes the cuts less clean. It takes 5 seconds longer, but the result is incomparable!
The quick rolling pin solution
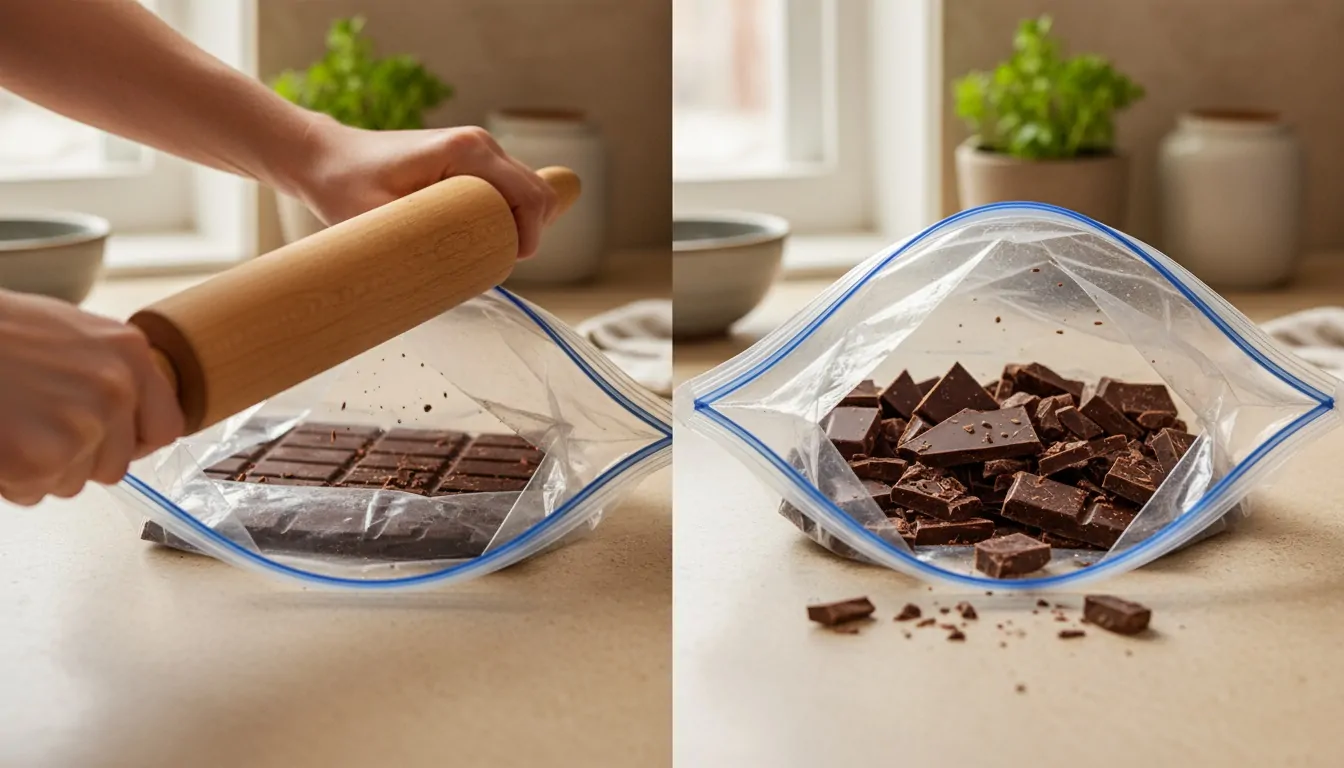
When time is short, the chocolate chip rolling pin method becomes the best backup solution. Imagine you're crushing ice cubes in a tea towel: it's the same principle, but with chocolate.
Quick start guide
Wrap your tablet in a heavy-duty freezer bag or between two sheets of parchment paper. Pound firmly with a rolling pin, as if you were tenderizing meat. A few strokes are enough to create shards of varying sizes.
This rustic approach yields less uniform results, but honestly? It's perfect for homemade-style cookies. The irregular pieces even add more character to your creations.
Lucas, a father of two, posted on Instagram:
My kids love helping me with this technique. It's fun, quick, and the result in the cookies is fantastic. However, be careful: the chocolate chips stick together easily if you don't use them right away.
The advanced method: melted chocolate with a piping bag
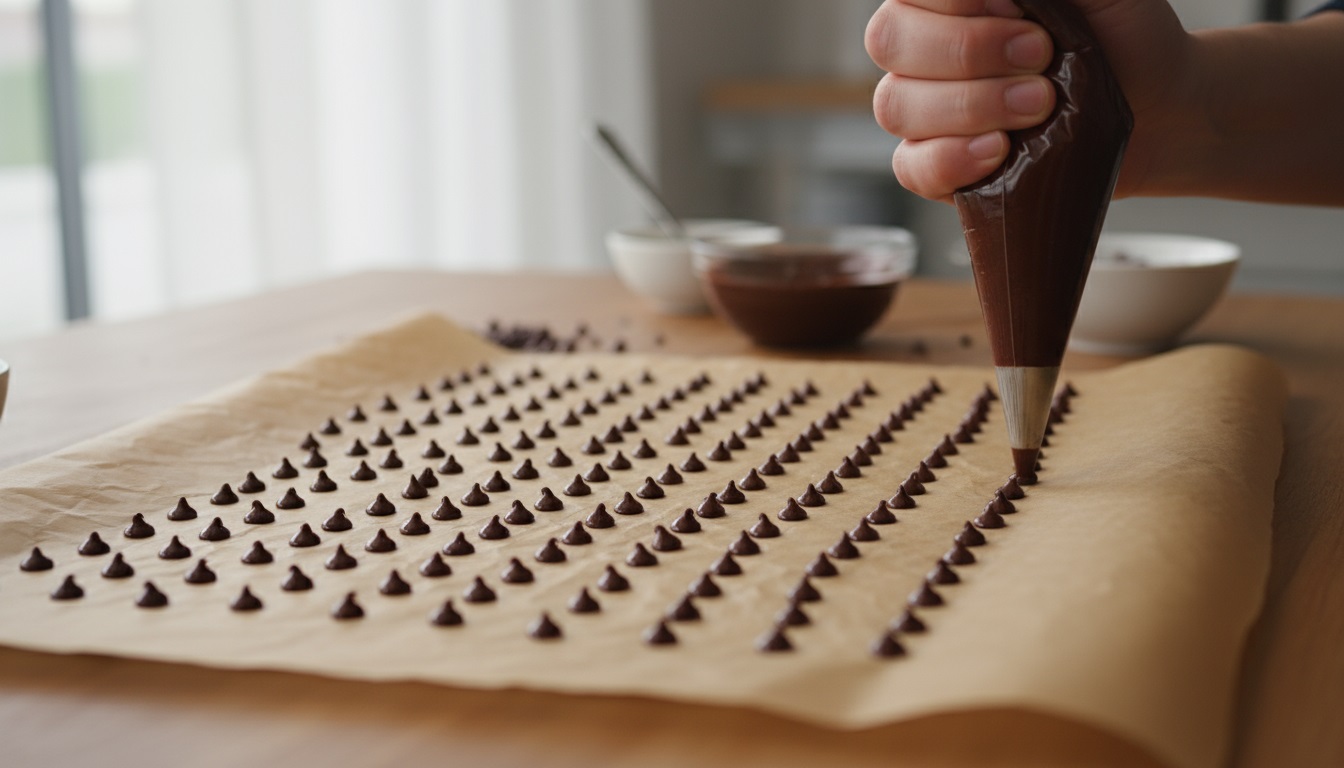
To get chocolate chips with a knife or rolling pin , like those from the supermarket, there is a pro technique: melted chocolate in a piping bag.
The creative process
Melt your chocolate bar in a double boiler or in the microwave (in 20-second intervals). Once smooth, pour the chocolate into a piping bag or a freezer bag with a corner cut off.
Pipe small drops onto a baking sheet lined with parchment paper. Let them set for 20 minutes in the refrigerator. You will obtain round, shiny , and uniform nuggets. This method takes longer, but the visual result is spectacular.
One example is Sophie, who indicated on "Marmiton" that she was preparing a birthday cake for her daughter and that she wanted white chocolate chips. She said that it was impossible for her to find any in stores on a Sunday evening.
In 30 minutes, she came up with the idea of melting a bar of white chocolate , then created her own chocolate chips, and saved her evening. Her daughter didn't notice the stress building up at the last minute!
The food processor: a time-saver for large quantities
If you are preparing a massive batch of cookies or looking to save on your chocolate chips by processing several bars at once, the food processor becomes interesting.
Some essential precautions
First, break the chocolate bar into large pieces by hand. Place them in the food processor bowl and use the pulse function in one-second bursts. The catch? Processing for too long will turn your chocolate into a fine powder, unusable for baking.
Three to five pulses are usually sufficient. Check the texture between each pulse, but it's better to stop too early than too late!
Comparison of different methods according to your needs
| Method | Time required | Regularity | Difficulty | ideal quantity |
|---|---|---|---|---|
| Knife | 5-8 min | ★★★★★ | Average | 1-3 tablets |
| Roll | 2-3 min | ★★☆☆☆ | Easy | 1-2 tablets |
| Piping bag | 30-35 min | ★★★★★ | Advanced | 1-2 tablets |
| Robot | 1-2 min | ★★★☆☆ | Easy | 3-5 tablets |
Tips for preservation and quality
The quality of your homemade chocolate chips depends as much on the preparation as on the storage. Good quality chocolate (minimum 50% cocoa) will always give better results.
Try to avoid low-quality chocolate bars that contain too much sugar and not enough cocoa butter.
The problem of the urban area
Do your freshly baked chocolate chips tend to stick together? Lightly dust them with icing sugar or cocoa powder before storing them. This thin layer acts as a barrier against sticking.
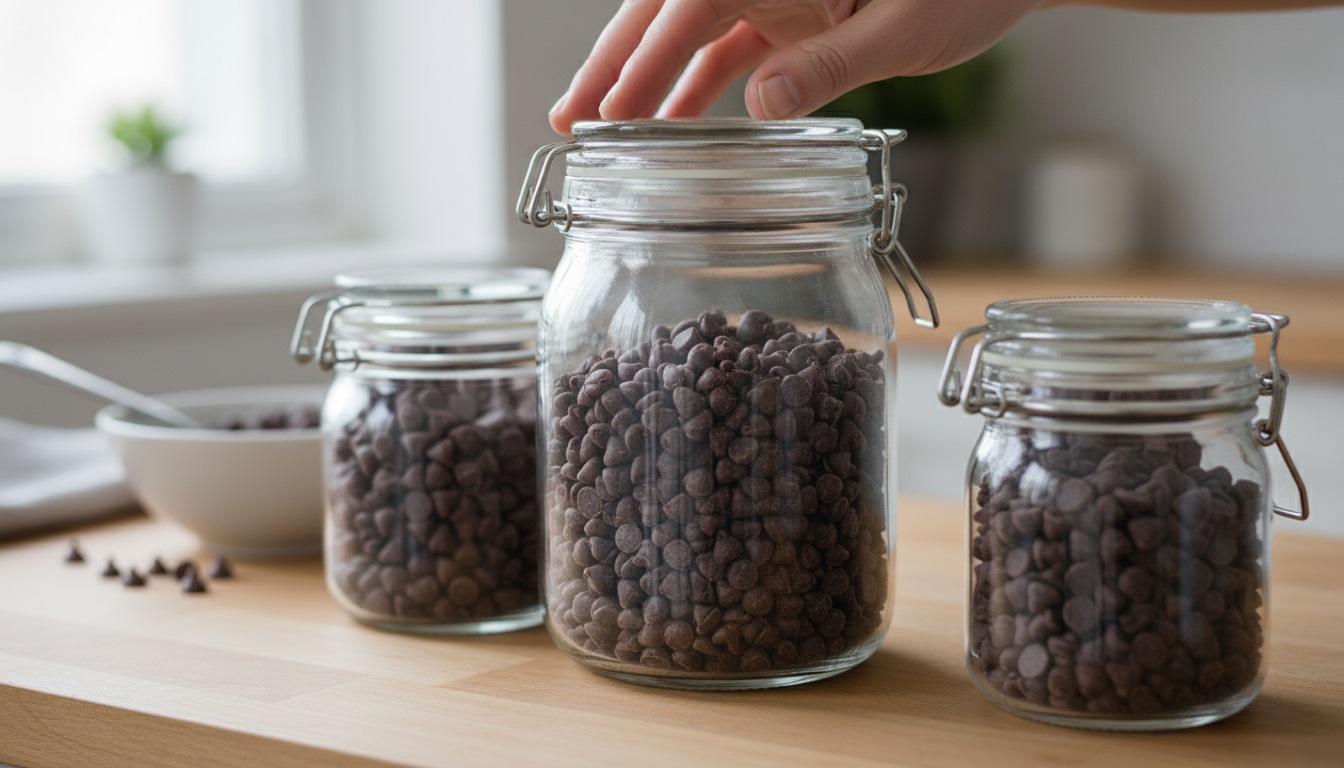
Store them in an airtight container at room temperature, away from light and moisture. They will keep easily for 2 to 3 weeks. After that, the chocolate may develop a whitish film (the "fat bloom"), which is harmless but less appealing.
In one year, I estimate I've broken about 25 chocolate bars (I bake cookies twice a month). The savings? Around €60 compared to buying bags of chocolate chips. Not to mention the superior quality of the chocolate I now use.
Practical applications in pastry making
For soft, chewy American-style cookies, use a mix of small and large chocolate chips. The small ones melt into the dough, while the large ones create delicious pockets. Use 150g of chocolate chips for every 250g of flour.
In a banana bread, incorporate medium-sized pieces obtained with a rolling pin. Their irregular shape distributes better in the dense batter and gives a visually appealing result.
To decorate cupcakes or muffins, piping hot sprinkles give a beautiful shine. Insert them into the frosting before it hardens.
Thomas was looking to save money on chocolate chips for his coffee. Every morning, he bought a mocha coffee for €4.50. By breaking a good quality chocolate bar into mini-chips, he now makes his gourmet coffee at home for €0.30 a cup. Over a month, the savings amount to more than €100!
Answers to your questions
Can any type of chocolate be used?
Yes, but choose a chocolate meant for eating rather than baking. Dark, milk, or white chocolate all work. Just avoid filled chocolates or those with inclusions that make them difficult to cut.
How long do homemade chocolate chips keep?
Store in an airtight container at room temperature (18-20°C) for 2 to 3 weeks. Icing sugar or cocoa powder will prolong the shelf life by preventing clumping.
Should you put the chocolate in the fridge before breaking it?
No, it's actually discouraged. Chocolate that's too cold becomes brittle and turns to dust. The ideal temperature is between 15 and 18°C: cool but not icy.
Do homemade chocolate chips melt differently when cooked?
Yes, they generally melt more than industrial chocolate chips that contain stabilizers. That's precisely their advantage: they give cookies that natural and authentic gooey texture.
How many tablets are needed to replace a sachet of nuggets?
A standard bag contains 200g of nuggets. A 200g bar will give you the equivalent, keeping in mind that you will lose approximately 10-15g as "powder" and crumbs depending on your technique.
In summary
Breaking a chocolate bar into chips at home is easy. Whether you choose the precision of a knife, the speed of a rolling pin, the elegance of a piping bag, or the efficiency of a food processor, each method has its advantages.
The key is to work with quality chocolate, at the right temperature, and not to fear irregular shapes which are part of the charm of homemade.
This simple technique will save you substantial money while giving you complete control over your baking creations. Your cookies, muffins, and brownies will never have tasted so good, with those generous chunks that melt perfectly in every bite.
