
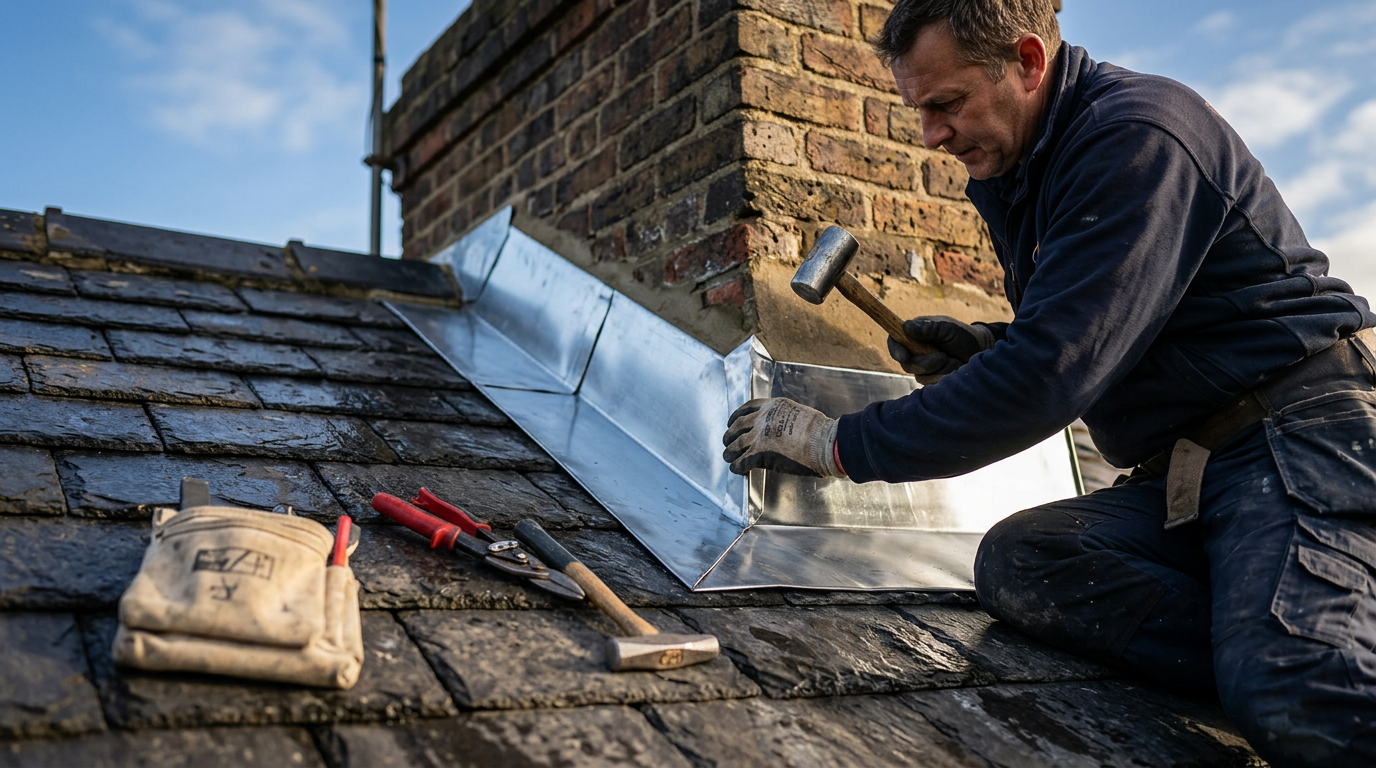
Zinc chimney flashing: its role and purpose
The junction between a chimney and a roof is one of the most vulnerable points on any roof. It's where water most easily finds its way inside.
Zinc chimney flashing is precisely the metal component that solves this problem. Before starting the installation, it's essential to understand its true purpose.
What is a chimney flashing?
A flashing — sometimes called a flashing — is a metal covering that ensures a watertight seal at the junction between the chimney stack and the roof surface.
In practical terms, it consists of a series of folded zinc strips fixed all around the base of the chimney.
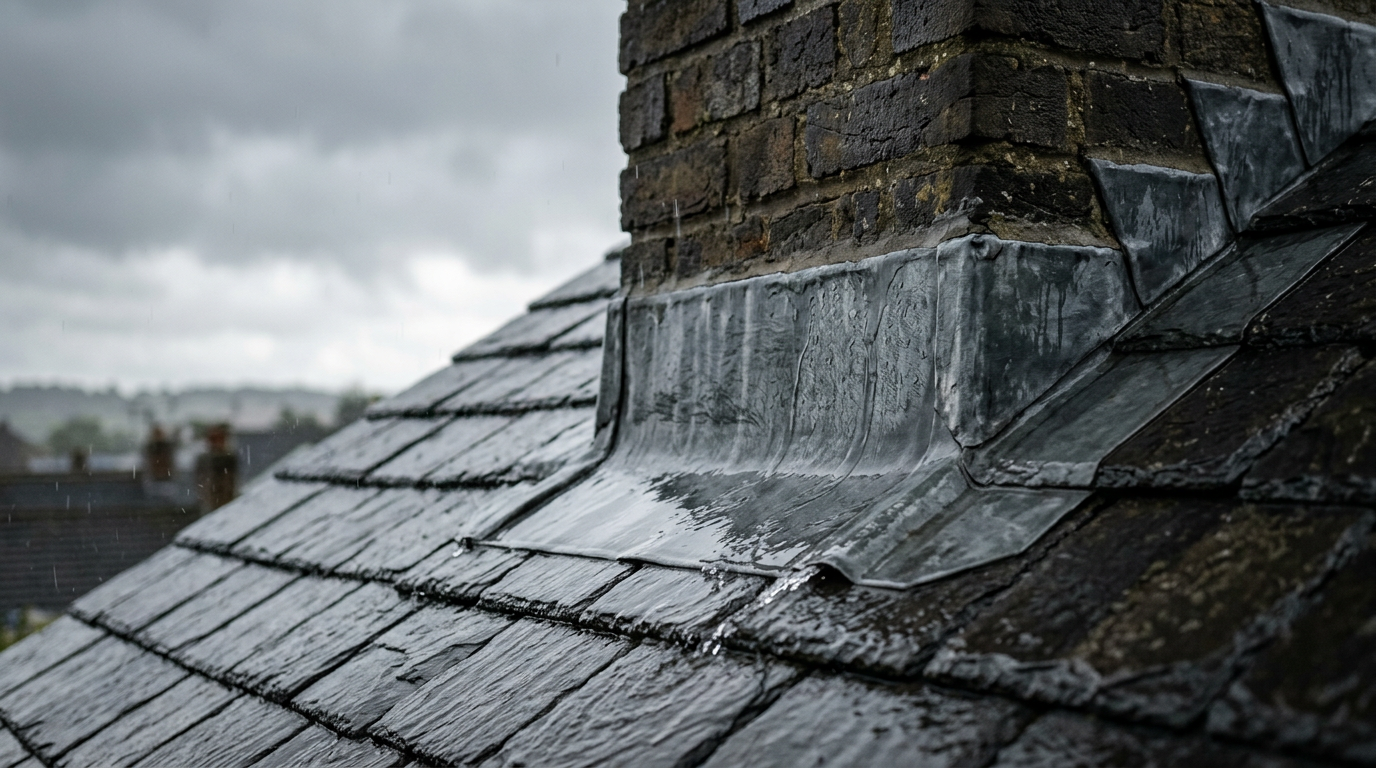
Several parts can be distinguished:
- The upstream gutter : located on the ridge side, it diverts the water that runs off towards the chimney
- Lateral uplifts : these run along both sides of the stump
- The downstream flashing : positioned on the gutter side, it drains water from under the tiles.
A well-made zinc flashing fits into the masonry joints of the chimney and integrates under the roofing. It's a precision job.
Zinc is chosen for its strength, ease of shaping and resistance to corrosion .
The risks of water infiltration without protection
Without flashing, or with defective flashing, rainwater seeps directly into the base of the chimney stack at roof level.
The consequences can be swift and costly!
Water leaks around the chimney aren't always immediately visible. Water can seep through the masonry or insulation for months before appearing on the ceiling. The longer you wait, the worse the damage will become.
Here's what a poorly protected roof risks in this area:
- Mold and humidity in the attic
- Deterioration of the timber frame (rot, fungi)
- Stains and peeling on interior ceilings
- Progressive weakening of the masonry of the stump
- Thermal insulation damaged by humidity
Damaged or missing zinc flashing is often the primary cause of water infiltration in a house with a chimney.
The good news: it's a project accessible to an organized DIYer, provided that the right techniques are followed.
The materials and tools needed to make a zinc flashing

Before going up on the roof, prepare everything below. A well-prepared worksite is half the battle.
Here's what you need to gather to make a zinc chimney flashing yourself under good conditions.
Which zinc should I choose for a flashing?
Not all zinc bars are created equal!
For chimney flashing, rolled zinc with a thickness of 0.65 mm to 0.80 mm.
Below this level, the part will be too fragile to withstand expansion and mechanical shocks.
Let's compare the different materials using this summary table:
| Type of zinc | Features | Suitable for abergement? |
|---|---|---|
| Natural zinc | Glossy, develops a patina over time | ✅ Yes |
| Pre-patinated zinc | Matte grey appearance immediately upon installation, more discreet | ✅ Yes (recommended) |
| Low-grade galvanized zinc | Less ductile, less durable | ❌ Not recommended |
Pre-weathered zinc is often preferred because it is more resistant to corrosion from the outset and integrates visually better with most roofs.
In terms of budget, expect to pay between €8 and €15 per linear meter depending on the width and quality.
The cost of a zinc chimney flashing for a standard chimney stack is generally between €80 and €200 for materials only.
Essential tools for working with zinc
Zinc is easy to work with, but you need the right tools. Here's what you'll need to have on hand for installing zinc flashing on a chimney :
- Zinc shears (straight or serrated depending on the cuts)
- Rubber mallet for bending without marking
- Roofer's square for marking and checking angles
- Graduated ruler and carpenter's pencil
- Stainless steel rivets or zinc staples for assembly
- Drill with masonry bit (for the plugs in the stump)
- Protective gloves (zinc cuts)
Do not use ordinary steel rivets to fasten zinc. Steel and zinc in contact with moisture will cause galvanic corrosion. Always use stainless steel rivets or rivets made of a compatible alloy.
Sealing and waterproofing products
Mechanical fastening alone is not sufficient. It must be supplemented with suitable products:
- Polyurethane sealant or neutral silicone : for joints between zinc and masonry. Avoid acetic silicone, which attacks certain materials.
- Jointing mortar : for filling the grooves in the chimney stack joints after the zinc has been embedded
- Bonding primer : useful if the stump is very smooth or very porous
Using poor-quality sealant is the most common mistake in DIY flashing projects. It cracks within two winters, and the whole job has to be redone.
Invest in a professional product — it's a few euros more, years of peace of mind.
Prepare the site before installing the zinc
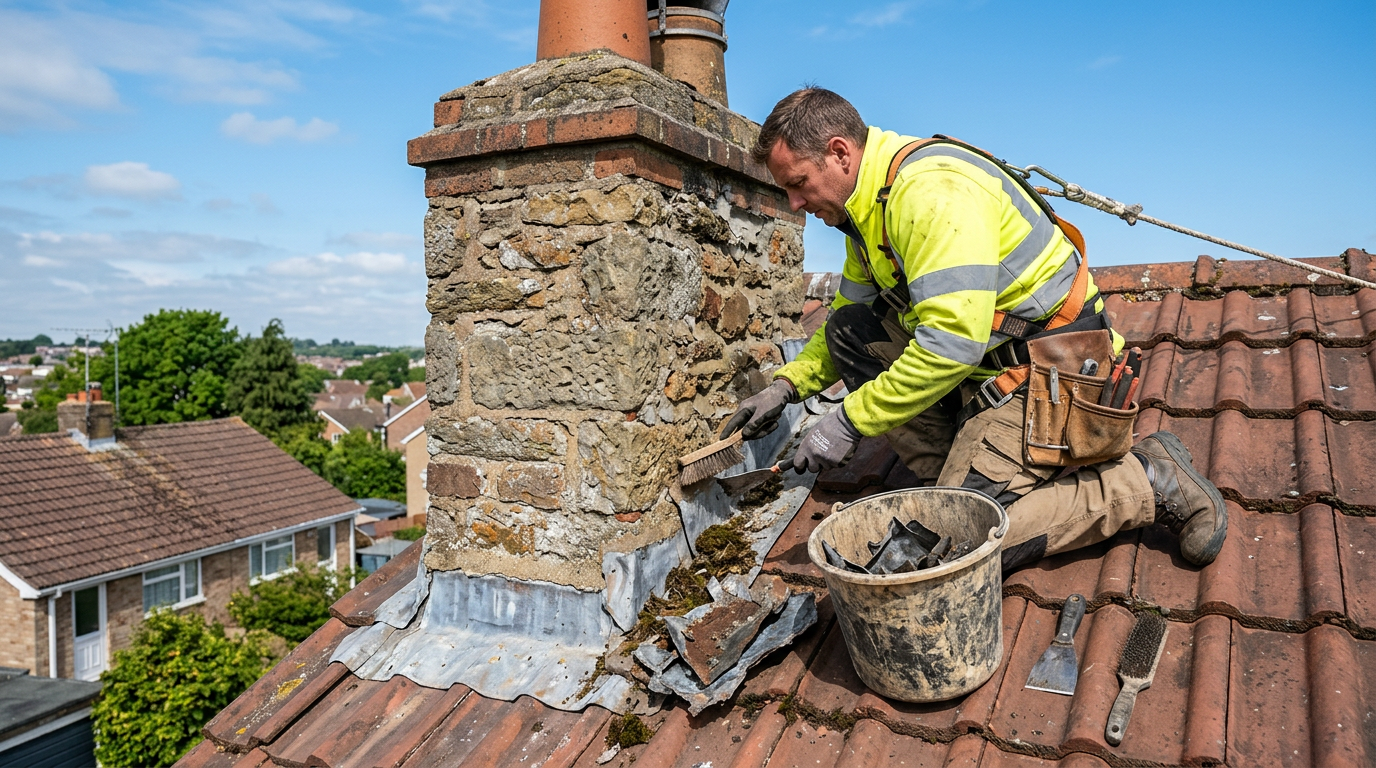
Preparation is a step that many DIYers rush through, eager to get to the real work.
However, proper site preparation is crucial to the final quality of your roof flashing. Take the time to do things right before going up on the roof.
Securing access to the roof without risk
Working at height is serious business. Every year, serious accidents occur during roofing work carried out by individuals.
Here are the minimum precautions to take:
- Use a certified ladder, properly secured and fastened at the top
- Wear shoes with non-slip soles.
- Install an anchor point and wear a safety harness if the slope exceeds 30°
- Install roof ladder hooks (roofer's ladder) to move around on the slope.
- Never work in rain, strong winds or frost.
- Work in pairs if possible: one at the bottom to secure the ladder and pass the tools
If your roof has a pitch greater than 45° or if you are not comfortable working at heights, don't take unnecessary risks. Hire a professional roofer for this part of the job. Saving money isn't worth an accident.
Organize your workspace before you go up. Prepare a bucket or toolbox that's easy to lift. Have water on hand for cleaning if needed. Block access to the area under the roof to prevent anyone from going underneath while you're working.
Inspect the area around the stump
Once safely on the roof, begin with a complete inspection before touching anything.
Look closely:
- The condition of the tiles or slates around the chimney : cracked, displaced, or missing, they must be replaced before the zinc is installed.
- The condition of the masonry of the chimney stack : cracked joints, loose bricks or stones — everything must be repaired before flashing.
- If moss or lichen is present : clean the area with a stiff brush or a water-repellent product before installation.
- The condition of theexisting flashing if you are replacing it: note how it is fixed and embedded.
Take photos of both sides of the stump before you begin. These will serve as a reference during installation and in case of a dispute with a neighbor or insurer.
Also carefully measure the base of the stump on all four sides. Note the available height for the upstands and the width to be covered.
It is on the basis of these measurements that you will cut your zinc pieces on the ground, safely.
Installing a zinc flashing step by step
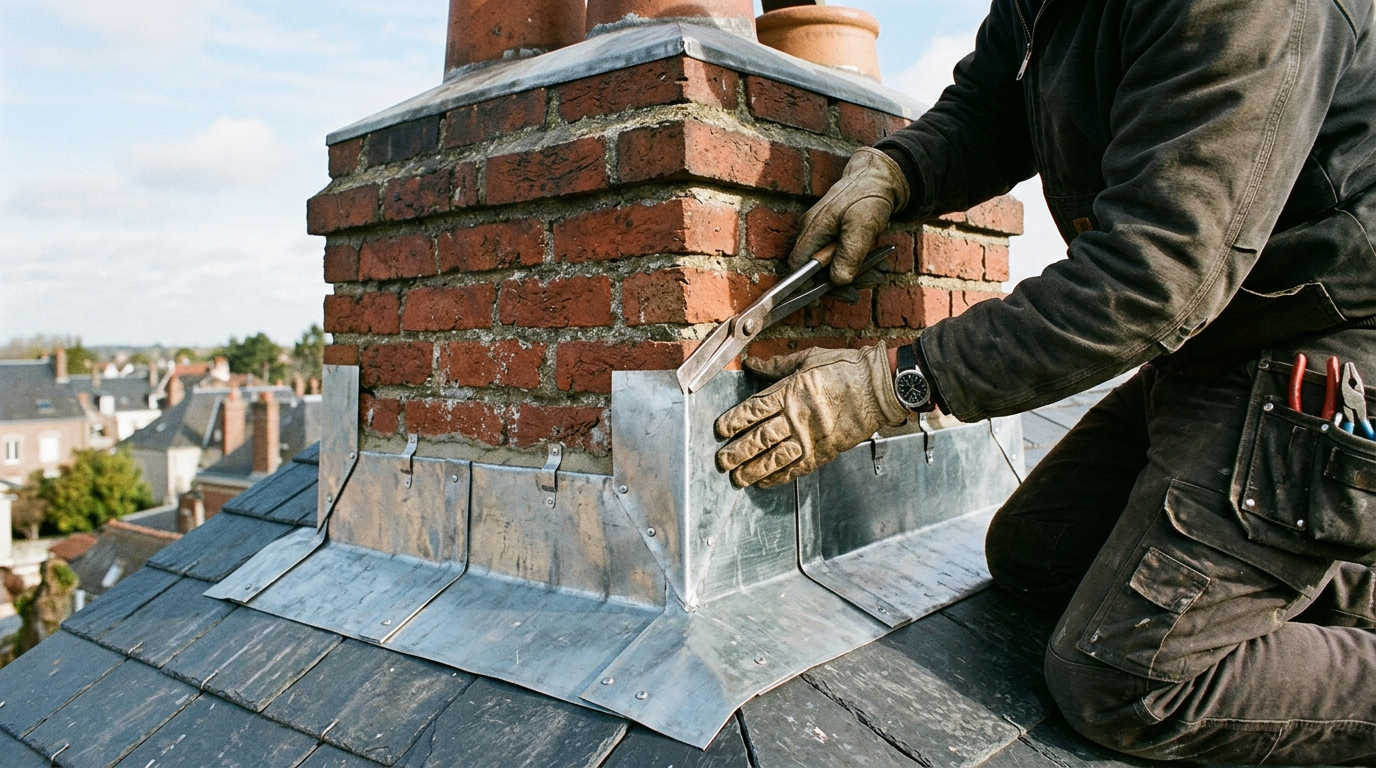
This is the heart of the project. The step-by-step zinc chimney flashing technique described here follows the logical order of installation.
Respect it: each piece conditions the next.
A roofer's golden rule: always start at the top and finish at the bottom. Water follows gravity — your zinc roofing must follow it too.
Cut and shape the zinc upstands
Start by tracing your templates on the ground on cardboard, then transfer the shapes onto the zinc with the carpenter's pencil and ruler.
For each statement, the document consists of two parts:
- The vertical part that rises against the masonry (minimum 15 cm in height)
- The horizontal part that slides under the tiles or slates (minimum 15 cm overlap)
Cut with zinc shears following your markings. The corners are cut at a 45° bevel so that the pieces join neatly at the corners.
Next, bend each piece at the desired angle using the rubber mallet on a workbench or rigid, flat surface. Check each angle with a square. A poorly made bend is a future weak point. Take your time.
Embed the zinc in the masonry joints
This is the most technical step.
The fixing of a zinc flashing in the chimney relies on embedding it in the mortar joints of the chimney stack, and not on a simple surface fixing.
- Draw a horizontal line on the stump, at the desired height (at least 15 cm above the roof plane)
- Using a chisel and hammer, cut a groove 2 to 3 cm deep into the masonry joint all around the perimeter.
- Slide the folded upper edge of the zinc into the groove
- Check that the zinc is perfectly horizontal using a spirit level
- Fill the groove with jointing mortar and smooth it neatly
Never drill through zinc to embed it in masonry. Cutting a groove in the joint is the correct method. A hole is a potential point of leakage.
Secure and seal the flashing on all four sides
Once the upstands are embedded in the masonry, they must be fixed on the roof side and sealed for a durable zinc chimney seal
Proceed as follows:
- Slide the horizontal part of the zinc under the adjacent tiles or slates (at least 15 cm)
- Secure the zinc to the battens or sheathing with zinc staples or stainless steel nails — never ordinary steel
- Apply a bead of polyurethane sealant to the junction between the zinc and the masonry, on the inside of the upstand.
- Assemble the angles between the side upstands and the upstream upstand with stainless steel rivets or by neatly folding them (the so-called "false fold" technique)
Properly installed zinc chimney flashings leave no gaps between the metal and the masonry. Check each joint carefully.
Install the downstream flap last
The downstream flashing is the piece placed on the gutter side, at the bottom of the chimney stack. It is installed last because it must go over the lateral upstands at the bottom and slide under the tiles or slates located immediately below the chimney.
Its shape is distinctive: it often features a small rise on the sides to connect with the lateral upstands, and a front lip that plunges under the tiles by at least 15 cm.
This part plays a major role: it collects and redirects the water that runs off the side upstands towards the roof.
Secure it with staples or stainless steel nails, apply a thin bead of sealant to the joints with the side upstands.
Do not fill everything with sealant: leave the joints slightly open to allow for the thermal expansion of the zinc without the pieces deforming.
Technical points not to be missed
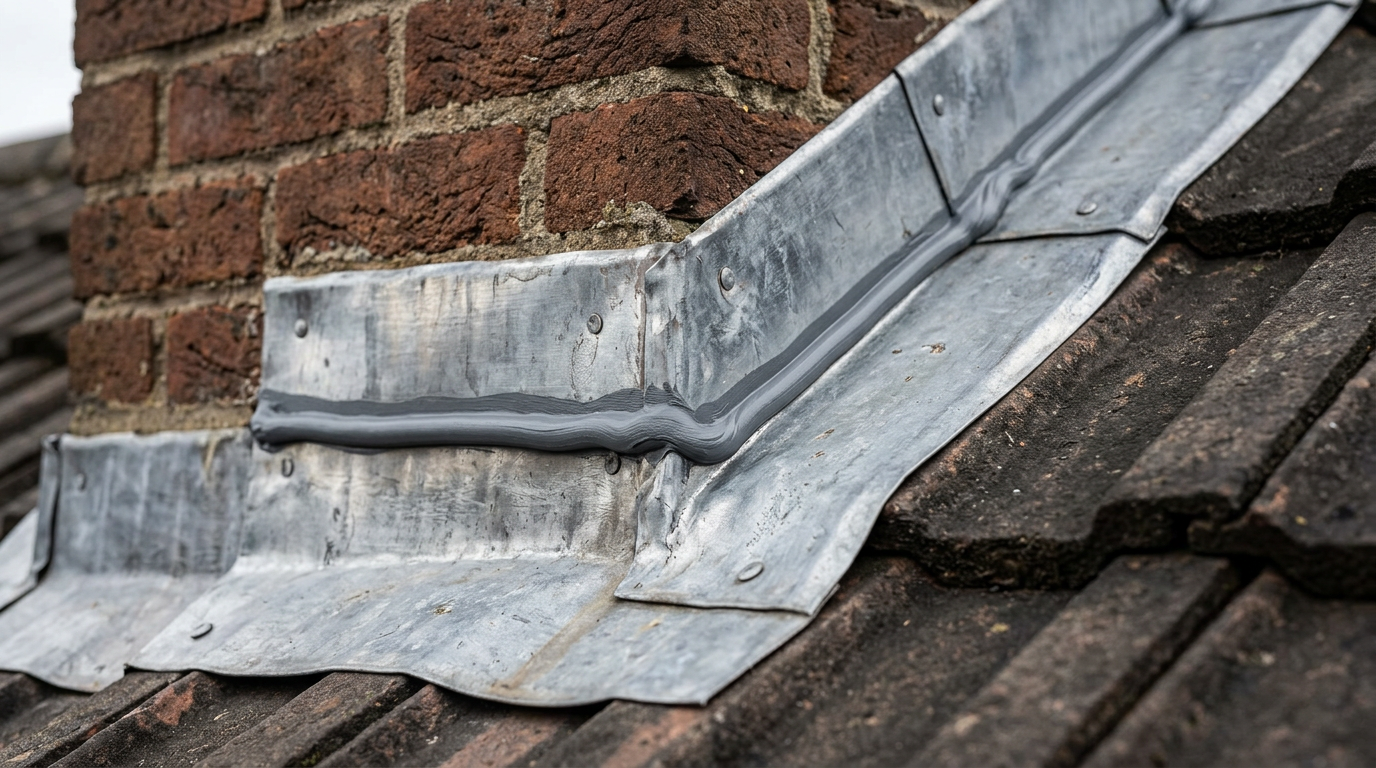
These details often make the difference between a roof that lasts twenty years and one that leaks in the first winter.
If you are making a zinc chimney flashing as a DIY project, pay particular attention to these three points.
Respect the minimum overlap of 15 cm
This is a non-negotiable rule.
The minimum overlap for zinc flashing is 15 centimeters, both vertically above the masonry and horizontally below the roof covering. Below this, water can rise by capillary action or due to wind and seep into the roof.
On roofs with a shallow pitch or exposed to prevailing winds, increase this overlap to 20 cm for added safety. It's a little more zinc, but much more protection!
Managing the thermal expansion of zinc
Zinc expands and contracts with temperature. On a wood-burning stove with a chimney exposed to the sun, the expansion can exceed 3 to 4 mm over a length of 50 cm.
If you fix the zinc too rigidly along its entire length, it will deform or come loose.
- Leave a 1 to 2 mm gap at the joints between pieces
- Do not screw the zinc along its entire length: use staples spaced a maximum of 30 cm apart , which allow for slight sliding.
- Never apply sealant along the entire length of a piece: a few dots are enough
Zinc should never come into direct contact with copper (gutters, dowels) or lead. These combinations cause galvanic corrosion , which accelerates the metal's degradation.
Adapt the installation according to the type of roofing
The installation of zinc flashing varies depending on the roof pitch and the roofing material:
| Cover type | Specifics for the abergement |
|---|---|
| Canal tiles (low slope) | Overlap to be at least 20 cm, zinc slid under the channels |
| Slates | Precise cutting is necessary to slide under the slates without breaking them |
| Steel tray | Check the galvanic compatibility between the tray and the zinc before assembly |
| Mechanical tiles | Standard installation, zinc to be slid under the first row of tiles |
Maintenance and lifespan of a zinc flashing
Once the flashing is in place, it doesn't require much attention. That's one of the advantages of zinc.
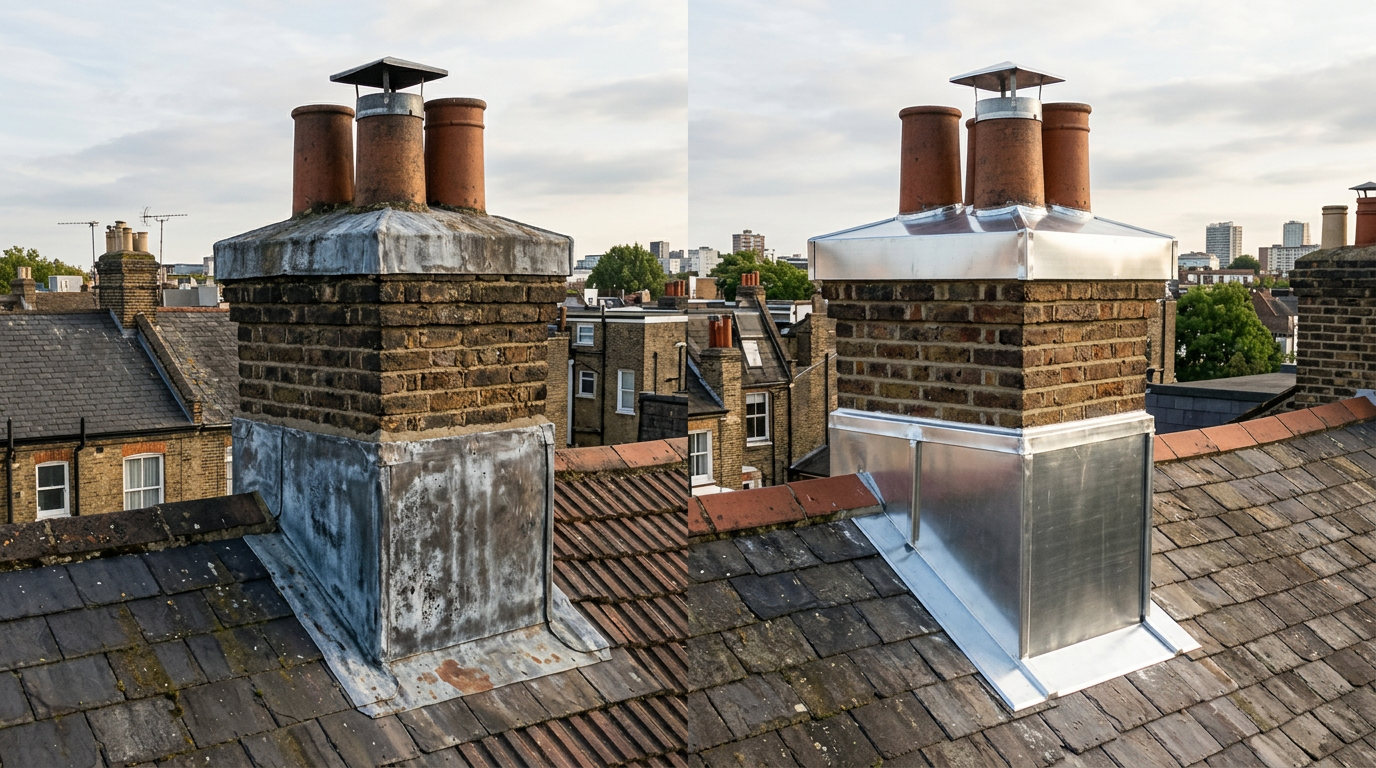
But "low maintenance" does not mean "zero maintenance." A few regular checks are enough to guarantee the longevity of your installation.
- Lifespan of 40 to 60 years
- Easily shaped when cold
- Natural resistance to corrosion
- Minimal maintenance once installed
- Good value for money compared to lead or stainless steel
- 100% recyclable
- Susceptible to galvanic corrosion (copper/lead contact should be avoided)
- It expands significantly with heat
- Requires specific tools for cutting and shaping
- Less aesthetically pleasing than lead on some old roofs
- A technical installation that requires precision
How often should you inspect your abergement?
A visual inspection once a year is sufficient in most cases. The best time: in the autumn, before the winter rains.
You can also make one after a major storm or hailstorm.
During each inspection, check:
- The absence of detachment or lifting of the zinc strips
- The condition of the sealant joints : no cracks, no shrinkage
- The condition of the jointing mortar in the grooves
- The possible presence of white marks or rust on the zinc surface (a sign of advanced wear)
- Corners and joints between rooms: these are the natural weak points
If you notice any signs of detachment or cracking in a sealant joint, act quickly. Replacing a sealant joint within a year prevents leaks for several more years!
How long does a zinc flashing last?
A well-installed zinc chimney flashing , made with quality materials, has a lifespan of between 40 and 60 years.
This is one of the best results among all the materials that can be used for this purpose.
By comparison, lead flashing can last even longer, but lead is increasingly difficult to find, heavier to work with, and its use is regulated for environmental reasons.
Zinc remains the best compromise for an experienced DIY enthusiast.
Actual lifespan depends on several factors:
- The quality of the zinc chosen (pre-patinated > low-end galvanized)
- The quality of the installation, particularly the embedding in the masonry
- Exposureto sun and wind (a south-facing roof will age faster)
- The regularity of inspections and the speed of minor repairs
In summary: choose a quality zinc, install it carefully, check it every autumn.
Your accommodation will thank you by lasting for decades without causing you any trouble.
Practical questions
What is the difference between a chimney flashing and a chimney soffit?
Both terms refer to the same element: the metal flashing that ensures a watertight seal at the junction between the chimney stack and the roof. "Abergement" is the term used in professional roofing standards, while "solin" is more common in everyday language and among masons. In both cases, we are referring to the same sealing device at the base of the chimney stack.
Is it possible to install a zinc flashing without removing the tiles around the chimney?
In some cases, yes. If the adjacent tiles are in good condition and properly laid, it's possible to slide the horizontal sections of the zinc underneath without removing them completely. However, you must carefully lift the tiles in question to insert the zinc at least 15 cm. If the tiles are brittle (old slates, fragile clay tiles), it's best to remove them carefully to avoid breakage.
What is the difference between zinc flashing and lead flashing?
Lead is more flexible and easier to shape by hand, making it practical for complex forms. It lasts longer (sometimes over 80 years). However, it is heavier, more expensive, and its use is now regulated for environmental reasons. Zinc is more readily available, lighter, and perfectly suited for DIY installation with the right tools. Its lifespan of 40 to 60 years is more than sufficient for most situations.
How do I know if my existing accommodation needs to be replaced?
Several signs indicate that a flashing is nearing the end of its lifespan: visible detachment, zinc that is perforated or heavily corroded in places, completely cracked or missing sealant joints, signs of dampness inside the chimney, or crumbling mortar. If you notice several of these signs simultaneously, complete replacement is preferable to partial repair.
How much does it cost to have a professional install a zinc chimney flashing?
For a standard-sized chimney stack, a roofer will generally charge between €300 and €600 all-inclusive (materials and labor). The price varies depending on the complexity of the roof, the height and shape of the stack, and the region. Installing the flashing yourself can therefore save a significant portion of this amount, provided you are comfortable working at heights and have the right tools.