
In short
🧵 Hand-held hem calculator
Calculate the length of thread needed, the number of stitches, and the estimated time to sew your hem.
Materials needed to make a hem by hand
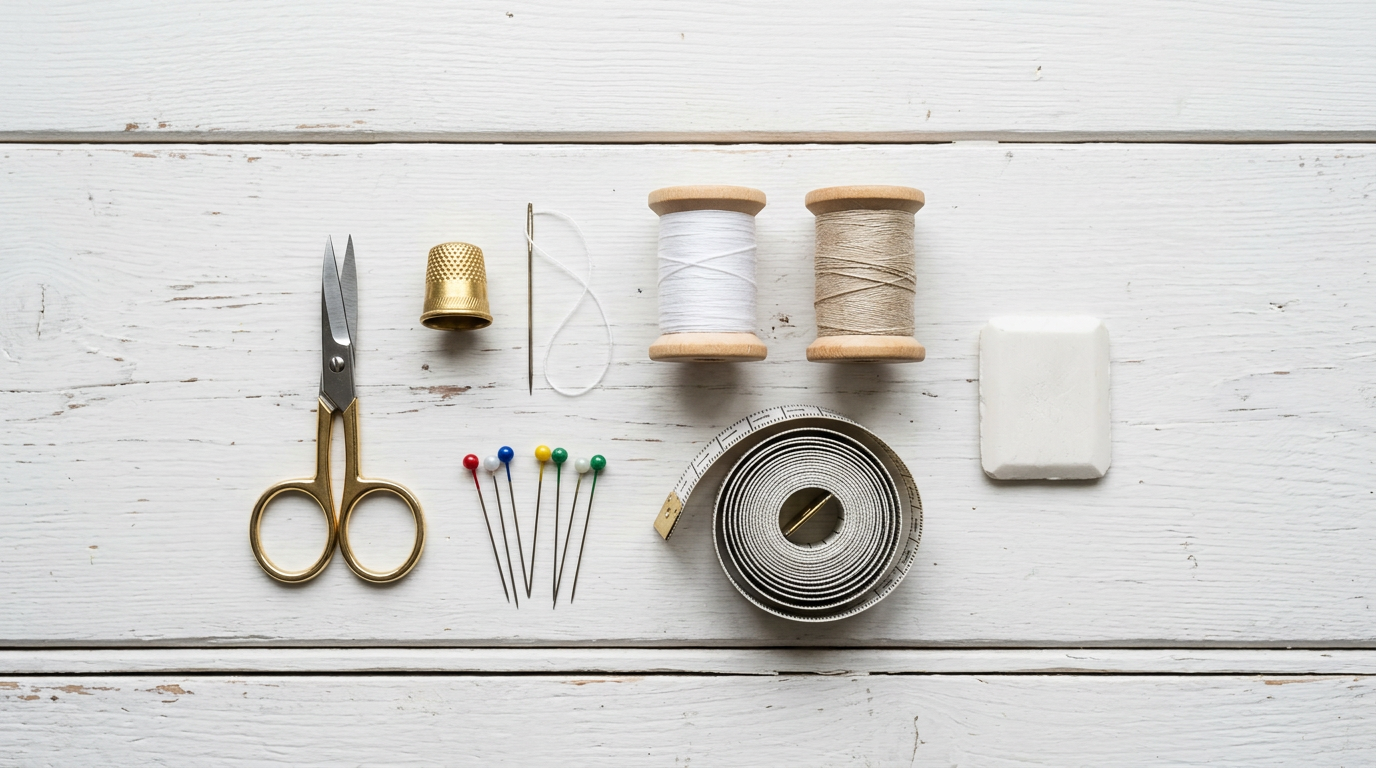
Knowing how to adjust your clothes is a valuable skill: even in haute couture, hand hemming remains preferred on dress pieces, because it leaves no visible stitching marks on the right side, unlike a machine hem, even when properly adjusted.
Good news: hemming without a sewing machine does not require a professional sewing kit.
A few basic items, which can be found in any haberdashery or supermarket, are more than enough. The key is to choose the right tools from the start!
A bad thread or an unsuitable needle, and the work becomes twice as long, with a result that is often less neat.
Which needle and thread should I choose?
For the needle and thread for a hand hem, the choice depends mainly on the fabric to be sewn.
As a general rule, a classic sewing needle of size 7 or 8 is recommended , neither too big (it would leave visible holes), nor too thin (it breaks more easily).
For thick fabrics like denim, we go up to a size 5 or 6.
When it comes to thread, the golden rule is simple: choose a thread that matches the color of the fabric. A slightly darker thread will be less visible than one that's too light. Opt for polyester or cotton thread depending on the fabric.
Polyester thread is more durable and suitable for most everyday clothing. Cut a length of thread approximately 50 cm long: too short, and you'll have to re-tie it often; too long, and it will tangle.
A helpful tip for choosing the right size: on a pack of needles, the numbering works in reverse to what you might think; the higher the number, the finer the needle. A size 10 needle is therefore finer than a size 5.
Other essential tools
Beyond the needle and thread, here's what you'll need:
- A flexible measuring tape : to measure the exact length of the hem to be added, especially on trousers or a dress.
- Straight pins : these hold the pleat in place while sewing. Use one pin every 5 to 8 cm for proper support.
- Fabric scissors : a sharp model, designed exclusively for fabric, cuts cleanly without distorting the edge. Never use paper scissors, which dull more quickly and damage the cut.
- An iron : ironing the fold before sewing is perhaps the most underestimated step. It marks the fabric and ensures a regular line.
- A tailor's chalk or a water-soluble pen : to mark the hem level on the fabric without leaving a permanent mark.
Before you begin, gather all the materials on a well-lit surface. Working with good light prevents finger pricks and crooked stitches.
How to prepare your hem before sewing?
Preparation is half the battle. A poorly prepared hem will result in an uneven finish, even if the stitching is perfectly executed.
Take an extra five minutes at this stage, and you're sure to gain ten by the end!
Measure and mark the correct length
Put on the garment (or have the person concerned try it on), then position yourself in front of a full-length mirror.
Using a tape measure, measure the distance between the bottom of the current fabric and the desired level. Mark all around with tailor's chalk, inserting pins as you go.
To hem trousers by hand, check that both legs are the same length before cutting anything. Always add 2 to 3 cm for the fold before cutting.
Pin and press the fold for a neat result
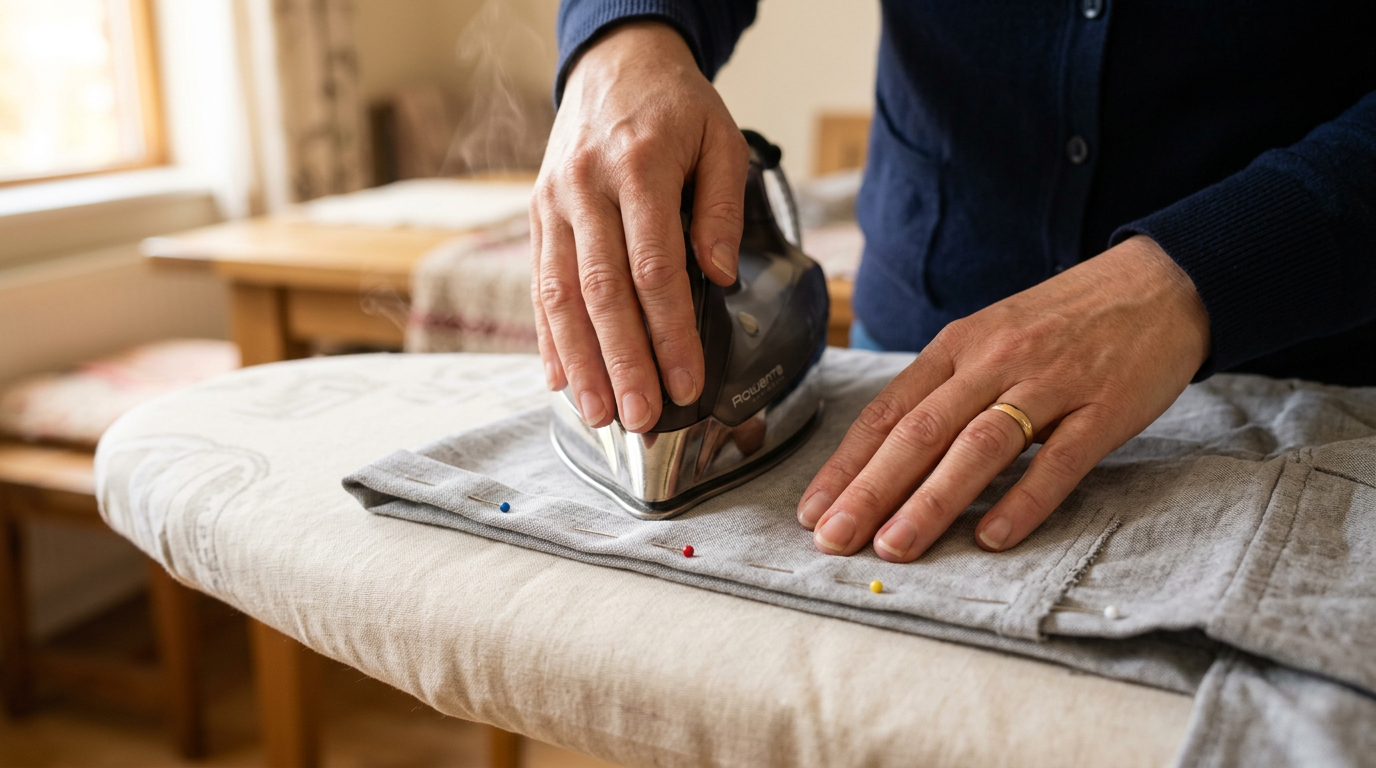
Once the line is marked, fold the fabric towards the inside of the garment to the desired height. Place your pins perpendicular to the fold, every 5 to 8 cm.
Next, pass the iron over this folded crease, maintaining moderate pressure: the fabric will "memorize" the position.
This step really changes the final result : without ironing, the fabric slips under the needle and the hem goes on the bias.
Mistakes to avoid before starting
Never cut the fabric before pinning and trying the garment on a second time. What looks good lying flat may not always lie flat on the body.
- Do not pull on the fabric when pinning, as this distorts the fold.
- Don't skip the ironing step, even if you're in a hurry.
- Do not leave too short a margin: less than 1.5 cm, the fabric may fray.
- Avoid marking with an ordinary ballpoint pen, as the stain may reappear in the wash.
Stitches for hand-sewing a hem
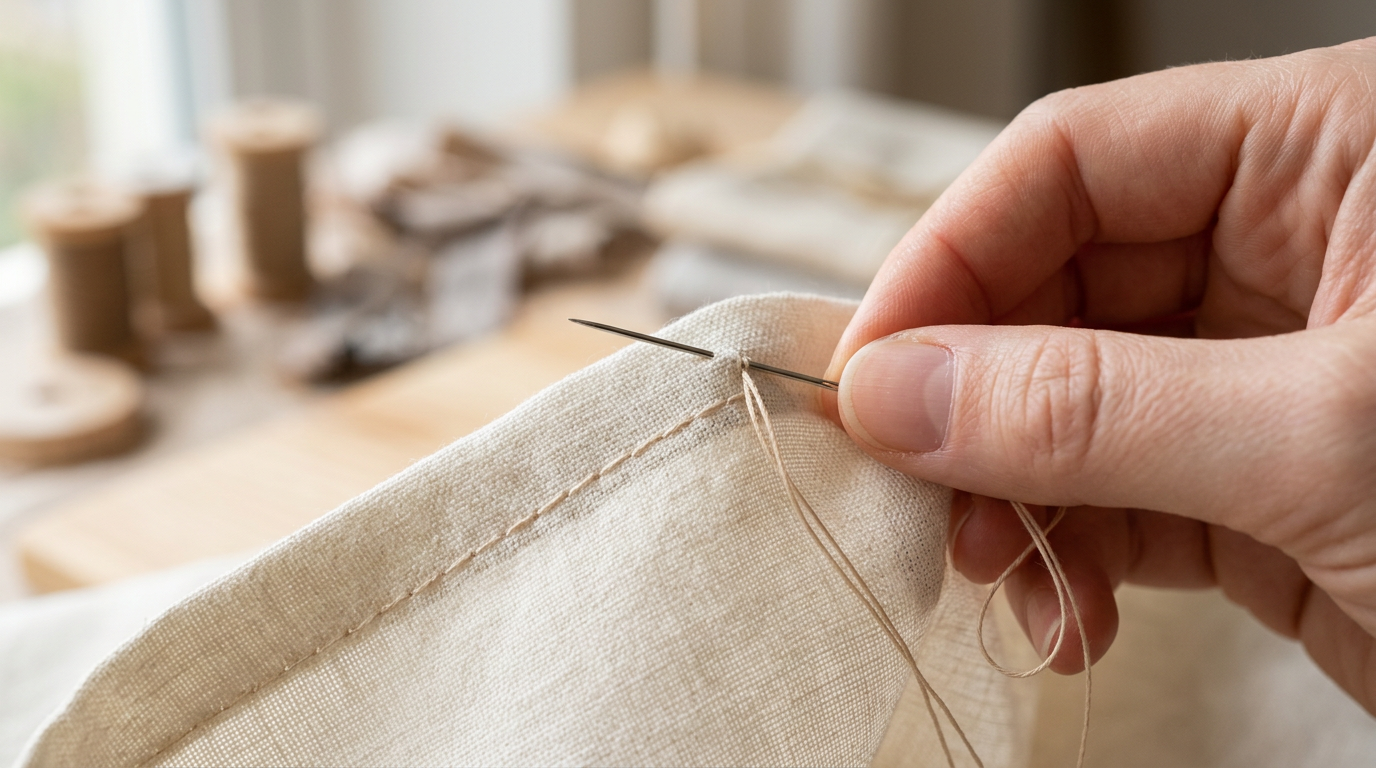
There are several ways to sew a hem by hand. The choice of stitch depends on the desired result (visible or invisible), the fabric, and the required strength.
Here are the three most useful techniques for a beginner.
The slip stitch for an invisible hem
The hand-stitched hem is the go-to technique for a discreet finish. It's particularly well-suited to dresses, skirts, and dress trousers.
The idea is simple: the needle does not pass entirely through the visible fabric, it just catches one or two threads on the surface, so that the stitches are practically invisible on the garment.
Here's how to do it:
- Fold the hem towards the inside of the garment.
- Insert the needle into the thickness of the folded pleat, then catch just one thread of the main fabric on the right side.
- Advance 5 to 8 mm and repeat.
- The tension of the thread should remain light, because a thread that is too tight will wrinkle the surface of the fabric.
The slip stitch is the great secret of dressmakers for an invisible hem on a dress or skirt. From the front, you can't see anything. Up close, it's magic.
The front stitch for a sturdy hem
The front stitch, also called the basting stitch when used provisionally, is the easiest to learn.
The needle passes alternately over and under the fabric in a straight line, like a dotted dash.
It's not the most discreet, but it's the most robust and the fastest to execute.
It is perfectly suited for:
- Trousers made of thick fabric where discretion is less important.
- Clothing worn indoors or not visible (linings, work clothes).
- Beginners learning to maintain a regular pace.
Space the stitches 4 to 6 mm apart. Maintain consistent tension to avoid puckering. This stitch is a good answer to the question " which stitch to use for a hem " when durability is the priority.
The overlock stitch to finish the edges
The hand overlock stitch is not used to secure the hem itself, but to prevent the raw edge of the fabric from fraying. It is done on the cut edge, before or after folding the fabric.
The needle passes diagonally over the edge, forming a series of small, regular loops.
This is particularly useful on:
- Fabrics that fray easily (woven cotton, linen).
- Hems where you don't have an overlock machine.
Combine the overlock stitch on the edge, then a slip stitch to secure the hem: you get a clean and durable result, even on delicate fabrics.
| Point | Rendering | Ideal for | Difficulty |
|---|---|---|---|
| Slip stitch | Invisible | Dress, skirt, dress pants | Average |
| Point in front | Visible | Thick trousers, for everyday use | Easy |
| Overlock stitch | Secure edge | Raw edge finish | Easy |
A step-by-step tutorial for sewing your hem
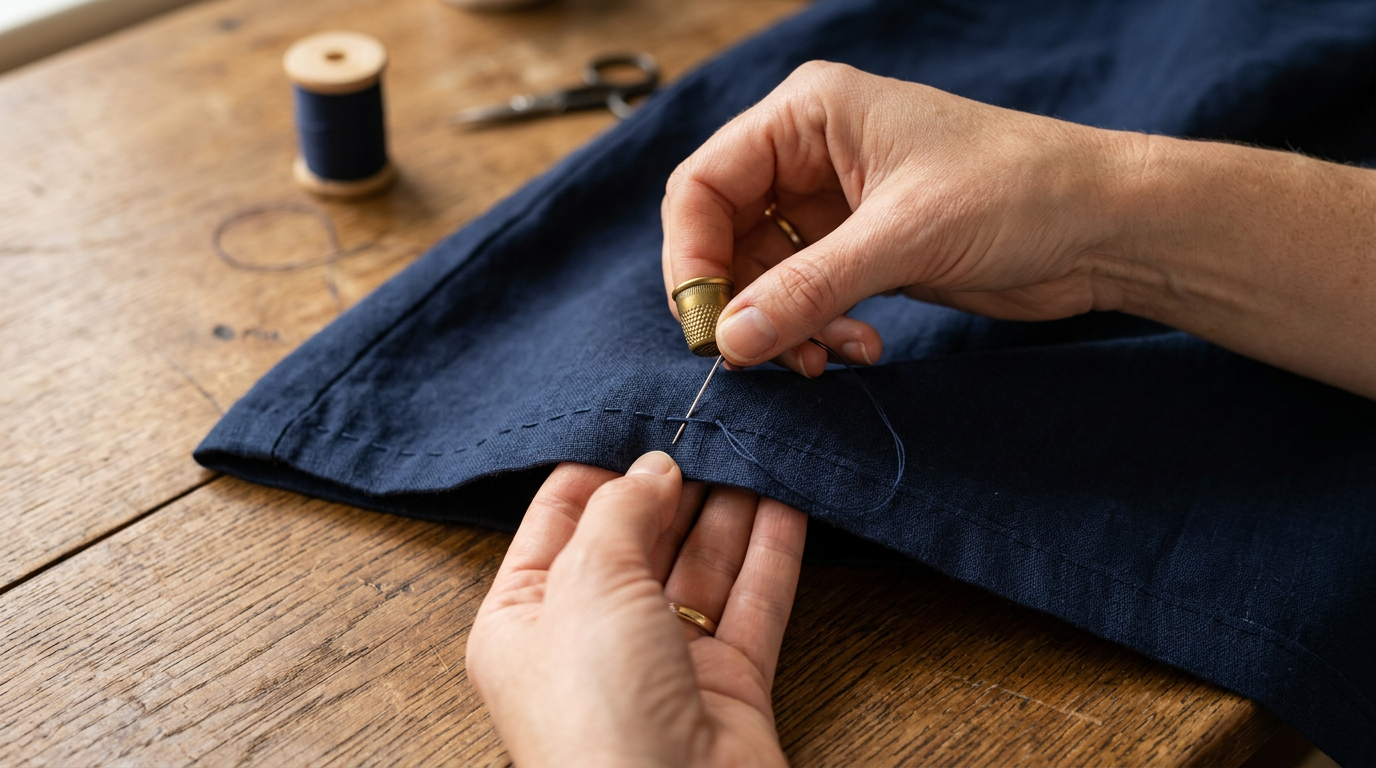
You've prepared your garment, chosen your stitch. It's time to get started.
Here's how to sew a hem by hand from start to finish, step by step.
Thread the needle and tie a secure knot
Cut a piece of wire approximately 45 to 50 cm long.
Thread the needle, and pull about a third of it through on one side. Do not double the thread unless the fabric is very thick: a single thread is sufficient and glides more easily.
To tie the knot, wrap the thread twice around your index finger, slide the loop between your thumb and index finger, and pull gently.
The knot should be firm but not huge : too big, it risks going through the fabric or making a visible bump.
Test it by gently pulling on the thread.
How to make steady progress on the fabric?
Begin by inserting the needle from the inside of the garment to hide the knot within the fabric. Then proceed with your chosen stitch, maintaining a consistent spacing between each stitch.
Consistency is more important than speed.
Place the garment on a flat surface rather than holding it in the air, to maintain more control over the movement.
Every 10 to 15 cm, check on the right side that the stitches remain discreet. If you can see the thread too clearly, loosen the tension slightly.
Finish the thread neatly without any visible knots
When you are nearing the end or the thread becomes too short, you need to secure the work.
Do not make a large knot on the outside. Instead, pass the needle twice through the last stitch, leaving a small loop, then slide the needle through this loop before pulling.
Repeat the operation a second time to secure.
Next, slip the thread under a few existing points for two centimeters and cut close to the edge: the thread disappears into the hem without leaving a trace.
Check and iron the finished hem
Once the sewing is finished, remove the remaining pins. Turn the garment right side out and lay it flat. Check if the hem is even: if there is a slight ripple, ironing will often correct this.
Iron the inside edge of the hem with a damp cloth if the fabric is delicate.
Test the strength by gently pulling on the hem in several places.
If a stitch comes loose, repair it immediately before wearing the garment.
- No machine required
- Invisible result possible with the slip stitch
- Achievable technique from the first try
- Easily repairable and adjustable
- Suitable for almost all types of clothing
- Slower than a sewing machine
- Requires regularity and concentration
- Less durable in high-stress areas
- The result depends heavily on the preparation
Adapt the technique according to the fabric
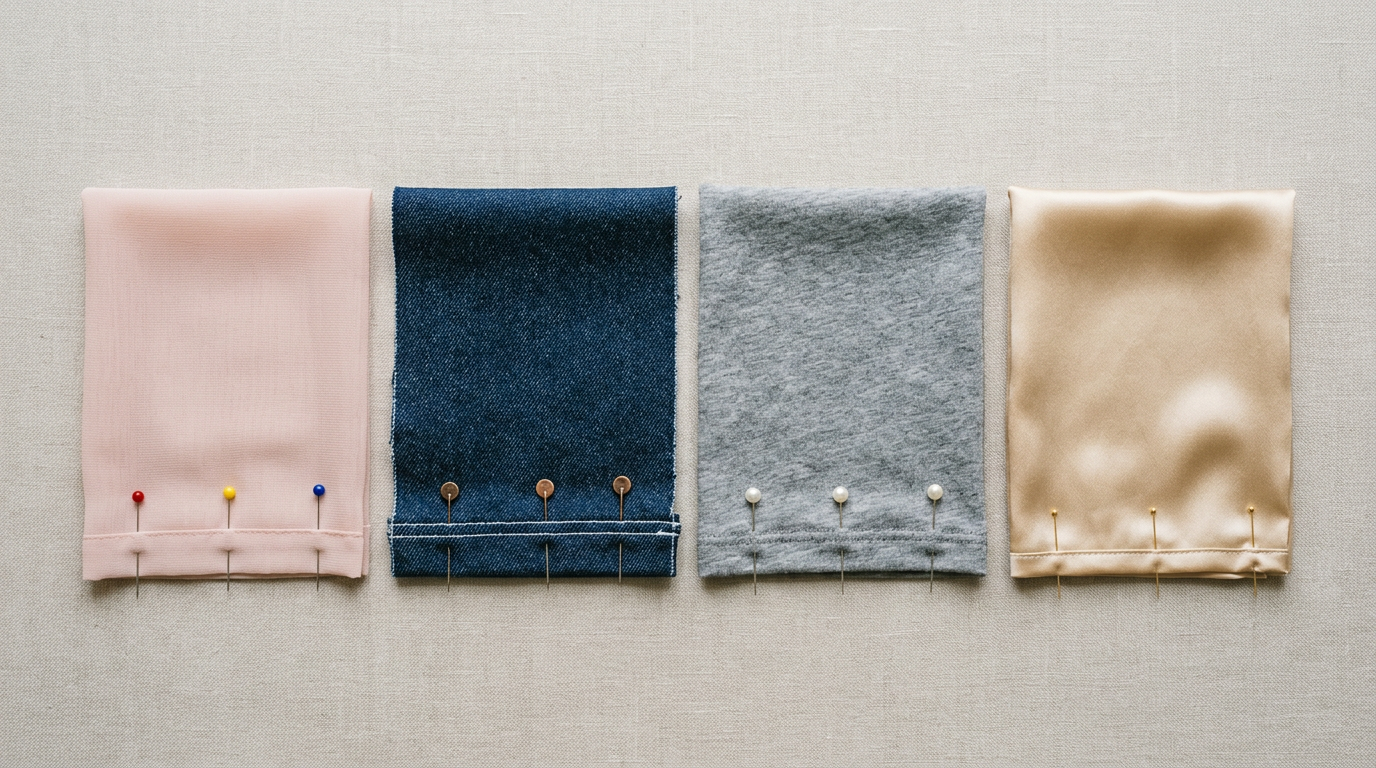
Not all fabrics behave the same way under the needle. The hand-hemming technique must be adjusted according to the material: what works on thick cotton may damage light silk.
Here's how to adapt your approach.
Hemming on fine fabrics such as silk or voile
Thin fabrics are the most delicate to hem. They slip, stretch, and tear easily if the needle is too large.
Use a fine needle size 9 or 10 and a very fine silk or polyester thread that matches the fabric.
Work slowly, laying the fabric flat on a smooth surface. The slip stitch is ideal here: it minimizes the number of needle passes through the visible fabric.
Make smaller stitches (3 to 4 mm) for greater strength on these lightweight materials.
Hem jeans or thick fabric
To sew a hem on jeans by hand, you have to use a little more force.
Choose a sturdy size 5 or 6 needle, and a strong polyester thread, preferably in a color that closely matches the original thread of the jeans.
The running stitch is more suitable here than the slip stitch, because the fabric is too thick to catch just a thread on the surface.
Use a thimble to protect your finger and push the needle without excessive effort.
Pull the wire with slightly firmer tension than usual.
Sewing a hem on stretch jersey fabric
Jersey is the fabric used for stretch t-shirts and dresses. Its main challenge: it stretches. A regular yarn is likely to break as soon as the fabric moves. Use an elastic yarn or a slightly twisted polyester yarn, which can withstand stretching.
Sew with a running stitch, leaving each stitch slightly loose, because if it's too tight, it will break at the first movement.
Another option: fold the edge only once (not twice) to limit the thickness, and stitch with points spaced about 6 to 7 mm apart.
When sewing jersey fabric, never pull on it. Sew the fabric relaxed, in its natural position; otherwise, the hem will pucker once released.
Some practical questions
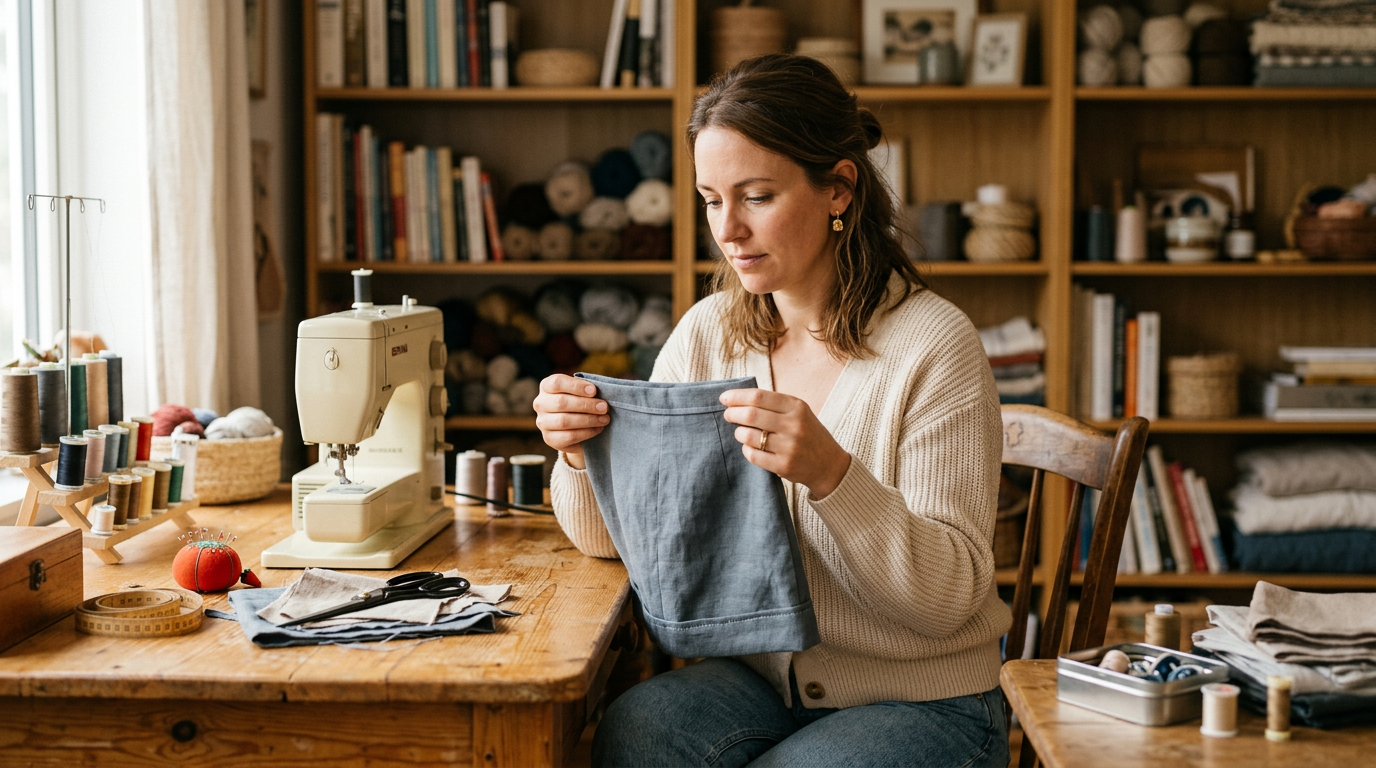
How long does it take to hem by hand?
The time required varies depending on the length of the hem, the type of fabric, and your experience level. For a simple hem on trousers using a running stitch, allow 20 to 40 minutes , including preparation. A dress with a circular hem using a slip stitch can take an hour or more. A beginner will naturally take longer at first, which is perfectly normal: dexterity is acquired primarily through repetition. With practice, the movement becomes automatic and speed increases. The key is not to rush during your first attempts.
How to quickly repair a torn hem?
Repairing a ripped hem by hand is often simpler than redoing the entire seam. Start by observing where the hem has come undone: most often, a single stitch has failed, pulling the others with it. Fold the fabric back exactly as it was, pin the damaged area, and sew it back up, starting two or three stitches before the beginning of the unstitched section to secure it. Use the same type of stitch as the original hem if possible. Finish with a double pass of thread as described in the tutorial.
Can a temporary hem be made by hand?
Yes, and it's even recommended before making the final hem. A temporary hem by hand is made with basting stitches: long stitches, spaced 1 to 2 cm apart, using a different colored thread for easy identification. This temporary stitch holds the fold in place during the final fitting. If the length is correct, you sew over the final hem, then gently pull out the basting thread. This is the safest method to avoid ending up with a crooked hem.
What thread should I use for hemming dark fabric?
On dark fabric, choose a thread slightly darker than the fabric rather than an exact match. A thread that's too light will immediately stand out, especially with a slip stitch. Haberdasheries offer thread on spools in many shades; take a scrap of fabric with you and compare the shades in daylight, which is more reliable than the store's artificial lighting. If you can't find the exact right color, black thread will work on most navy, dark gray, and deep brown fabrics.
Does a hand-stitched hem hold up as well as a machine-stitched hem?
A carefully hand-sewn hem can last for years, especially on garments that don't get much wear, like an evening dress or dress pants. On areas that get a lot of friction, such as the bottom of jeans worn every day, a machine hem will generally be more durable. That said, a well-executed hand hem remains strong enough for everyday use. Maintenance is also simpler: if a stitch comes undone, you can simply reinforce it with a few stitches without having to undo the entire seam.
