
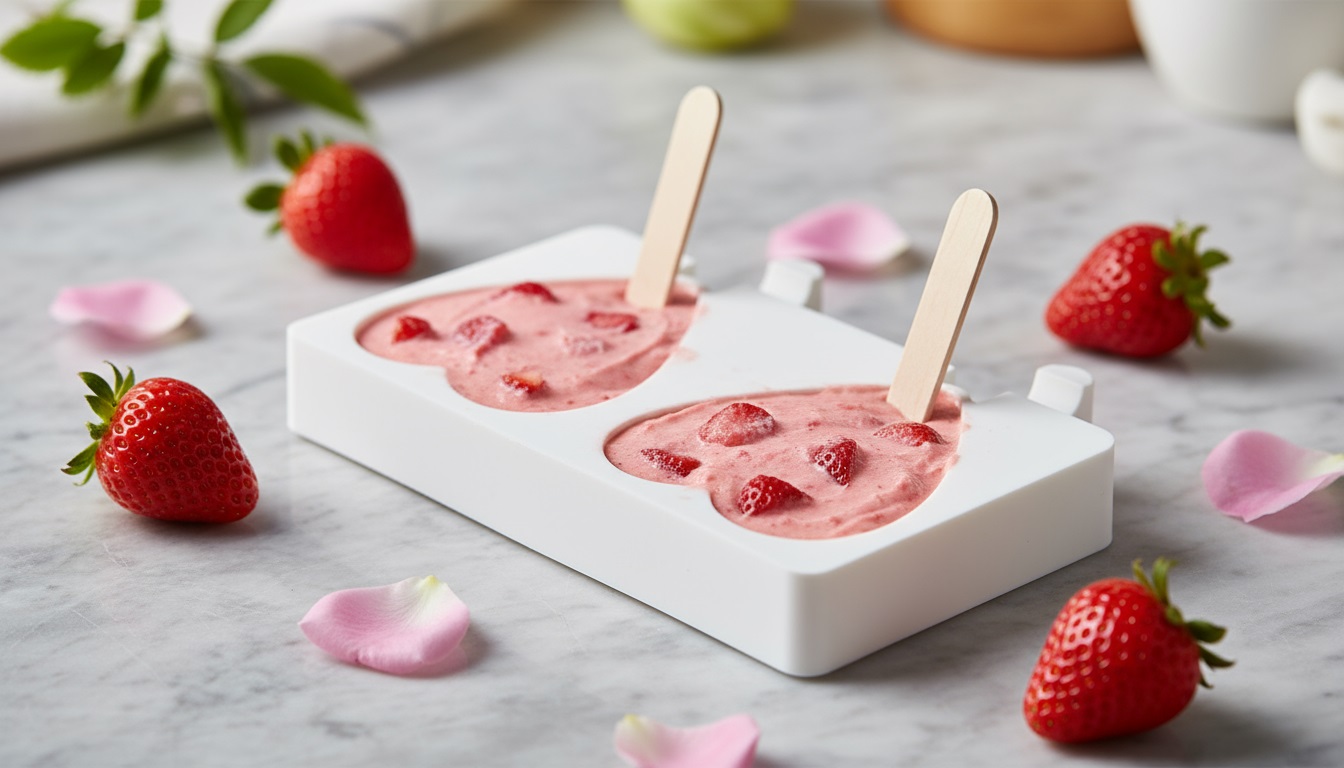
Summer is approaching, and with it, the irresistible urge to create your own homemade ice cream. But between sticks that break, sorbets that won't unmold, and Italian-style ice creams that lose their shape, it's easy to get discouraged.
The secret to perfect homemade ice cream? It lies first and foremost in choosing the right mold, adapted to each type of frozen creation.
Whether you are a fan of gelato , a devotee of fruity sorbets or a creator of sophisticated frozen desserts, we will explore together the fascinating world of ice cream molds.
From simple ice pops to gourmet creations, let's discover how to transform your freezer into a veritable laboratory of frozen treats!
Essentials for beginners: popsicle and ice cream bar molds
Who hasn't dreamed of creating their own ice pops, like the ones from our childhood? Ice pop molds represent the ideal entry point into the world of homemade ice cream making.
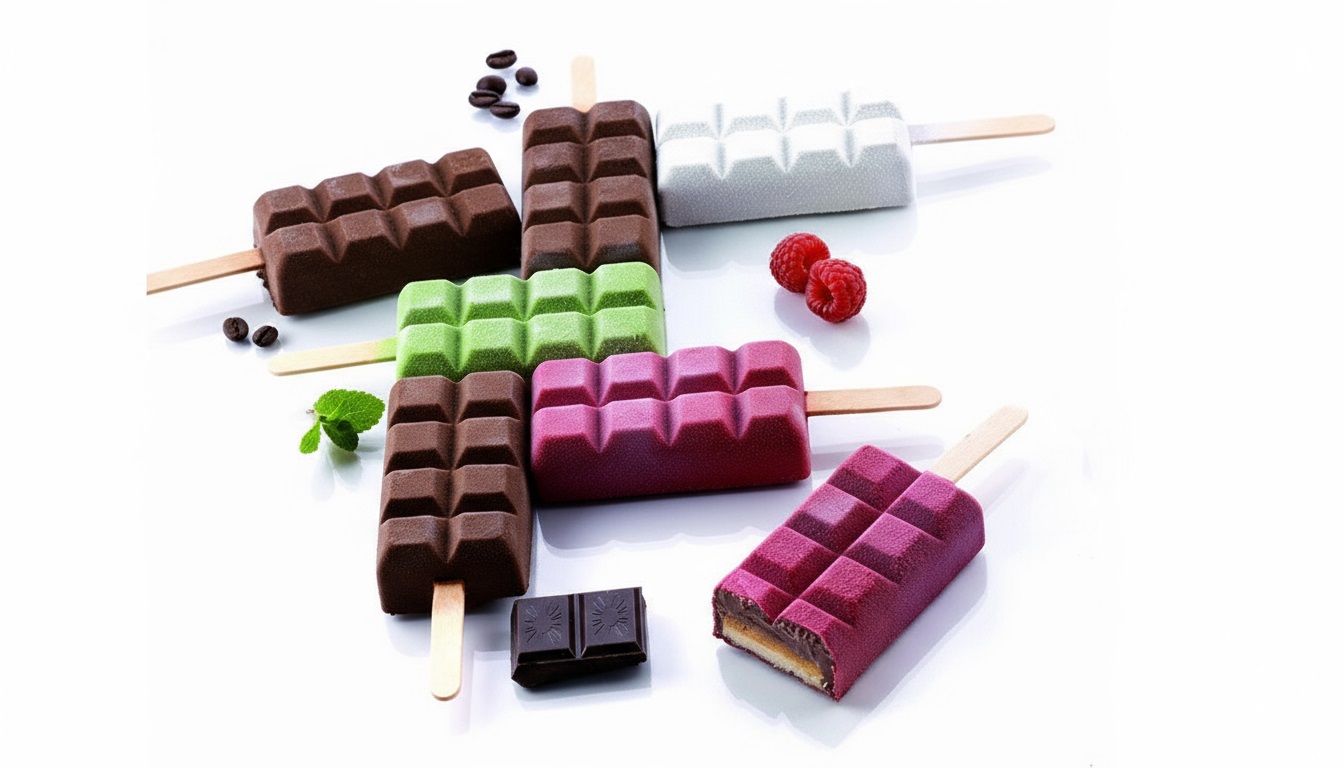
With an investment of 15 to 35 CHF (approximately 17 to 40 €), you can already make ice pops like a professional.
Pro tip : For popsicles that never break, let your mixture set in the freezer for 20 minutes before inserting the sticks. This technique ensures better adhesion and prevents disappointment when unmolding.
Food-grade silicone molds offer several decisive advantages:
- Easy demolding thanks to the material's flexibility
- Resistance to extreme temperatures (-40°C to +230°C)
- Easy to clean, dishwasher safe
- Exceptional durability (5 to 10 years of intensive use)
Sophisticated creations: insert and multi-layer molds
For ambitious pastry chefs, insert molds open up a world of creative possibilities. Imagine vanilla ice cream with a flowing salted caramel center, or raspberry sorbet encasing a dark chocolate ganache…
These creations, worthy of the best glaciers, are now accessible with the right equipment.
The secret lies in the technique of reverse editing.
First, the outer layer is poured into the mold, left to set for 45 minutes, then the center is carefully hollowed out to pour in the insert.
Guaranteed result: ice creams that melt hearts and impress your guests!
Mistakes to avoid:
- Fill the mold to the brim (ice cream expands by 10% when frozen)
- Remove from the mold too quickly (wait 5 seconds after removing from the freezer)
- Using overly liquid preparations for inserts
Professional molds for Italian-style ice cream and semifreddo
Italian-style ice cream and semifreddo require specific molds to maintain their characteristic airy texture.
Professional stainless steel molds, representing an investment of 45 to 120 CHF, allow for rapid and uniform freezing, thus preserving the mousse-like structure of these delicate preparations.
Marie.T, a passionate amateur baker, shared her experience on Facebook:
Since I started using stainless steel molds for my semifreddos, the texture is incomparable. The thermal conductivity of stainless steel allows for fine crystallization, resulting in that sought-after softness.
To make successful homemade Italian ice cream, here are the main parameters:
- The correct freezing temperature: -18°C minimum
- Setting time: 4 to 6 hours depending on the thickness
- An ideal expansion ratio: 40 to 50%
- For optimal storage: 2 weeks at -20°C
Innovative molds: spheres, pyramids and geometric shapes
The current trend? Architectural ice creams with perfect geometric shapes. In this context, transparent polycarbonate molds make it possible to create ice cream spheres worthy of the finest Michelin-starred restaurants.
These molds, used by professionals, guarantee millimeter precision and a spectacular visual result!
My alternative solution : For tighter budgets, geometric silicone molds (25-40 CHF) are an excellent compromise between quality and price. They allow you to create domes, pyramids, and cubes perfect for impressing at your dinner parties.
The tempering of your geometric ice creams follows a precise protocol:
- Rapid freezing at -25°C for 2 hours
- Stabilization at -18°C for 4 hours
- Remove from the mold after 30 seconds at room temperature
- Serve immediately or store under cling film
Homemade ice cream and sorbet: which mold for which frozen creation? The comparative guide
To help you choose, we have created this comparison chart of different types of molds according to your favorite frozen creations:
| Type of ice | Recommended mold | Ideal material | Average budget |
|---|---|---|---|
| Classic sticks | 6-12 cavity mold | Food grade silicone | 15-25 CHF |
| Italian-style ice cream | rectangular container | Professional stainless steel | 45-80 CHF |
| Fruit sorbets | Hemispheres | Polycarbonate | 35-60 CHF |
| Gourmet frozen desserts | Geometric shapes | Platinum silicone | 40-100 CHF |
Advanced techniques: layered mounting and inclusions
Multi-layered creations represent the Holy Grail of artisanal ice cream making. But how do you achieve perfectly distinct layers without them mixing?
The secret lies in mastering temperatures and setting times.
First, we prepare our first layer at a density of 1.15 (measured with a densimeter).
Then, after 30 minutes of freezing, the second slightly less dense layer (1.10) is added.
This difference in density will prevent mixing and ensure clear demarcations.
My tip : For crunchy inclusions (nuts, chocolate, cookies), coat them beforehand with cocoa butter. This creates a protective barrier that preserves their texture even after several weeks of freezing.
The maintenance and longevity of your ice cream molds
A well-maintained mold guarantees successful ice cream creations for years to come!
High-quality Swiss silicone molds are particularly resistant to repeated thermal shocks, but some precautions are necessary to maximize their lifespan.
Furthermore, absolutely avoid abrasive sponges which create micro-scratches where bacteria can proliferate.
Opt for washing with warm soapy water, followed by rinsing with vinegar water (1 part white vinegar to 3 parts water) which eliminates limescale residue and disinfects naturally.
Other mistakes to avoid:
- Going directly from the freezer to the dishwasher (thermal shock)
- Using knives to unmold
- Storage of stacked molds without protection
- Prolonged exposure to UV rays degrades silicone
Your questions about ice cream molds
What is the best material for an ice cream mold?
Platinum food-grade silicone remains the most versatile choice, offering easy release and resistance from -40°C to +230°C. 18/8 stainless steel is suitable for those concerned about avoiding plastic, as this inert material does not leach any substances into food. BPA-free plastic can be an economical option for beginners, but it is more fragile.
How long does it take to freeze homemade ice cream?
Allow 4 to 6 hours for complete freezing in a standard mold at -18°C. Mini sizes freeze faster (3-4 hours), while water-based sorbets freeze more quickly than high-fat ice creams. For multi-layered ice creams, allow 30 to 45 minutes between each layer.
How to easily unmold ice cream from a silicone mold?
Remove the mold from the freezer and let it rest for 10 to 30 seconds. Carefully turn it over, loosen the edges by slightly bending the silicone, then press down on the bottom. If the ice cream resists, quickly rinse the mold under cold running water or dip it in room temperature water for 5 seconds.
Why are my ice pops floating in the mold?
This problem occurs when the sticks are inserted into a mixture that is too runny. Fill your molds and place them in the freezer for 20 to 30 minutes before inserting the sticks. At this point, the surface will begin to set and will hold the sticks upright.
Can a silicone mold be used in the oven and in the freezer?
Yes, that's precisely one of the great advantages of high-quality food-grade silicone. These molds can withstand temperatures from -40°C to +230°C. So you can make ice cream in the summer, then use the same mold for mini cakes on a stick the rest of the year.
How long can homemade ice cream be kept in the freezer?
Homemade ice creams are best kept for 2 to 3 months in the freezer at -18°C, well wrapped in cling film or in an airtight container. After that, they remain edible but lose texture and flavor. Pure fruit sorbets have a shorter shelf life (1 to 2 months).
Should you grease an ice cream mold before use?
No, never. Silicone molds have natural non-stick properties. For stainless steel, freezing itself makes unmolding easier: simply run the mold under water for a few seconds. Greasing an ice cream mold would alter the taste of your creations.
What size ice cream molds should I choose?
For children, choose mini molds with a capacity of 35 to 50 ml. Standard sizes of 80 to 100 ml are suitable for adults. For sophisticated frozen desserts, opt for larger sizes of 120 to 150 ml. A set of 4 to 6 molds is sufficient for a family.
Towards a creative and responsible ice cream shop
Ultimately, choosing the right mold will radically transform your homemade ice cream experience.
Whether you opt for classic stick molds or avant-garde geometric creations, the important thing is to start with quality equipment that will accompany you in your evolution.
Investing in professional molds, such as those offered by Swiss pastry equipment specialists, guarantees not only impeccable results but also exemplary durability.
With the right techniques, the right mold size and the right equipment, your homemade ice creams and sorbets will rival the creations of the best ice cream artisans.
So, ready to transform your kitchen into an ice cream workshop? Start with a simple mold, master the basics, then let your creativity run wild.
Your taste buds and those of your loved ones will thank you!
This article was sponsored by a company or brand and does not reflect the editorial responsibility of the Simple & Bon website
