
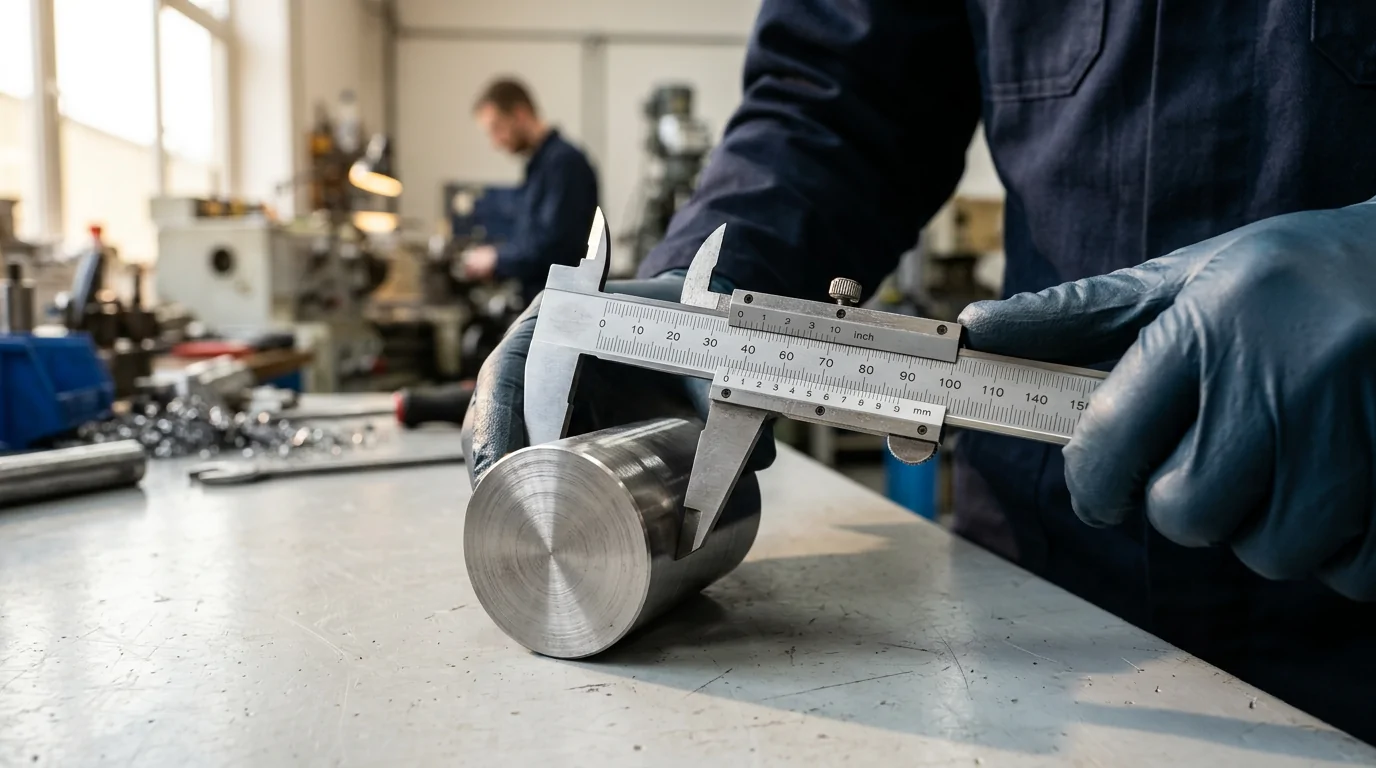
Before attempting to read a caliper, you need to know what you are looking at and what you are measuring!
Indeed, the tool may seem complex at first glance, with its close graduations and different jaws.
In this practical tutorial, we will help you understand what a caliper is used for, and then teach you how to use it properly.
📏 Caliper reading simulator
Enter a measurement to simulate and discover how to read it on an analog caliper (graduated to 1/20th = 0.05 mm)
The different parts of a caliper
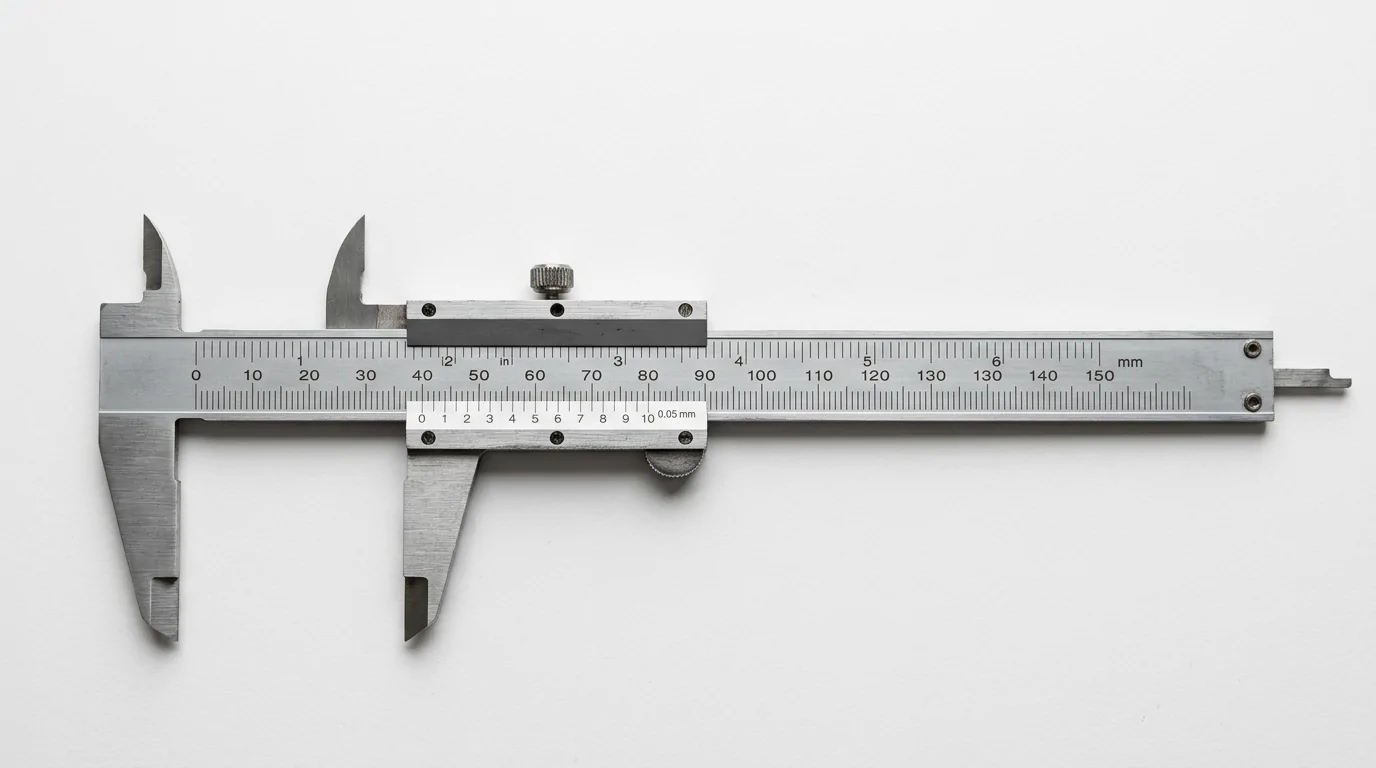
Once each part has been identified, everything becomes much clearer!
Here is an overview of the elements that make up this measuring instrument and a .
The main ruler and the measuring nozzles
The main feature of a caliper is the rigid rod on which the graduations in millimeters, and sometimes also in inches, are engraved. This is the tool's fixed reference point. It does not move.
The measuring jaws are the parts that are gripped. There are usually two pairs:
- The lower jaws (or external jaws): they clamp around a piece to measure an outside diameter, width or thickness.
- The upper jaws (or internal jaws): they spread apart inside a bore or groove to measure an internal diameter.
The cursor slides along the scale. It's this cursor that holds the vernier scale or the digital display. When the jaws are closed on the workpiece, the cursor's position indicates the measurement to be read. Simple in theory, but you still need to know exactly where to look.
Don't confuse a caliper with a micrometer. Both tools measure dimensions, but their reading principles are completely different. The caliper remains the basic tool for everyday measurements.
The vernier, the dial and the depth gauge
The vernier scale of a caliper is a small graduated ruler attached to the cursor. It allows you to read fractions of a millimeter. We'll discuss this in detail later; it's where beginners most often get stuck.
On some models the vernier is replaced by a needle dial (dial caliper).
The needle rotates and points directly to the value in tenths of a millimeter. More intuitive than a vernier caliper, but less common in workshops.
The depth gauge is that small, thin rod that protrudes from the back of the tool. It allows you to measure the depth of a hole, groove, or shoulder.
It is inserted into the bottom of the hole, and the main ruler indicates the depth directly.
A complete caliper therefore allows for four types of measurements: outside, inside, depth, and sometimes shoulder. All this with a single tool.
Analog or digital caliper: what are the differences?
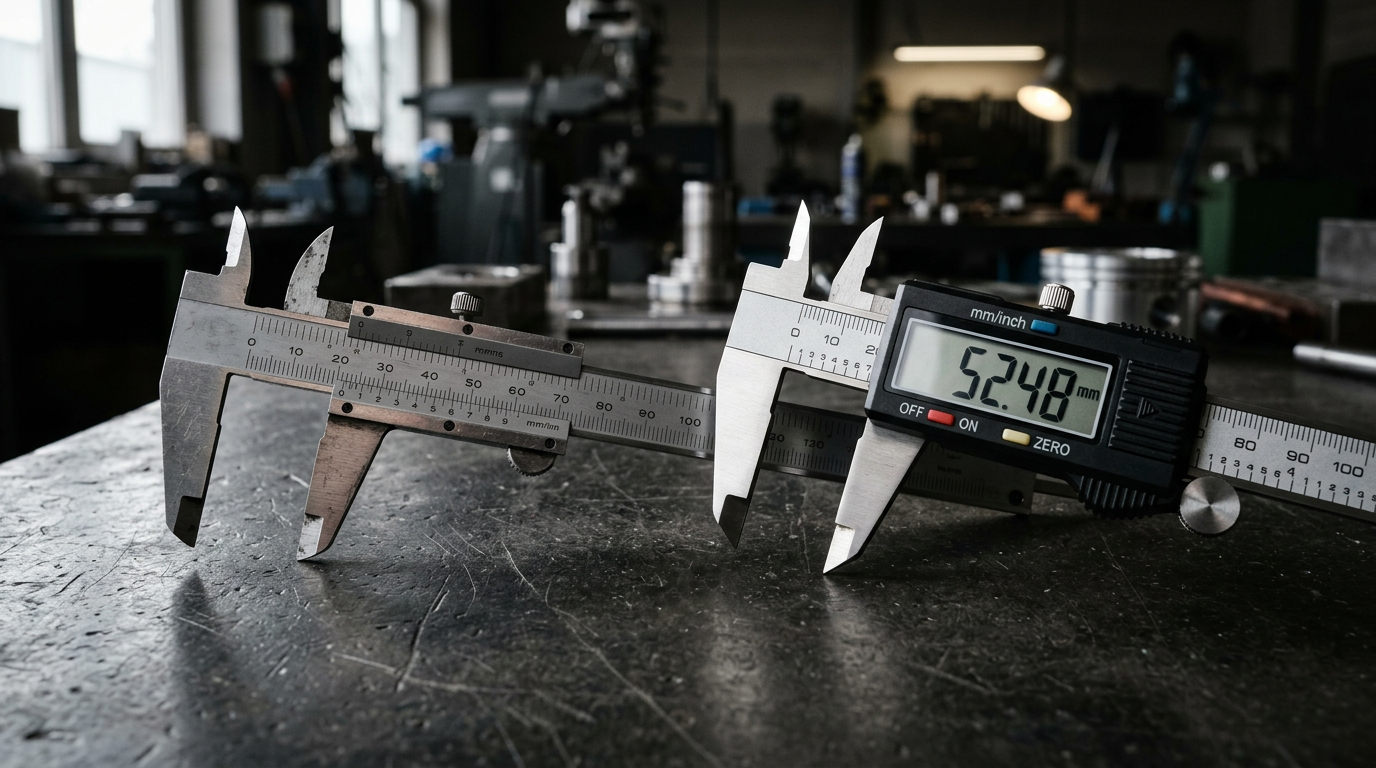
There are several types of calipers. The two main families are the analog vernier and the digital model with a digital display.
Each method of reading has its own logic, advantages, and minor drawbacks. For a beginner, understanding the differences helps in choosing the right tool and avoiding reading errors.
- The vernier model does not require any batteries
- The digital model displays the value directly, without calculation
- The dial model is easy for beginners to read
- Long lifespan for analog models
- Using a vernier caliper requires learning and concentration
- Digital devices can malfunction or shut down during use
- Risk of parallax error on analog models
- Some digital models are sensitive to humidity and shavings
How does a vernier caliper work?
The vernier caliper operates on a purely mechanical principle. The main scale gives whole millimeters.
The vernier, on the other hand, is a second, shorter rule with slightly different divisions.
It is this difference between the two sets of graduations that allows fractions of a millimeter to be read.
On a vernier scale to the tenth of a millimeter, the secondary scale is divided into 10 graduations which represent 9 mm in total.
Each division of the vernier scale is therefore worth 0.9 mm, which is 0.1 mm less than a whole millimeter. This small difference, repeated on each graduation, allows for the precise identification of the fraction of a millimeter.
To interpret the graduations of a vernier caliper, one looks for which graduation of the vernier coincides perfectly with a graduation of the main scale.
It is this coincidence that gives the decimal value. First, the whole millimeters are read, then the value read on the vernier is added.
Use good lighting and, if necessary, a magnifying glass to read the vernier scale. The graduations are fine. Insufficient lighting is the primary cause of reading errors.
How to read a digital caliper?
Reading a digital caliper is much more straightforward. The screen immediately displays the measured value, in millimeters or inches depending on the setting. No graduations to interpret, no coincidences to search for.
The process remains simple:
- Set the tool to zero ( Zero or Reset) before measuring.
- Close the nozzles on the workpiece without forcing them.
- Read the value displayed on the screen directly.
Some models allow you to switch between mm and inches with a simple press. Convenient, but a source of confusion if you don't check the displayed unit before noting the measurement.
Always check that the unit displayed corresponds to what you need.
The only thing to watch out for is the battery. A flashing display or unstable readings often indicates a battery that needs replacing. Always keep a spare battery on hand in the workshop.
Don't make a mistake when reading a caliper
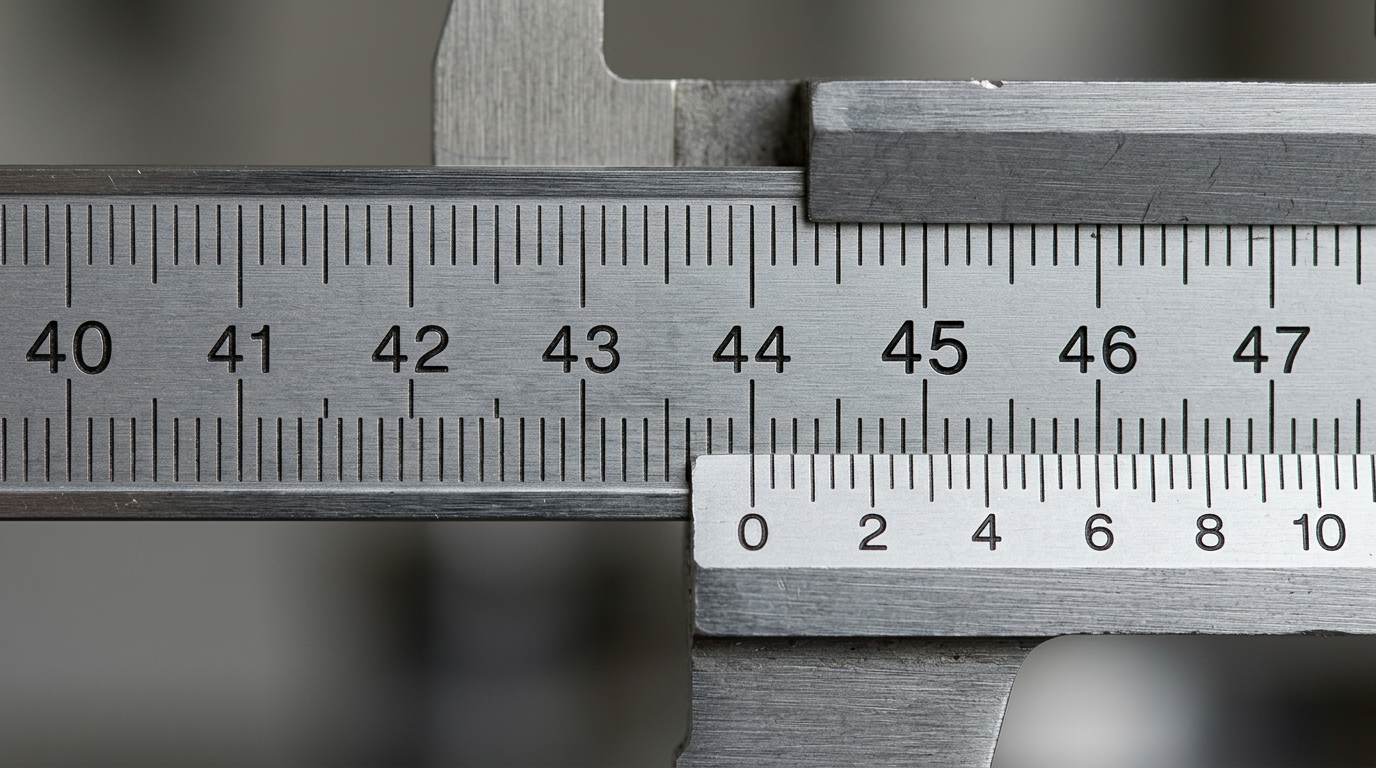
This is where everything happens.
Reading a caliper is done in two steps: first the whole millimeters on the main scale, then the fraction of a millimeter on the vernier.
Many beginners skip one of the two steps or confuse the two rules. Follow this method step by step, and you'll avoid common mistakes.
Read the millimeters on the main ruler
The main ruler is engraved in millimeter increments. Some models also indicate half-millimeters (0.5 mm) with shorter graduations between each whole millimeter.
To read millimeters:
- Look at the left edge of the vernier (the first graduation of the vernier, the zero side).
- Locate the last complete graduation on the main ruler, which is to the left of this marker.
- Note this value. It is the number of whole millimeters.
Example: if the zero of the vernier is located just after the 23 mm graduation of the main rule, you have 23 mm of full measurement.
If half a graduation is also exceeded, add 0.5 mm, i.e. 23.5 mm.
The golden rule: always read the entire graduation that precedes the zero of the vernier, never the one that follows.
Interpreting the vernier scale graduations
Once the millimeters have been noted, we move on to the vernier to obtain the complete vernier caliper reading
The vernier has 10 graduations (on a tenth-of-a-kind model) or 20 or even 50 graduations (on a more precise model).
The method:
- Scan the vernier scale graduations from left to right.
- Look for the graduation on the vernier that aligns perfectly with a graduation on the main scale.
- Note the number of this graduation on the vernier.
- On a vernier scale to the tenth of a millimeter: multiply by 0.1 mm. On a vernier scale to the hundredth of a millimeter: multiply by 0.02 mm (depending on the vernier's increment).
If the 7th graduation on the vernier scale is the one that aligns, and your vernier scale is set to tenths of a millimeter, add 0.7 mm to the reading on the main scale. It sounds abstract, but a numerical example makes it all clear.
If you are hesitating between two graduations that both appear to be perfectly aligned, choose the one that coincides most clearly. A slight uncertainty often indicates that the measurement falls between two values. Repeat the measurement.
A concrete, numerical example of a complete reading
Here is an example of reading a vernier scale step by step with real values.
Situation: you are measuring a part with a vernier caliper to the tenth of a millimeter.
| Stage | What we observe | Value obtained |
|---|---|---|
| 1. Reading the main rule | The vernier zero is beyond the 34 mm graduation | 34 mm |
| 2. Half a millimeter? | The vernier zero also exceeds the 34.5 mm graduation | + 0.5 mm |
| 3. Vernier reading | The 3rd graduation of the vernier aligns perfectly | + 0.3 mm |
| Final result | 34 + 0,5 + 0,3 | 34.8 mm |
The final measurement is therefore 34.8 mm. Nothing mysterious about it: two readings added together, and that's all there is to it!
To measure to the tenth or hundredth of a millimeter
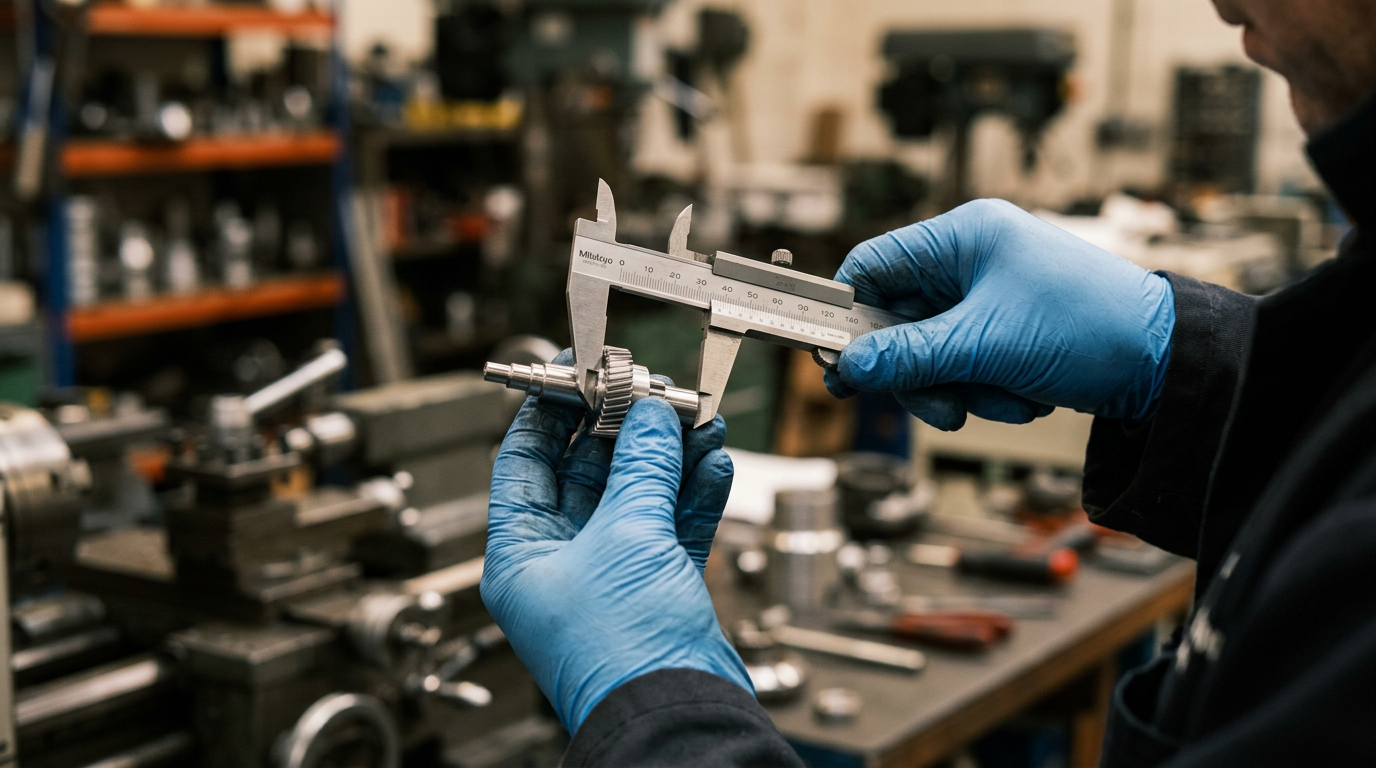
Not all calipers are equal in terms of precision. Some read to the tenth of a millimeter (0.1 mm), others to the twentieth (0.05 mm), and the finest models go down to the hundredth (0.02 mm).
Understanding the accuracy of your tool helps you avoid copying a value that doesn't exist.
Understanding accuracy according to the model
The accuracy of a caliper depends directly on the number of divisions on its vernier scale.
| Vernier type | Number of divisions | Reading accuracy |
|---|---|---|
| Standard Vernier | 10 divisions | 0.1 mm |
| Fine vernier | 20 divisions | 0.05 mm |
| High-precision vernier | 50 divisions | 0.02 mm |
To measure to the tenth of a millimeter with a 10-division vernier, each graduation read corresponds to 0.1 mm.
For a vernier with 50 divisions, each graduation is worth 0.02 mm.
Always read the accuracy indication engraved on the vernier or in the tool's instructions before noting your results.
A digital model, on the other hand, displays the value directly, generally with two decimal places. The stated precision is often 0.01 mm, but it also depends on the mechanical quality of the tool.
A low-end caliper that displays 0.01 mm does not necessarily guarantee this precision in real-world conditions.
Reading an outside diameter measurement in practice
Let's take a concrete example: measuring the outside diameter of a cylinder with a vernier caliper accurate to the tenth.
- Place the cylinder between the lower jaws (outer jaws) of the tool.
- Gently close the nozzles until they make firm contact, without pressing hard. The part should not move.
- Check that the nozzles are perfectly perpendicular to the axis of the cylinder. An angle error will distort the measurement.
- Read the main rule: let's assume 18 mm.
- Check the half millimeter: let's assume the 18.5 mm graduation is not exceeded.
- Read the vernier: graduation #6 aligns. Add 0.6 mm.
- Result: 18.6 mm outer diameter.
This is exactly how you to measure with a caliper : through repeated practice on simple pieces before moving on to critical measurements.
Common mistakes and how to avoid them
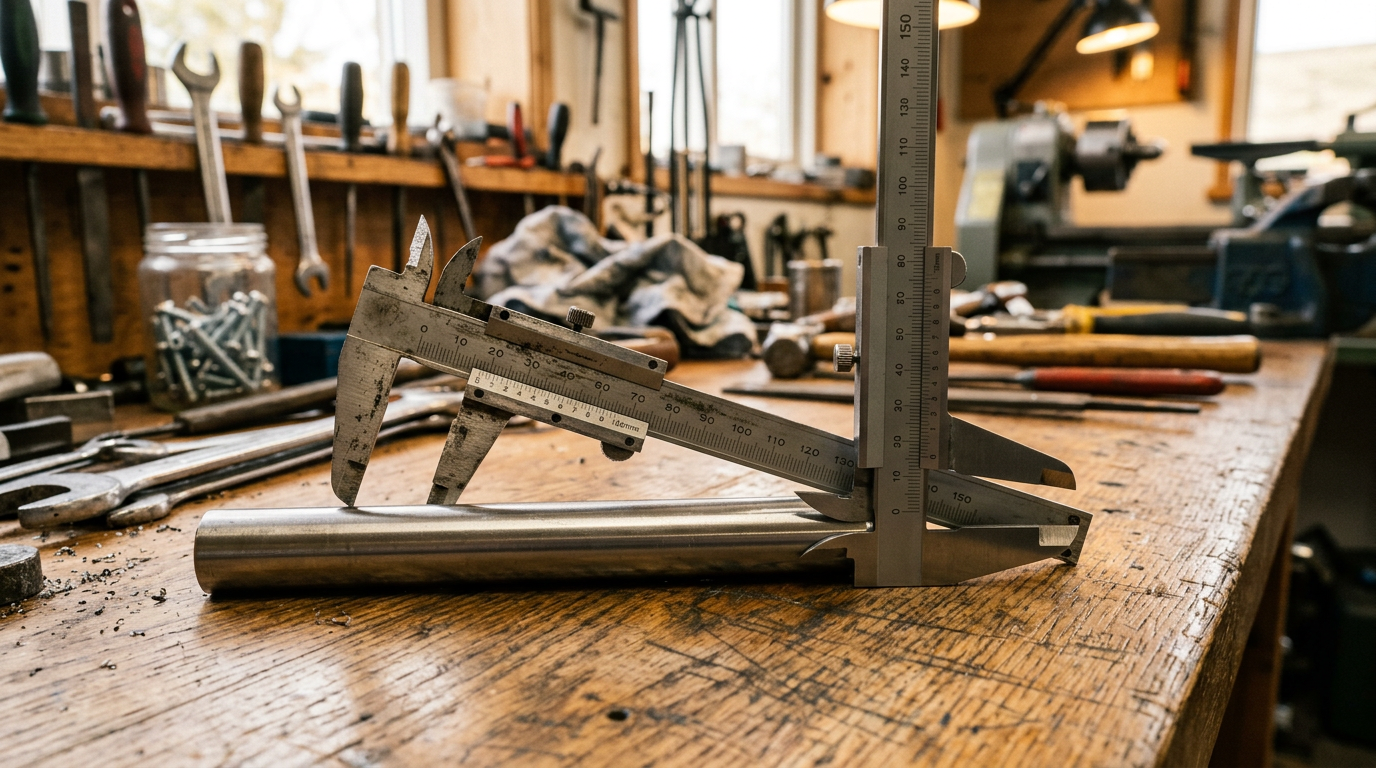
Even with the method well understood, several mistakes often occur among beginners. Some stem from posture, others from the positioning of the piece.
Identifying them allows for quick correction and increased reliability from the very first measurements.
Avoid parallax error when reading
Parallax error occurs when your eye is not exactly aligned with the graduations.
You look slightly to the side, and the graduation that appears aligned isn't actually so. As a result, you read 0.3 mm instead of 0.4 mm, and your measurement is wrong…
How to avoid it:
- Place your eye directly in front of the vernier, not at an angle.
- Hold the tool at eye level rather than below.
- Use direct lighting on the graduations.
- On models with a bevel, the graduation is recessed, which reduces the parallax effect.
Parallax error is invisible unless you're looking for it. Make it a habit to check your reading angle with every measurement, even when you think you're doing it right.
Digital calipers eliminate this problem since you read a number on a screen. This is one of their real advantages for beginners or for use in difficult conditions.
Position the part correctly between the nozzles
Incorrect part positioning is just as common as parallax error. Here are the most frequent mistakes:
- Measuring too close to the tips of the prongs : the prongs are not parallel at their tips on all models. The measurement should be taken in the main contact area, not at the tips of the jaws.
- Do not hold the piece perpendicularly : if the piece is tilted between the jaws, you are measuring a chord and not the actual diameter. For a cylinder, ensure that the axis of the piece is perfectly perpendicular to the ruler.
- Overtightening : Excessive pressure can slightly deform the jaws or compress a flexible part. The contact should be firm but without forcing.
- Measuring on a dirty surface or with shavings : a shaving stuck between the workpiece and the nozzle adds several tenths of a millimeter. Always clean the nozzles and the workpiece before measuring.
Always take two or three measurements in the same spot. If you get the same value each time, you can be confident. If the values vary, investigate why before noting anything.
Practical questions
How do I use a caliper for the first time?
Start by identifying the different parts: the main ruler, the cursor, the jaws, and the depth gauge. Zero the tool by fully closing the jaws and verify that the display or vernier reads 0. Then, take a piece whose dimensions you already know, measure it, and compare. This is the best exercise for learning to read measurements correctly.
What is the difference between a caliper and a micrometer?
A caliper typically measures from 0 to 150 mm (sometimes more) with an accuracy of 0.1 mm to 0.02 mm, depending on the model. A micrometer has a smaller measuring range (often 25 mm per model) but offers an accuracy of 0.01 mm, sometimes 0.001 mm. These are two complementary tools, not interchangeable.
How can I tell if my caliper is properly calibrated?
Close the jaws completely and check that the vernier's zero mark aligns exactly with the main scale's zero mark. On a digital model, the display should show 0.00. If it doesn't, the tool is misaligned. Some models allow for manual adjustment. If in doubt, compare with a reference gauge block.
Can depth be measured with a standard caliper?
Yes. The thin rod at the back of the tool, called a depth gauge, is used for that. You place the bearing surface of the main ruler against the edge of the hole, insert the gauge all the way to the bottom, and read the value directly on the main ruler. The reading method is the same as for a standard external measurement.
Why does my reading change depending on how I hold the tool?
Several reasons are possible. First, the reading angle (parallax error) visually alters the alignment of the graduations. Second, applying too much pressure to the cursor can shift the position of the jaws by a few hundredths of a millimeter. Finally, if the workpiece is not properly positioned, it may move slightly between readings. Keep the tool steady, look directly at the graduations, and control your pressure.
