
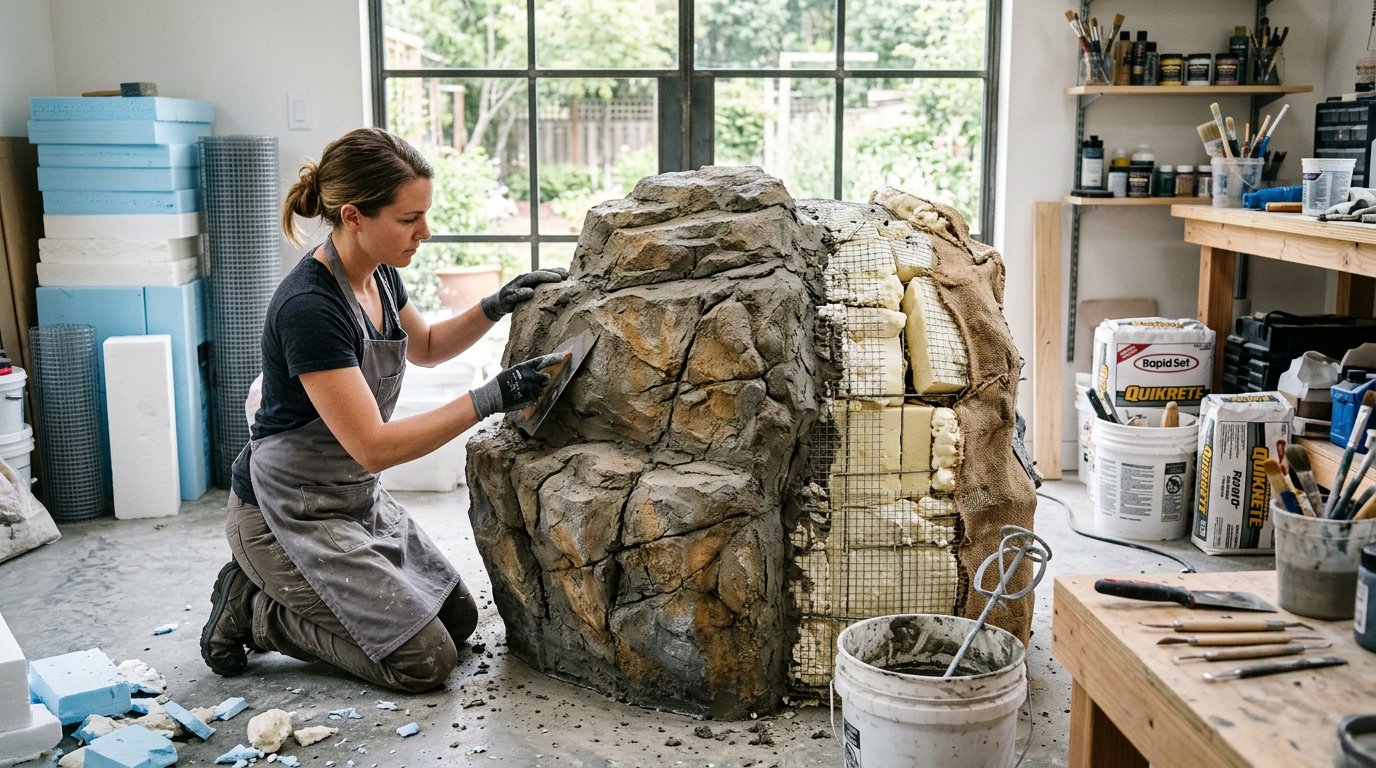
In short
🧮 Material calculator for making a fake rock
Are you ready to get started? Then discover all the steps in our short guide below!
Compare the techniques for making a fake rock
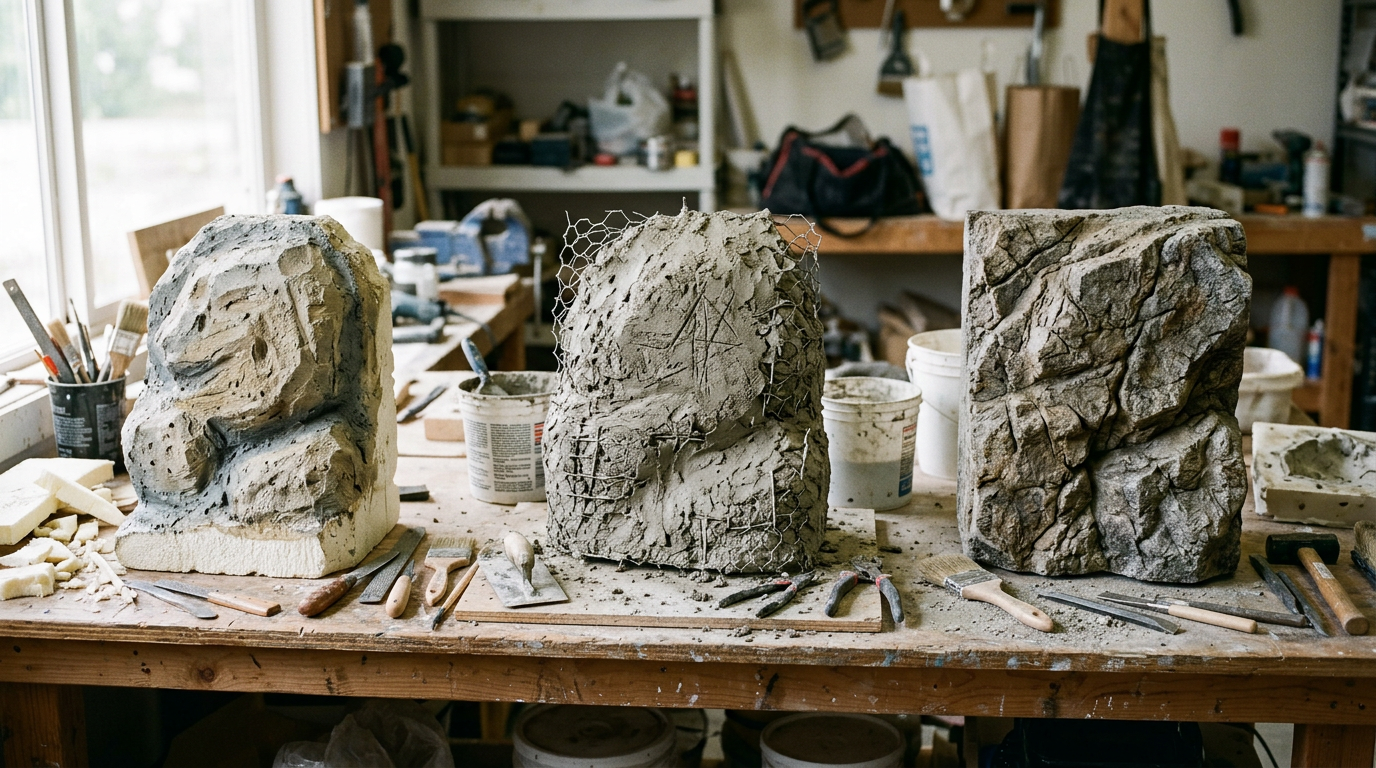
Before you begin, take the time to compare the methods.
Making an artificial rock can be done with very different materials. Some prioritize lightness, while others focus on sturdiness. The final result will depend primarily on the attention to detail!
Here is a clear overview of the main options:
If you're looking for a way to create a faux rock out of concrete for outdoor use, lightweight concrete or the Hypertufa faux rock technique are suitable. For a shop window display or a terrarium, lighter solutions will suffice.
| Technical | Cost | Difficulty | Recommended use |
|---|---|---|---|
| Polystyrene + coating | Low to medium | Easy | Light decor, interior, terrace |
| Lightweight concrete / hypertufa | AVERAGE | Intermediate | Garden, rockery |
| Papier-mâché | Very low | Easy | Temporary interior decor |
| Expanding foam | AVERAGE | Intermediate | Complex shapes, basin (with protection) |
Polystyrene and plaster for a lightweight rock
The method involves assembling polystyrene panels, then sculpting them with a cutter or hot wire. Next, a facade coating or adhesive mortar is applied. The result is lightweight and easy to move.
It's ideal for making a painted polystyrene rock on a balcony or indoors. The cost remains reasonable. However, its durability depends on the thickness of the coating.
Lightweight concrete and the hypertufa technique
The lightweight concrete rock, made in-house, mixes cement, sand, and sometimes clay beads or perlite. Hypertufa combines cement, peat, and perlite, resulting in a porous texture similar to natural stone.
This solution is suitable for creating an artificial rock for the garden. It is heavier, but more resistant to outdoor conditions.
DIY papier-mâché and expanding foam
This DIY papier-mâché rock is made with newspaper and glue. Lightweight and inexpensive, it is sensitive to moisture.
Expanding foam, on the other hand, allows you to create a decorative foam rock in irregular shapes. It expands, hardens, and can then be sculpted. It then needs to be protected with mortar or resin.
- Suitable for all budgets
- Custom shapes
- Alternative to heavy rocks
- Long drying time
- Protection needed outdoors
- Made dependent on the care provided
What materials are needed to make a fake rock?
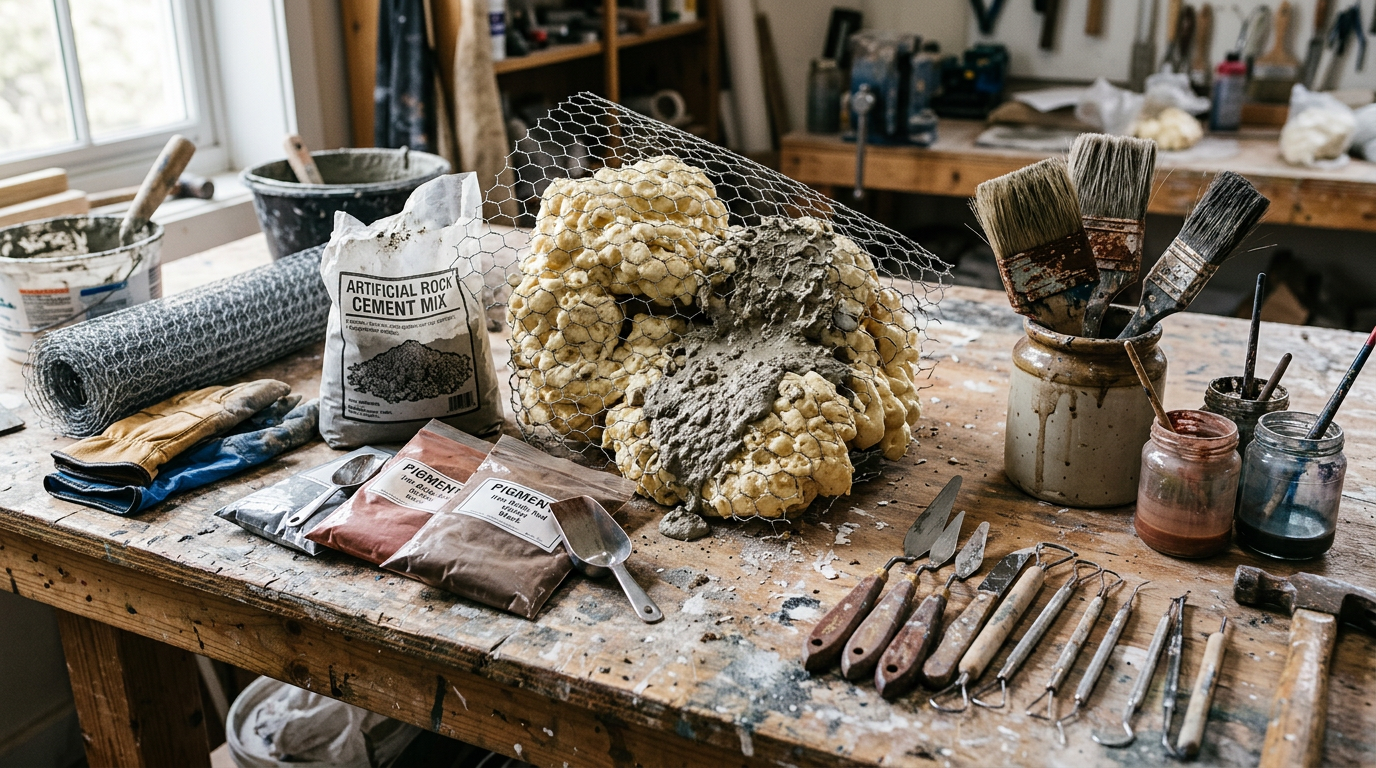
The choice of materials for making an artificial rock depends on the technique used. There's no need to buy specialized, hard-to-find equipment. Most supplies can be found in large DIY stores.
Tools and supplies for concrete and hypertufa
- Grey cement
- Sand or perlite
- Peat (for hypertufa)
- Mixing basin
- Trowel and gloves
- Fine wire mesh for reinforcement
The wire mesh supports the structure. It adds volume without adding too much material.
Materials for a painted polystyrene rock
- Polystyrene sheets
- Suitable glue
- Cutter or hot wire
- Exterior plaster
- Acrylic paint
Add a wide brush and a sponge for texture effects.
Budget alternatives in supermarkets
An old cardboard box can serve as a base. Crumpled plastic bags create texture under the wire mesh.
Even composted green waste can be integrated into a natural garden around the decor to enhance the illusion.
How to make a fake rock step by step?
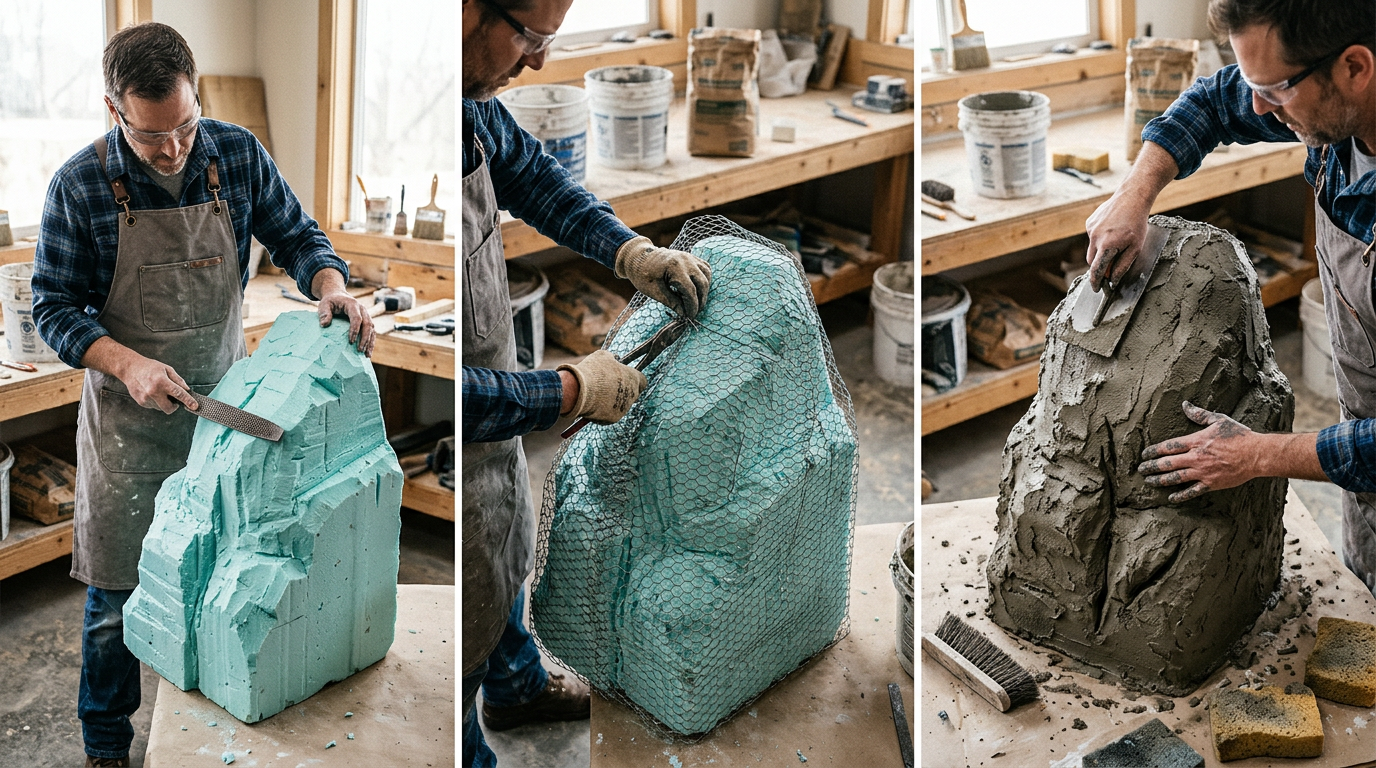
To model and sculpt a realistic artificial rock
Start by defining the general shape. Stack the volumes. Secure them firmly. Then, trim the edges. Avoid overly symmetrical shapes.
To sculpt a realistic artificial rock, observe real stones. They have irregular fractures. Carve out cracks. Vary the heights.
A credible rock is never perfectly round or perfectly smooth.
Apply the layers and manage the drying
Apply a first thin coat. This acts as a base coat. Let it set without drying completely. Then add a thicker coat.
For a homemade lightweight concrete rock, lightly dampen between coats. Complete drying may take several days. Protect from direct rain.
Texture the surface to imitate stone
Dab with a damp sponge. Brush lightly. Add small embedded pebbles. Every little bit helps.
Creating decorative outdoor rocks requires textured surfaces. Scratch certain areas before they are completely dry for an eroded effect.
Paint and patina for a natural finish
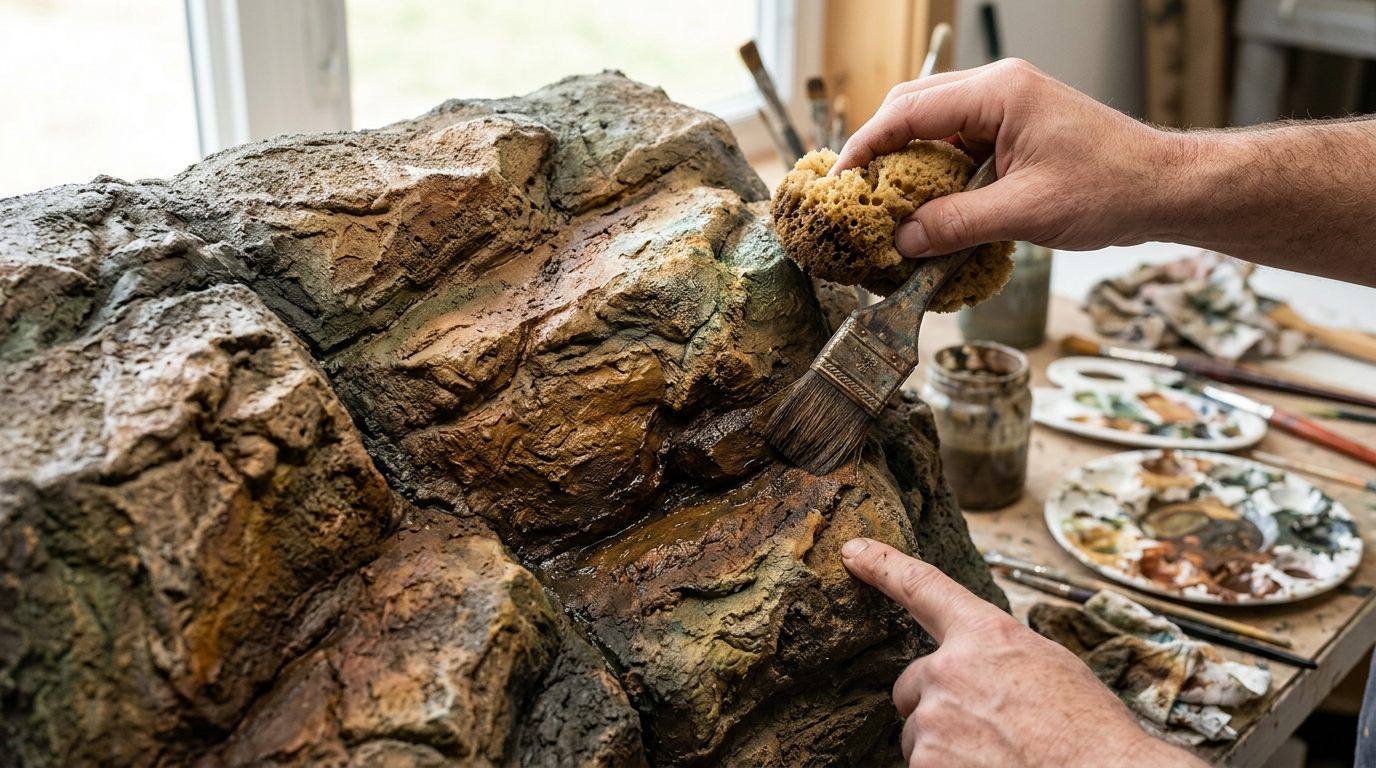
Acrylic wash and stone effect pigments
Prepare a very diluted wash. Apply it in several coats. The recesses should remain darker.
Mix grey, ochre and brown. The natural pigments give a credible mineral appearance.
Dry brushing and relief effects
Dry brushing involves lightly loading the brush. Run it over the raised areas. The edges will lighten.
This contrast creates depth without weighing down the overall color.
Create a moss and aged rock effect
Add small amounts of green and brown. Dab with a sponge.
For a waterproof artificial rock for a garden pond, use a water-compatible paint and finish with a suitable varnish.
Adapt the artificial rock according to its intended use
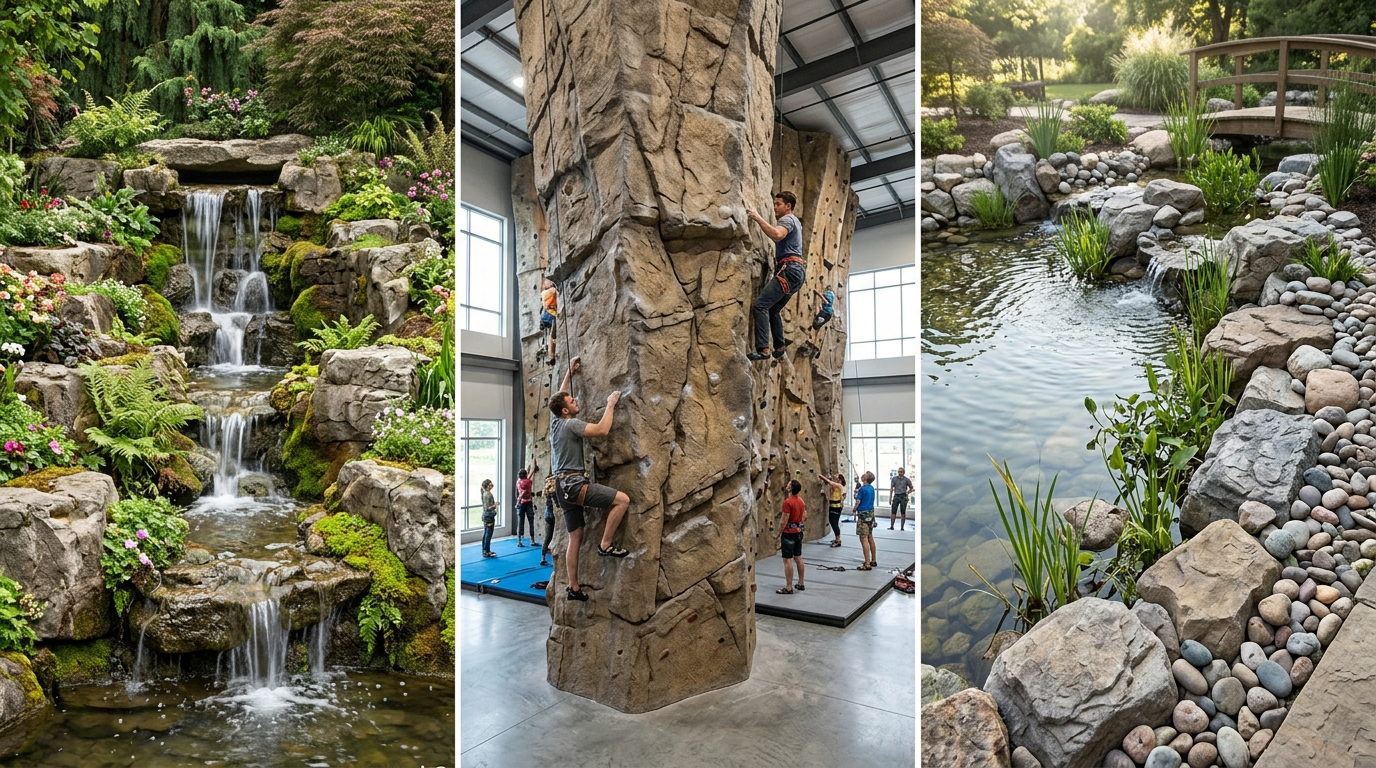
Create an artificial rock for an outdoor garden
Opt for concrete or hypertufa. The structure must be stable. Slightly bury the base for a natural effect.
A artificial rock garden should blend seamlessly into the landscape. Don't hesitate to add plants and gravel around it.
A waterproof artificial rock for a garden pond
Choose non-toxic materials. Apply a water-repellent coating. Test for leaks before immersing it in water.
A waterproof artificial rock for a garden pond must withstand prolonged immersion.
A homemade artificial rock for a terrarium
For a homemade artificial rock for a terrarium, opt for expanding foam covered with mortar without harmful additives.
Allow to dry thoroughly. Rinse before introducing animals.
Durability, safety and maintenance over time
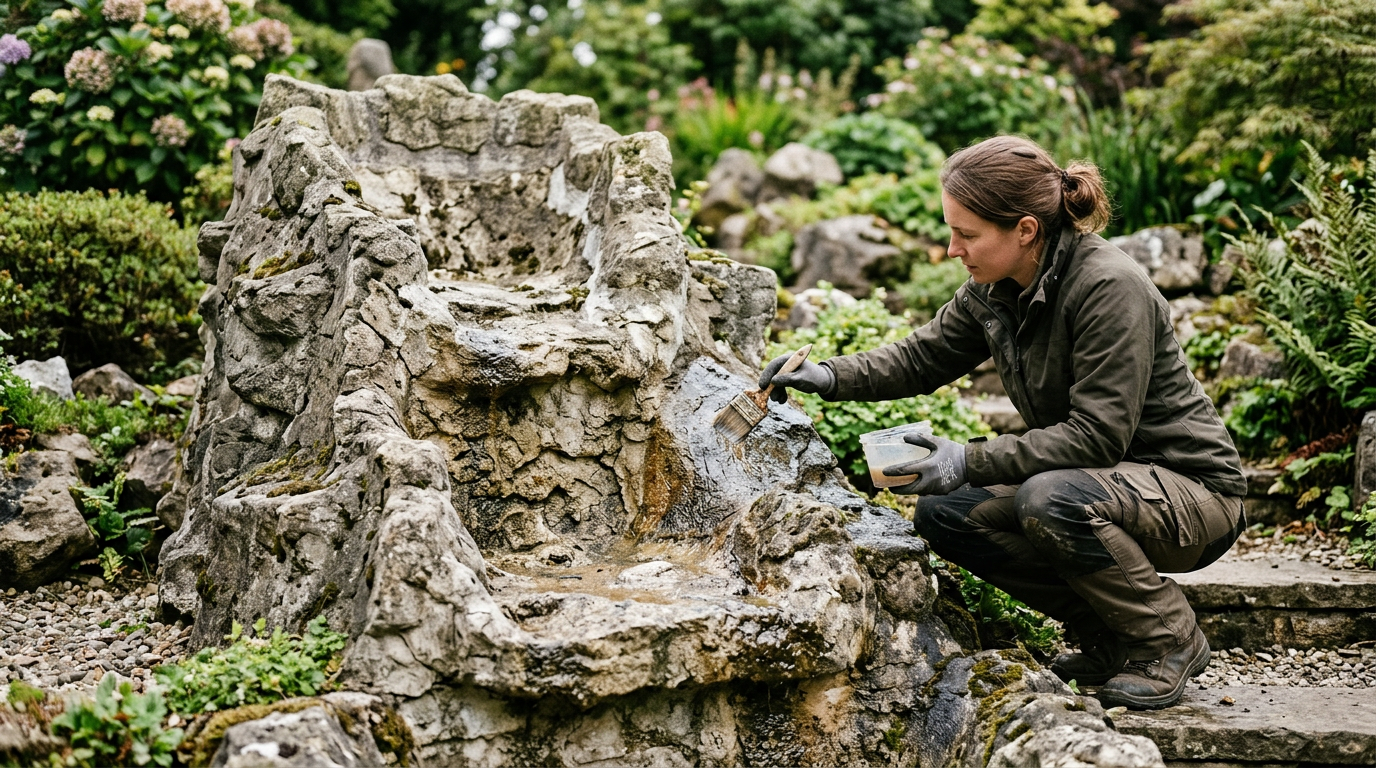
Resistance to UV rays, frost and humidity
Exterior paint protects against UV rays. In cold climates, avoid internal water pockets. They cause cracks when frozen.
Precautions to take with cement and expanding foam
Wear gloves. Work in a well-ventilated area. Expanding foam expands rapidly. Use with caution.
Refresh the paintwork and repair any cracks
Clean the surface. Fill any fine cracks with a suitable mortar. Apply a fresh coat of paint to blend everything together.
Practical questions
What is the simplest method to get started?
Polystyrene covered with plaster remains the most accessible. It requires few tools and is easy to sculpt.
How to make a fake rock out of lightweight concrete?
Mix cement, sand and clay pebbles or perlite. Apply to a wire mesh frame and let dry slowly.
Can you install a fake rock in a pond with fish?
Yes, provided that non-toxic products and a water-compatible coating are used.
How long does an outdoor artificial rock last?
With regular maintenance and good protection, it can remain in place for several years.
How to achieve a realistic stone effect?
Work on the textures before drying and apply several layers of paint using washes and light brushing.

Hello
, what product should I mix with the pigments for outdoor rocks
so they won't be damaged by the weather?
Thank you.
Good morning,
To ensure that the color lasts over time outdoors, it is best to mix your pigments directly into the mass of concrete or mortar during manufacturing.
Because the color is integrated into the material, it is resistant to rain and frost. Use iron oxide-based pigments; they are specifically designed for this purpose.
If you prefer to work on the surface (for touch-ups or toning afterward), opt for a mineral paint such as siloxane or silicate, or a tinted hydraulic lime plaster. These products adhere well to concrete and are highly weather-resistant.
However, avoid classic acrylic paints as they flake off quite quickly with freeze/thaw cycles and sunlight.
Also, applying a mineral water repellent to the surface provides even better protection and prolongs the colorfastness.
Hopefully this will answer as many of your questions as possible!