
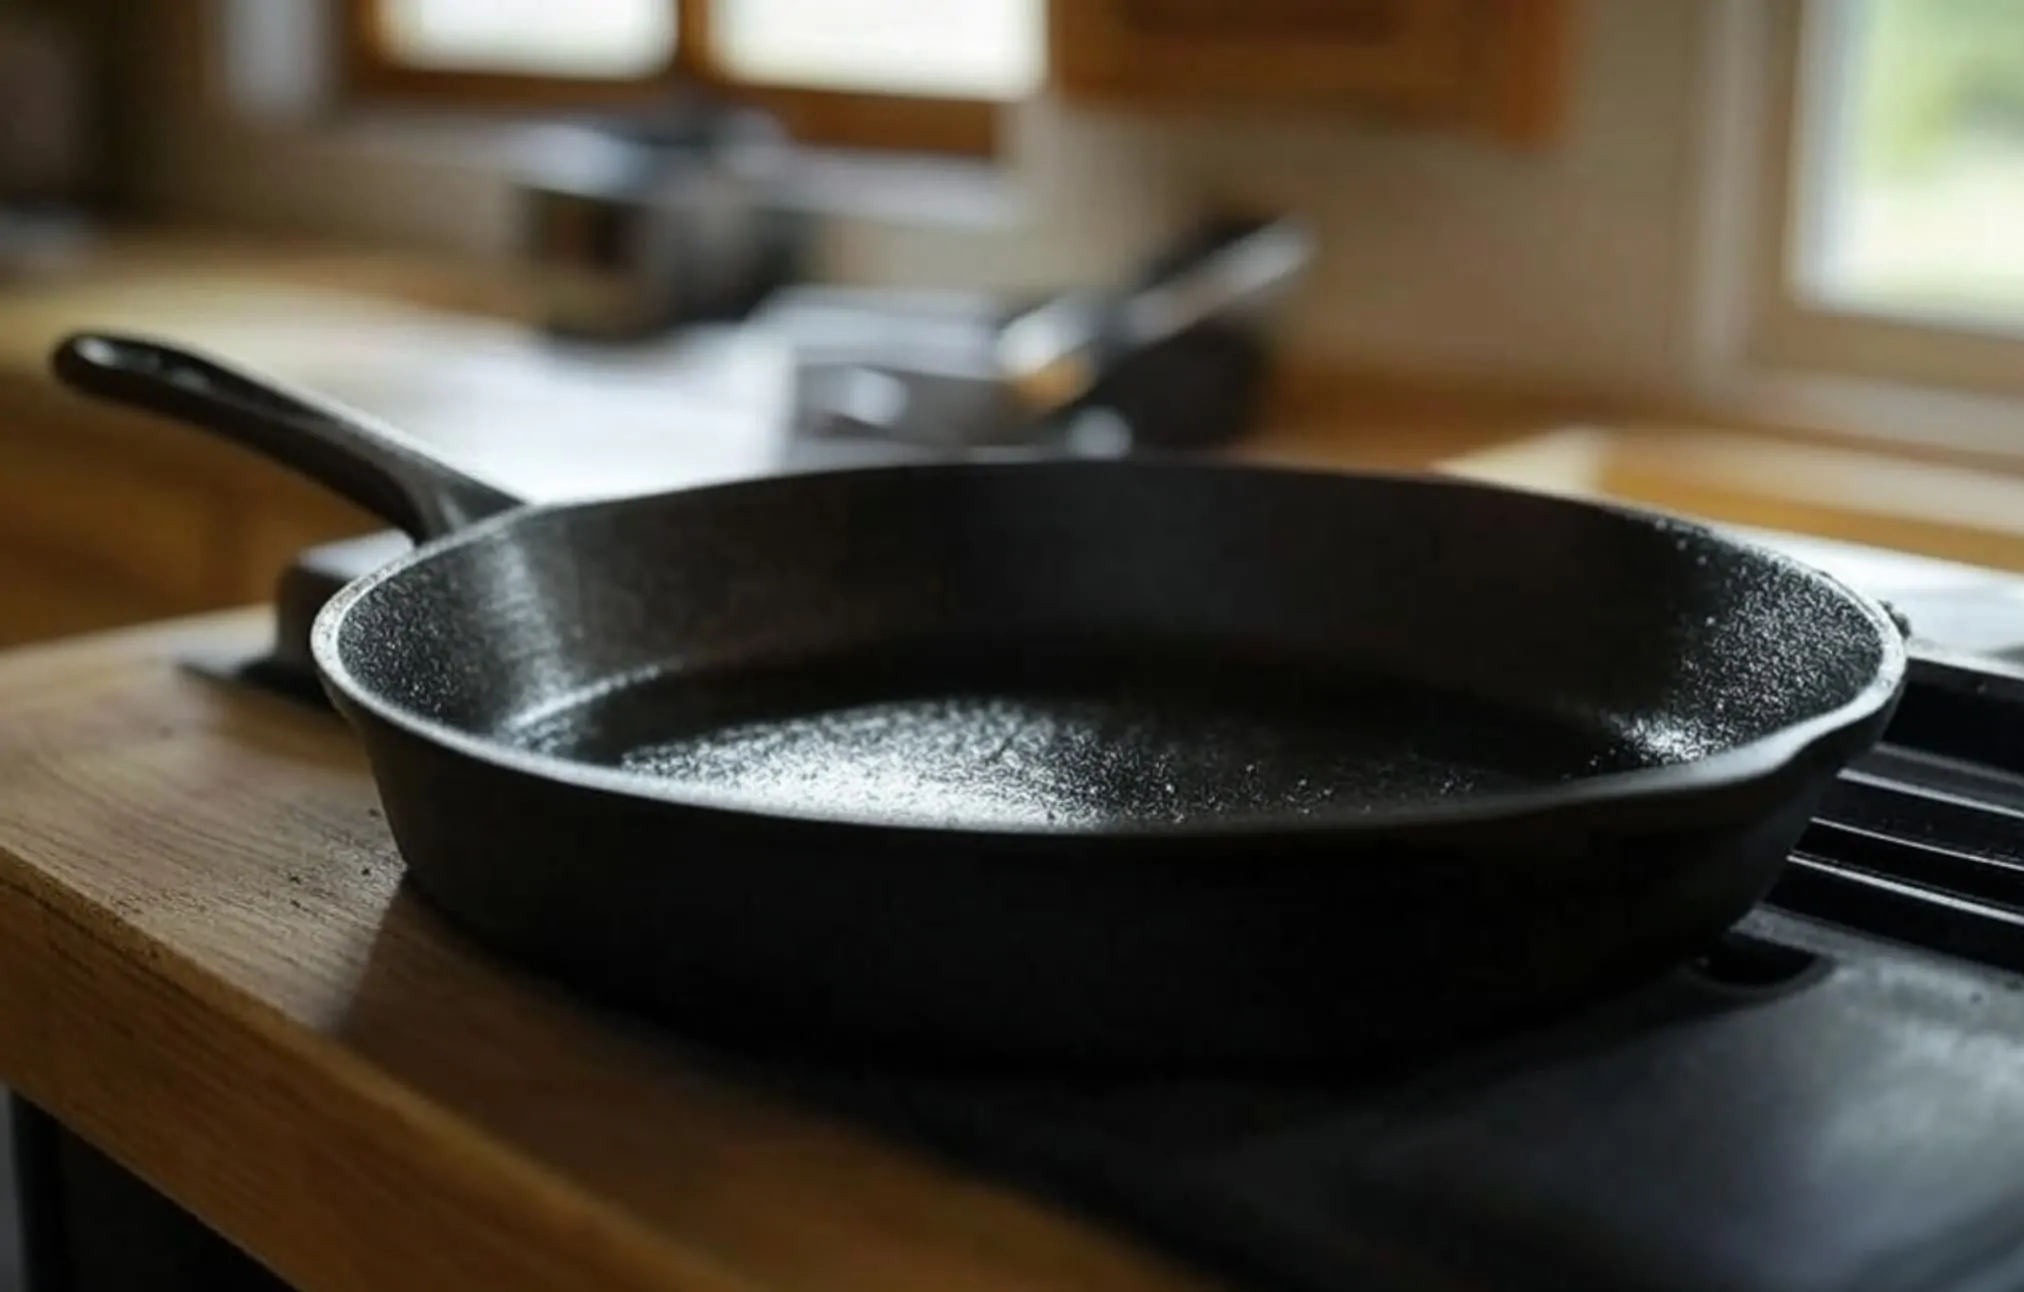
Removing the outer casing from a cast iron pan is a fundamental operation to revive a kitchen utensil that has lost its qualities or shows signs of deterioration.
This procedure consists of completely removing the seasoning layer (also called "patina" or "seasoning"), that is, the thin, shiny black film that protects the cast iron and gives it its non-stick properties.
Why remove the outer layer from a cast iron pan?
Several reasons may lead you to undertake this operation:
Problems requiring a disrobing
- Significant rust presence : When oxidation has deeply attacked the surface
- Uneven or damaged seasoning : When the surface has rough areas or flakes.
- Stubborn carbonized residue : If burnt food is encrusted and resists conventional cleaning
- Excessive accumulation of rancid grease : When successive layers of grease have created a sticky and foul-smelling surface
- Buying a second-hand pan : To start fresh with a utensil whose history you don't know.
- Previous poor maintenance : If the pan has been cleaned with unsuitable products (aggressive detergents, abrasive pads)
- Thermal damage : Due to excessive overheating that damaged the seasoning
Advantages of undressing
- Complete elimination of contaminants and bacteria
- Ability to recreate a perfectly uniform surface
- Significantly extends the lifespan of your utensil
- Improved cooking performance (better heat distribution, reduced sticking)
- Personal satisfaction from restoring a quality object
Discover more about kitchen utensils on Minimalist Cook.
Equipment needed for effective undressing
To carry out this operation under the best conditions, you will need:
Protective equipment
- Chemical-resistant rubber gloves
- Protective glasses
- Covering clothing or apron
- Mask if you are using strong stripping products
Cleaning products
- Commercial oven cleaner (containing caustic soda)
- Alternative: caustic soda (sodium hydroxide)
- Natural alternative: concentrated white vinegar mixed with coarse salt
- Powerful kitchen degreaser
Tools and accessories
- Steel wool of varying fineness (grades 0 to 000)
- Wire brush with soft bristles
- Plastic scraper (never metal to avoid scratching the cast iron)
- Metal-free abrasive sponges
- Several microfiber cloths or towels
- Absorbent paper in large quantities
- Basin or sink large enough to submerge the pan
Detailed steps for undressing
1. Preparation and safety
Setting up the workspace
- Choose a well-ventilated outdoor space or a room with open windows
- Protect your work surfaces with newspapers or a tarpaulin
- Make sure you have easy access to running water
- Prepare a stable and chemical-resistant work surface
Important precautions
- Never mix different chemicals together
- Read the instructions for the products used carefully
- Keep the products out of reach of children and pets
- Have a neutralizing solution (diluted vinegar) on hand in case of accidental skin contact
2. Removal of existing seasoning
Method 1: Self-cleaning oven (Pyrolysis)
This method uses high temperatures to carbonize the residues.
Procedure :
- Remove all non-metallic removable parts from your pan (wooden handles, etc.)
- Place the pan upside down on the middle rack of the oven
- Place a plate or aluminum foil on the bottom rack to collect debris
- Close the oven and start a complete self-cleaning cycle (usually 3-4 hours)
- Allow the oven to cool naturally and completely before opening (often a minimum of 2 hours)
- Carefully remove the pan using thick oven mitts
Benefits :
- A very effective method for old and thick seasonings
- Does not require chemicals
- Little physical effort required
Disadvantages:
- Generates a lot of smoke and odors
- High energy consumption
- May damage some ovens not designed for very high temperatures
- Risk of warping with very thin or poor quality pans
Method 2: Use of chemical paint strippers
This method chemically dissolves the polymerized grease from the seasoning.
Procedure using a commercial paint stripper:
- Work in a very well-ventilated space
- Apply the stripping product generously to the entire surface of the pan
- Leave to act according to the manufacturer's instructions (usually 30 minutes to several hours)
- Monitor the reaction regularly and add more product if necessary
- Gently rub with a sponge to check if the seasoning comes off
- For stubborn areas, leave the product on longer or reapply it
Procedure with caustic soda:
- Prepare a concentrated solution (approximately 1 part caustic soda to 4 parts water)
- Always wear gloves and safety glasses
- Place the pan in a sturdy container and pour in the solution until it is completely submerged
- Leave to soak for 1 to 3 days, checking the progress regularly
- Add more solution if necessary to maintain the level
Benefits :
- Highly effective even on the most stubborn seasonings
- Requires little mechanical effort
- Allows access to hard-to-reach corners
Disadvantages:
- Use of potentially hazardous products
- Relatively long action time
- Requires thorough neutralization and rinsing
Method 3: Mechanical Approach
This method primarily uses abrasion to remove the patina.
Procedure :
- Heat the pan slightly to soften the seasoning
- Sprinkle generously with coarse salt over the entire surface
- Rub vigorously with an abrasive pad or steel wool
- Rinse and repeat the process as many times as necessary
- For particularly stubborn areas, use a mixture of salt and oil as an abrasive paste
Benefits :
- A natural method without harsh chemicals
- Precise control of the worked areas
- Can be done in stages over several days
Disadvantages:
- Requires a lot of physical effort
- May be ineffective on very old and thick seasonings
- Risk of uneven surface abrasion
3. Rust treatment
If your pan shows signs of rust after removing the bottom layer:
Vinegar bath:
- Prepare a solution made of equal parts water and white vinegar
- Submerge the pan completely (or apply soaked paper towels to the affected areas)
- Leave to act for between 1 and 24 hours depending on the severity of the rust
- Check regularly and remove the pan as soon as the rust has dissolved
- Scrub off the residue with fine steel wool
Electrolytic method (for extreme cases):
- Prepare a bath of water with added sodium carbonate (washing soda crystals)
- Connect a low voltage power supply (5-12V)
- Connect the positive terminal to a sacrificial metal part (stainless steel)
- Connect the negative terminal to the cast iron pan
- Leave the current flowing for 12 to 24 hours
- The rust will detach without damaging the underlying metal
Important precautions:
- Never leave a cast iron pan in an acidic bath for too long
- Always neutralize the acidity after treatment (rinse with soapy water)
- Dry immediately and completely after rust treatment
4. Final cleaning and preparation for re-sleeving
Mechanical cleaning:
- Use fine steel wool (grade 000) to smooth the surface
- Scrub the entire pan thoroughly, inside and out
- Focus on the rough areas to achieve a uniform texture
- Rinse thoroughly to remove all residue
Chemical neutralization:
- Prepare a solution of hot water with a little vinegar
- Scrub all surfaces vigorously with this solution
- Rinse several times with clean water
- Test the surface pH with indicator paper (ideally neutral)
Complete drying:
- Wipe thoroughly with clean, absorbent towels
- Place the pan over low heat for 5-10 minutes
- Alternatively, bake it in the oven at 150°C for 15-20 minutes
- Allow to cool naturally before proceeding with the lining
Expert advice and tips
For antique or collectible stoves
- Think twice before uncovering an old or rare coin
- Consult a specialist if your stove has historical or heritage value
- Photograph the pan before you begin to document its initial condition
- Preserve the manufacturer's trademarks and signatures by protecting them during the process
To make the work easier
- Work in small sections rather than trying to do everything at once
- Use a powerful lamp to clearly see the residue and problem areas
- For heavy pans, provide a stable stand at a comfortable height
- Alternate methods on resistant areas (chemical then mechanical)
To avoid problems
- Never use bleach on cast iron (risk of chemical reaction)
- Avoid thermal shocks that could crack the metal
- Do not leave a cast iron pan soaking in water for more than 24 hours
- Always test chemicals on a small, inconspicuous area
Common mistakes to avoid
Procedural errors
- Use sharp metal tools that will permanently scratch the surface
- Mixing different chemicals without rinsing in between
- Interrupting the process prematurely can leave residues that are difficult to remove
- Neglecting certain areas such as the underside of the pan or the outer edges
Errors in judgment
- Remove the seasoning from a pan whose coating is simply dirty but structurally intact
- Using overly aggressive methods for a minor problem
- Not allowing enough time for the entire operation
- Underestimating the quantity of products and materials needed
After undressing: putting the pants back on
Once the seasoning is removed, your pan should not be left bare. Raw cast iron oxidizes very quickly. It is therefore essential to immediately re-season it, which involves creating a new protective polymerized layer.
Simplified lining process
- Apply a thin layer of high smoke point oil (linseed oil, vegetable shortening, grapeseed oil)
- Heat the pan until the oil polymerizes (180-230°C)
- Allow to cool and repeat the process 3 to 6 times for a lasting seasoning
Preventative maintenance to avoid future misalignments
To avoid having to repeat this laborious procedure:
- Clean your pan as soon as it has cooled down after use
- Avoid harsh detergents; use warm water and a soft brush instead
- Always dry your pan thoroughly after washing
- Apply a thin layer of oil regularly after use
- Avoid cooking highly acidic foods in a newly seasoned pan
- Never store food in your cast iron pan, especially if it's acidic
- If possible, reserve a specific pan for sweet preparations
Answers to your questions
Should you remove the outer layer from a new cast iron pan?
No, in most cases. New pans already have a functional industrial seasoning. Only remove the seasoning if the coating has visible defects, persistent chemical odors, or if you absolutely want to perform your own natural seasoning.
How much does it cost to remove the bottom of a cast iron pan?
Homemade: €15 to €30 (paint stripper, steel wool, seasoning oil)
Professionally cleaned: €40 to €80 depending on the size of the pan
The professional cost generally includes complete re-sleeving.
Can you remove the outer layer of a frying pan in the dishwasher?
Absolutely not. Dishwashers cause massive and immediate oxidation of cast iron. Use only the recommended methods: pyrolysis, chemical strippers, or manual abrasion.
Is it normal for my pan to smoke during the seasoning process?
Yes, this is the normal oil polymerization process. Make sure you have adequate ventilation. If there's excessive smoke, you've probably applied too much oil.
Can you remove the outer layer of an enameled pan?
No, never. Removing the coating would permanently destroy the enamel. This technique applies exclusively to uncoated, raw cast iron pans.
How many times can you uncover the same pan?
A quality cast iron pan can withstand numerous cleanings (several dozen) without damage. Each cleaning removes a microscopic layer. Under normal use, cleaning every 15-20 years is sufficient.
What should I do if the new seasoning doesn't adhere?
Main causes: poorly cleaned surface, insufficient temperature, or excessively thick layer of oil. Solution: clean with salt and oil, rinse thoroughly, then repeat the seasoning process with less oil and a higher temperature.
Can you remove the lid from a cracked pan?
Not recommended for large cracks that compromise safety. For superficial micro-cracks, the process may stabilize them, but consult a specialist before proceeding.
Conclusion
Refurbishing a cast iron skillet requires time, patience, and meticulous attention to detail. However, this process will completely restore your skillet and give it a second life. A properly maintained cast iron skillet can last for generations and is a true culinary investment. The effort you put into its restoration will be rewarded with countless delicious meals and lasting satisfaction.
Remember that cast iron is a living material that improves with time and use. Each use contributes to seasoning and enhances the qualities of your pan. The seasoning removal process should only be an occasional step in the long life of your trusty cookware.
Updated on September 28, 2025
Removing the top layer from a cast iron pan is great for flavor, but what do you do if it sticks too much afterwards?
Simply use more oil or butter. It's an easy and tasty solution.
Removing the top layer from a cast iron pan? Is that really necessary? I read that it can cause problems, right?