
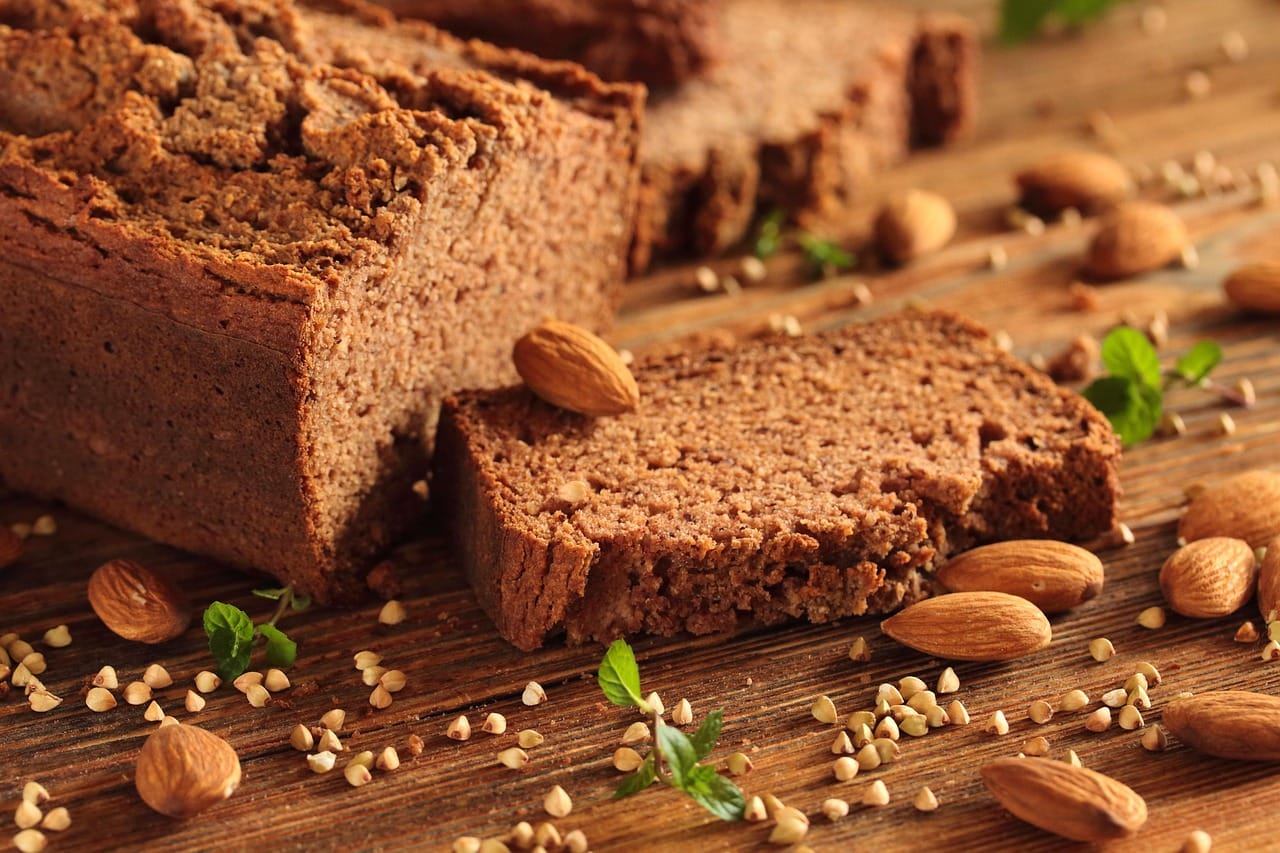
Making gluten-free bread at home is no longer a headache! After testing dozens of gluten-free bread recipes, I'm sharing my simple and foolproof method to ensure you get a soft, tasty, and perfectly risen loaf.
Whether you are gluten intolerant or simply curious to test the health benefits, this easy oven bread recipe will transform your view of homemade bread!
Ready to change your daily habits and eat healthier starting today? Let's go!
Why make your own gluten-free bread at home?
Commercially available gluten-free bread is often expensive (between €4 and €7 per loaf) and sometimes contains unnecessary additives.
By preparing it yourself, you will control every ingredient and you will get a soft, gluten-free loaf fresh from the oven.
The benefits of homemade gluten-free bread are numerous: customizable texture, substantial savings and the satisfaction of producing a beautiful golden loaf.
Doing it yourself also creates a beneficial psychological dimension and a desire to share your findings with others.
The secrets to a successful gluten-free recipe
The flour blend: the key to success!
For successful gluten-free bread, forget the idea of using just one type of flour. The secret lies in combining several gluten-free flours.
Here is a complete table of the best gluten-free bread flours that I have tested and combined:
| Gluten-free flour | Recommended proportion | Role in the recipe | Taste | Texture added |
|---|---|---|---|---|
| White rice flour | 40% | Main structure | Neutral | Solid base |
| Wholegrain rice flour | 30% | Fiber and nutrition | Slightly nutty | Pleasant density |
| Tapioca flour | 20% | Natural binding agent | Neutral | Softness and elasticity |
| Buckwheat flour | 10% | Authentic flavor | Rustic, earthy | Handcrafted character |
This gluten-free flour blend perfectly replaces traditional wheat flour, while providing greater nutritional diversity!
You can vary the proportions slightly, according to your preferences, but still stay close to these percentages in order to obtain the desired result.
Hydration: more important than with gluten
Gluten-free doughs require more liquid. Unlike gluten, which naturally retains water, other alternative flours require more hydration to avoid a dry and crumbly bread.
This specificity explains why many first attempts fail: we apply the reflexes of traditional bread whereas gluten-free bread follows its own rules (like a different sport that requires a new technique).
My almost foolproof gluten-free bread recipe
Ingredients for 1 loaf of 500g
Flour mixture:
- 200g of white rice flour
- 150g of wholegrain rice flour
- 100g of tapioca flour
- 50g of buckwheat flour
Leaving and binding agents:
- 2 teaspoons of xanthan gum
- 7g of dried baker's yeast
- 1 teaspoon of salt
Liquids:
- 400ml of lukewarm water
- 2 tablespoons of olive oil
- 1 tablespoon of honey or agave syrup
Step-by-step preparation
Step 1: Yeast activation
Dissolve the yeast in 100ml of lukewarm water with the honey. Let it foam for 10 minutes.
This step will guarantee optimal rising of your gluten-free bread.
Step 2: Mixing the flours
In a large bowl, mix together all the flours, xanthan gum and salt.
Mix well to avoid lumps.
Step 3: Assembling the dough
Pour the activated yeast, the remaining lukewarm water, and the oil over the flour mixture. Knead for 5 minutes in a stand mixer or 8 minutes by hand.
Gluten-free bread dough should be smooth and slightly sticky.
Step 4: First rise
Place the dough in an oiled bowl, cover with a damp cloth.
Leave to rise for 1 hour 30 minutes in a warm place (ideally 25°C, near a radiator in winter).
Step 5: Shaping and the second rise
Gently degas, shape into a ball and place in a greased cake tin.
Another 45-minute rise under a cloth (or oiled plastic film).
Baking time for gluten-free bread: the complete guide
Baking gluten-free bread requires special attention. You absolutely must pay attention to it, otherwise all your efforts will be wasted!
Below is my chart for baking homemade bread according to the type of mold used:
| Mold type | Initial temperature | Cooking temperature | Duration | Signs of cooking |
|---|---|---|---|---|
| Classic cake tin | 220°C | 200°C | 35-40 min | Golden crust, its hollow when tapped |
| 20cm round mold | 220°C | 195°C | 30-35 min | Thermometer: 90°C core temperature |
| Individual rolls | 200°C | 180°C | 20-25 min | Golden brown top |
| soft bread | 190°C | 170°C | 45-50 min | Easy to unmold, firm crust |
The baker's tip: Always preheat your oven with a small container of water on the base (or a few ice cubes thrown at the bottom).
This gluten-free bread baking technique will easily create steam to achieve a perfect crust!
Step 6: Baking
Preheat the oven to 220°C. Make a slit in the top of the bread, put it in the oven and immediately reduce the temperature to 200°C.
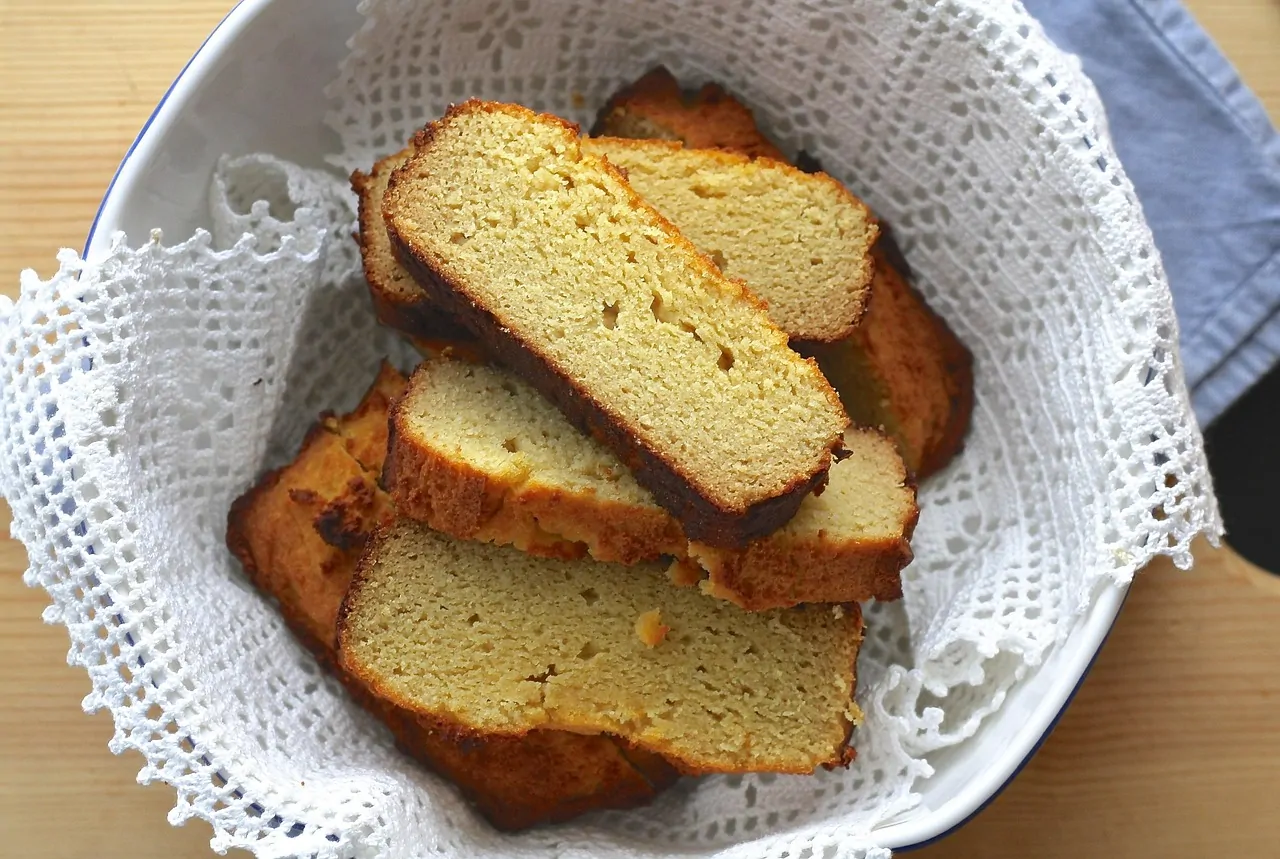
Bake for 35-40 minutes until a golden crust forms.
Some gourmet variations
Seeded bread
Add 50g of sunflower seeds, or flax seeds or sesame seeds for a more nutritious and crunchy bread (my favorites are sunflower seeds).
Herb bread
Incorporate 2 tablespoons of herbes de Provence or dried rosemary for a Mediterranean version.
Sweet bread
Replace the salt with 2 tablespoons of sugar and add raisins or gluten-free chocolate chips.
Bread storage and practical tips
Your homemade gluten-free bread will keep for 3 days wrapped in a clean tea towel or 1 week in the refrigerator (wrapped in cling film). To restore its softness, reheat it for 2 minutes in the oven at 150°C (300°F).
Chef's tip: Slice your cooled bread and freeze the portions. You can then toast the frozen slices directly in the toaster (a huge time saver in the morning!).
Frequently asked questions about gluten-free bread
Which breads do not contain gluten?
Naturally, breads made from alternative flours such as rice, quinoa, buckwheat or millet are gluten-free.
Beware of industrial breads which are full of added wheat gluten and may also contain traces due to cross-contamination.
What is the best gluten-free bread?
The best gluten-free bread will depend on your tastes!
My recipe for soft, gluten-free bread is popular with most people, but you can adapt it to your preferences and depending on the combinations: more rustic with buckwheat, milder with more white rice, etc.
What are the benefits of eating gluten-free bread?
The benefits of gluten-free bread are numerous! Gluten acts like glue in your joints and can create inflammation if present in excessive amounts.
It is also easier on your stomach and intestines, allowing for better digestion for those with intolerances, a diversification of nutritional intake and often, a reduction in industrial additives.
Even without an intolerance, varying the types of grains you eat clearly enriches your diet. You'll therefore feel more energetic!
Solving common problems when preparing bread
Bread that doesn't rise: Check the expiry date of your yeast and the water temperature (not too hot, not too cold – test with your elbow as you would for a baby bottle).
Bread with a crumbly texture: Slightly increase the hydration or add a beaten egg to the mixture (a technique that works every time).
Bread too dense: Respect the rising times and make sure your xanthan gum is well distributed.
In summary
This foolproof gluten-free bread recipe will give you a loaf worthy of the best bakeries.
The art of homemade gluten-free bread requires a little practice, but the results of this recipe are well worth the effort. It's no more complicated than making regular bread.
Get started today and you'll see your kitchen smell divine! A perfect recipe for your taste buds, but also for your gut, which will thank you!
