
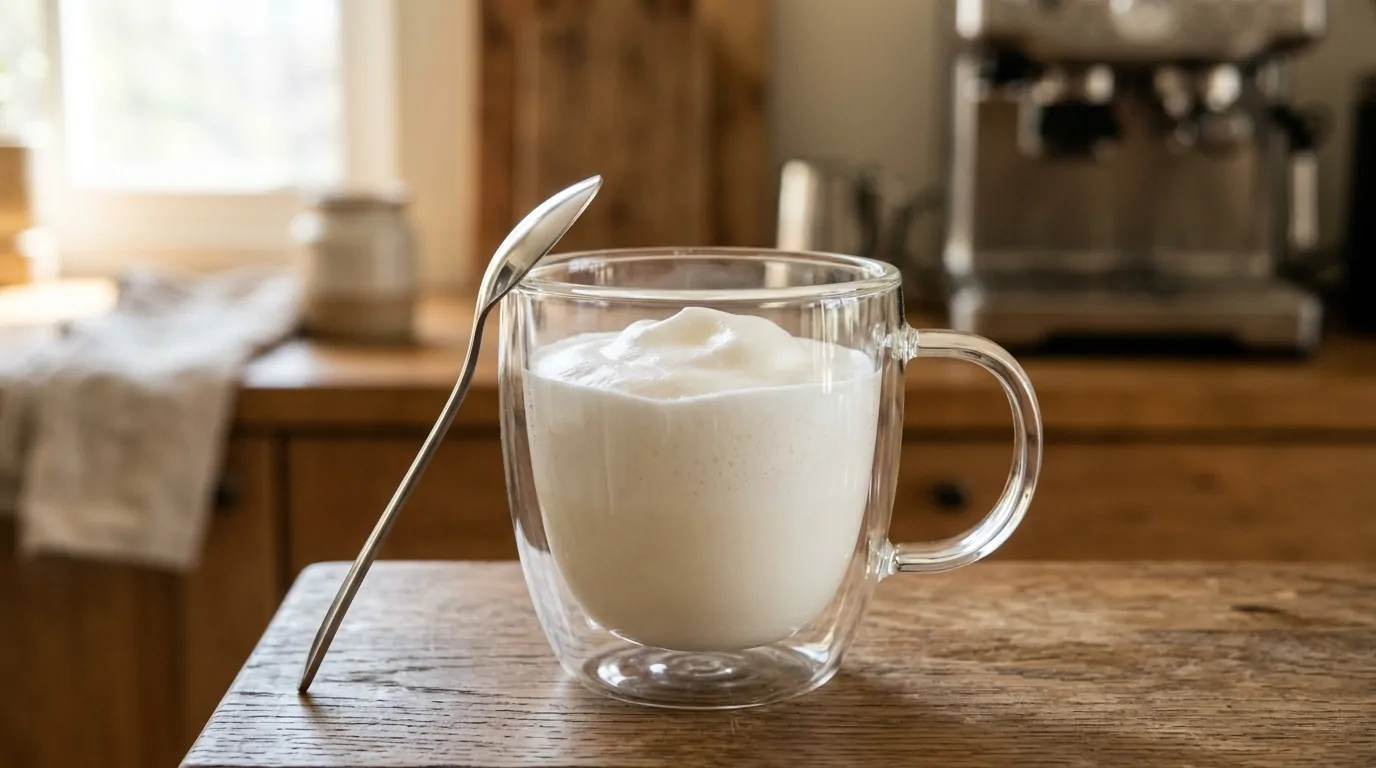
A beautiful milk foam changes everything: a more indulgent morning coffee, a silkier hot chocolate, a latte that looks like the one from the coffee shop.
Good news, you don't need to invest in a large machine to achieve this because with the right milk, the right temperature and a few simple steps, you can obtain a dense and stable foam in less than a minute.
Choosing the right milk
The foam depends primarily on the proteins and fats in the milk. Whole milk is the easiest to work with: it produces a creamy and long-lasting foam.
Semi-skimmed milk foams more quickly, but the texture is lighter and falls more quickly, while skimmed milk produces a lot of volume, with bubbles that are often larger.
On the plant-based side, oats and soy, especially in their "barista" versions, give the best results. Almond or rice-based drinks don't froth as well and require a little more patience.
In all cases, start with very fresh and cold milk before heating it: it incorporates air better.
The right temperature
This is the most common mistake: heating too much, so aim for around 60 to 65 °C.
Below this temperature, the milk lacks sweetness; above 70°C, the proteins degrade, the foam becomes fragile and the taste turns towards boiled milk.
Without a thermometer, a simple rule: as soon as the container is too hot to leave your hand in for more than a few seconds, stop.
The four-step technique
- 1. Pour the milk into a tall, narrow container, filling it only halfway, to allow the foam to expand.
- 2. Heat the milk gently, without letting it boil.
- 3. Dip the whisk just below the surface for 5 to 10 seconds to incorporate air, then push it in a little further to homogenize the texture for another 10 seconds.
- 4. Tap the container on the work surface to remove large bubbles, then swirl the milk before pouring: the foam should be shiny and smooth.
Mistakes to avoid
Foam that collapses too quickly almost always comes from milk that is too hot or a whisk held too deeply.
Large bubbles indicate that the air has been injected for too long or too forcefully.
Finally, a container that is too wide disperses the foam: opt for a pitcher or a tall glass.
Remember to rinse the whisk right after use to prevent milk from drying on it.
What equipment should I choose?
You can froth milk with a simple hand whisk, a French press, or a dedicated machine. An electric milk frother remains the most practical for everyday use: consistent, quick, and easy to clean.
If you are hesitating between the different models, this comparison of the best electric milk frother details the three main families on the market (portable USB, on a heating base and manual), with their prices, their advantages and the criteria to check before buying.
Drink ideas to get you started
Once the technique is mastered, the possibilities are numerous.
A cappuccino combines one-third espresso, one-third hot milk, and one-third foam. A latte uses more milk and a thin layer of foam.
Those who enjoy cold drinks can prepare a cold milk foam to top an iced coffee, and those with a sweet tooth can add it to a hot chocolate or a matcha latte.
A little cinnamon, cocoa or vanilla syrup is all it takes to transform the drink.
In summary
Fresh milk, a controlled temperature of around 60 to 65 °C and a whisk placed just below the surface: these are the three keys to a successful mousse.
Then, with a little practice, you'll achieve a barista-worthy texture, cup after cup. Enjoy!
